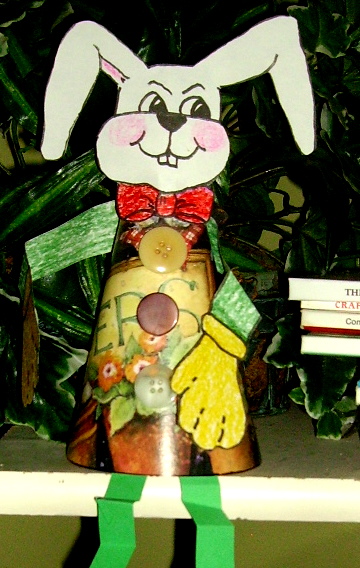
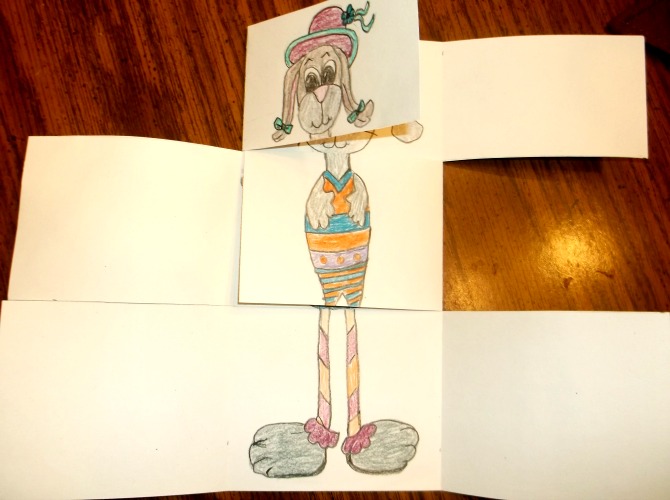
We never seem to outgrow our love of playing with clay. The sixth grade made bunnies with white air dry clay. They added pink noses and some of them added hats and orange carrots. A small amount of craft paint kneaded into a ball of the clay gave us the colored clay. We dotted the eyes with a black permanent marker. Disney’s Family Fun website at has the instructions for a Flop-Eared Bunny (no longer available). This was the basis for our project, but we encouraged the students to make changes so their bunny would be unique. Although the instructions start with a 1″ ball for the body, it is better to make all the shapes larger than stated on those instructions. Start with a 2″ ball for the body, a 1″ ball for the head, etc.

Supplies:
- Air dry clay (white)
- Toothpicks
- Memo cards
- White glue
- Black Sharpie
- Wipes
Directions:
- Everyone should wash their hands before using the white clay.
- Using the instructions for the Flop-Eared Bunny, make a ball for the body (2″) and one for the head (1″). Break a toothpick in half; push one end of the toothpick into the head and the other into the body to secure the head to the body.
- From this point on, encourage the students to change the position of the bunny—make it sitting instead of laying down—the direction and size of the ears—- size of the feet—-add a hat, etc. Add a tail.
- Use pieces of toothpick to fasten the ears and legs and tail on.
- Use a wet wipe to wrap the unused clay in while fastening pieces on so the clay doesn’t dry too fast
- Make a small ball of pink clay by kneading pink craft paint into the ball. Very little clay is needed for a nose, so not a lot of it has to be made. Do the same with orange paint for carrots. Other colors can be made if a flower or hat has been added to the bunny.
- Set the finished bunny on a memo or recipe card to dry, and also to write the students name on. When dry the student’s initials can be written under the bunny.
- If some of the parts have loosened while drying, use white glue to glue them back on.
My experience with the air-dry clay has been that there is shrinkage when the pieces dry. This can leave you with the toothpick showing between the head and the body, but I loved the look and wouldn’t let the kids change it. A very cute project that the kids loved!


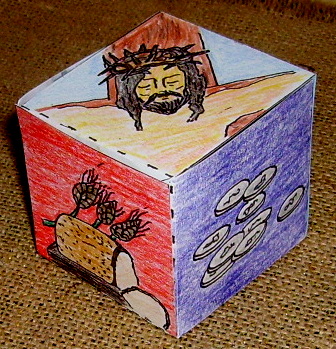
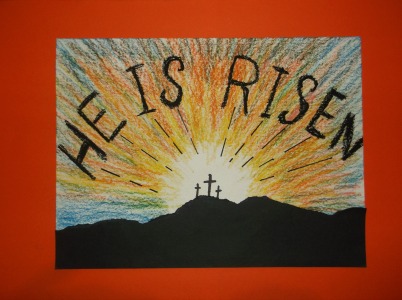
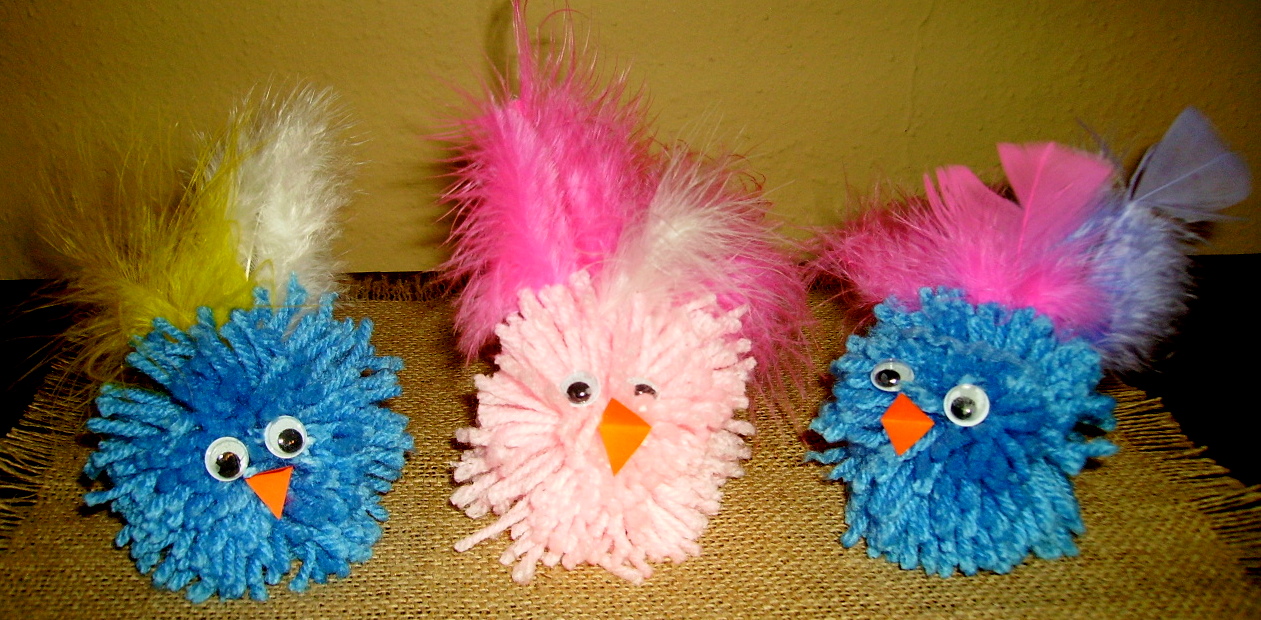
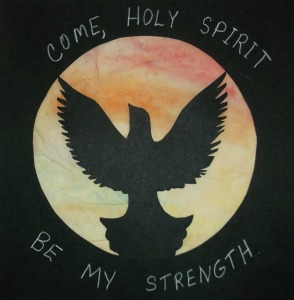
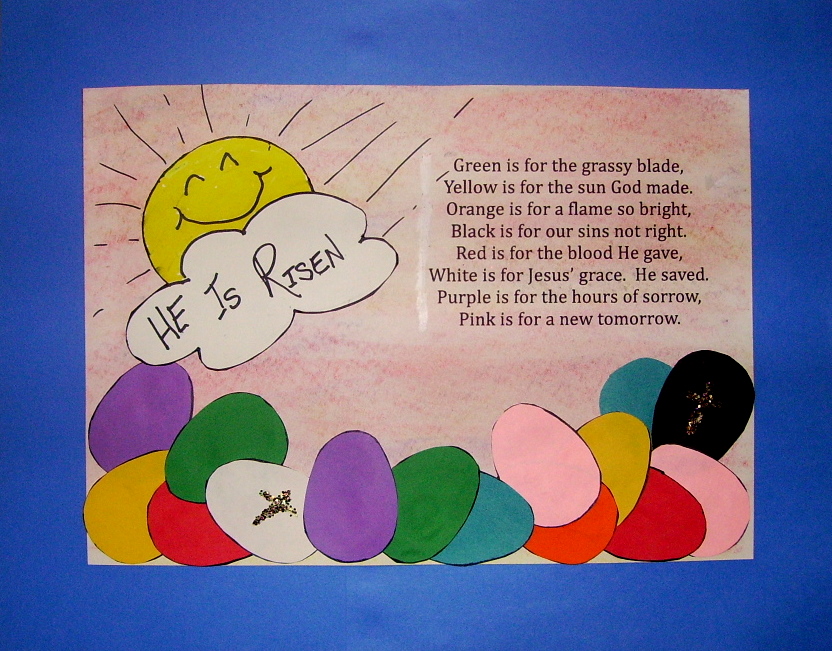
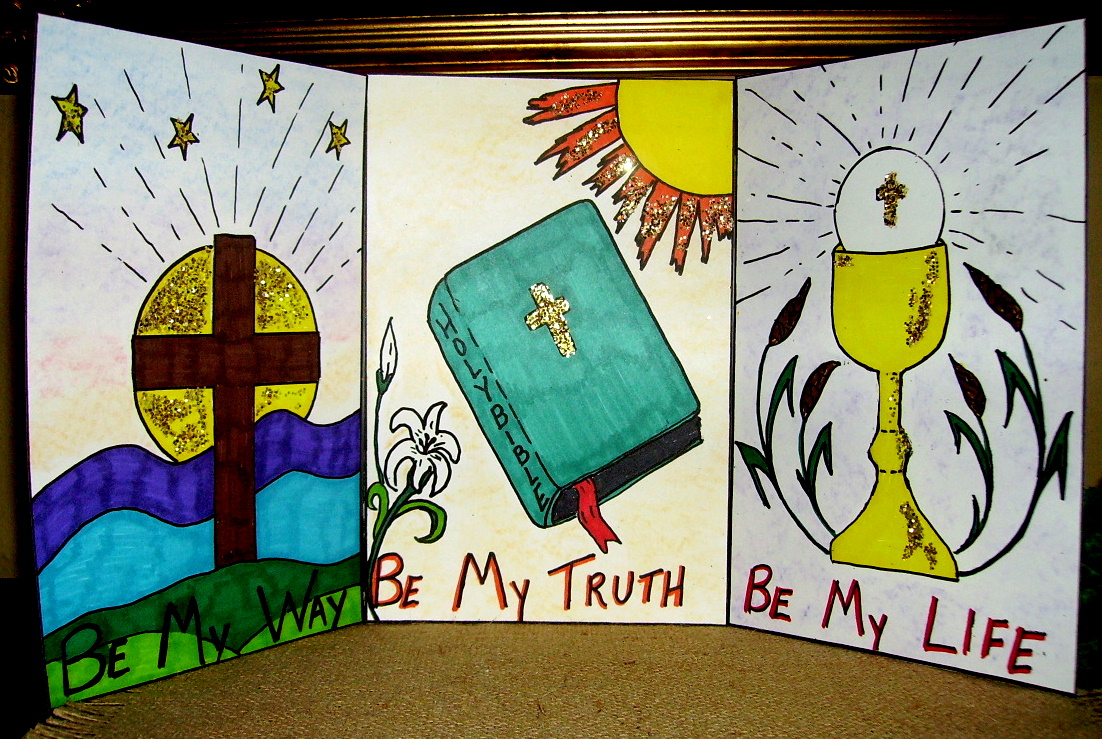
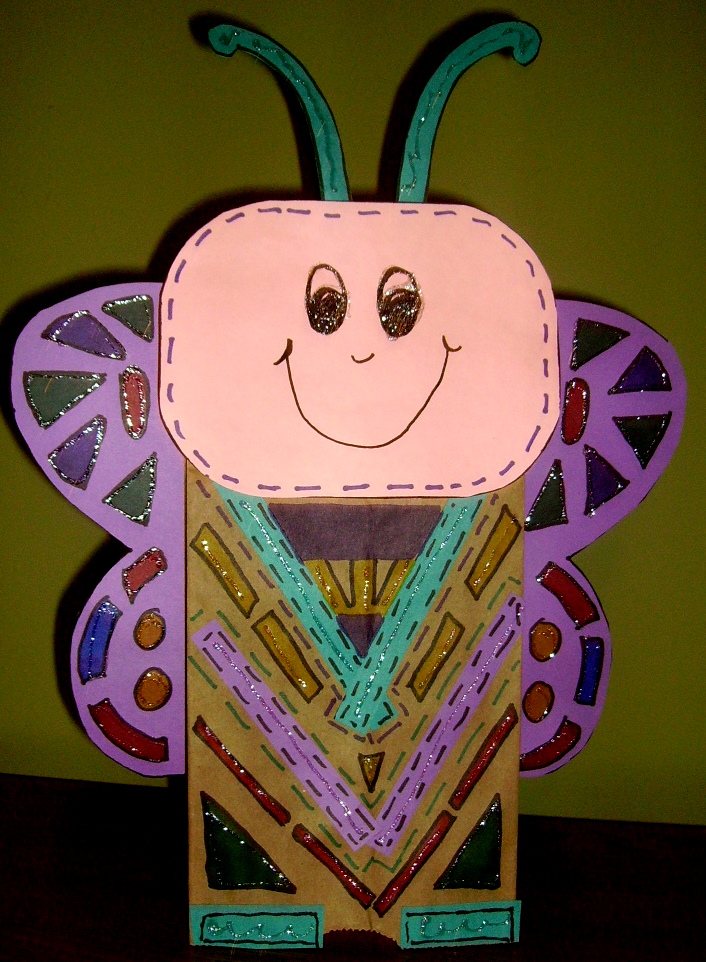
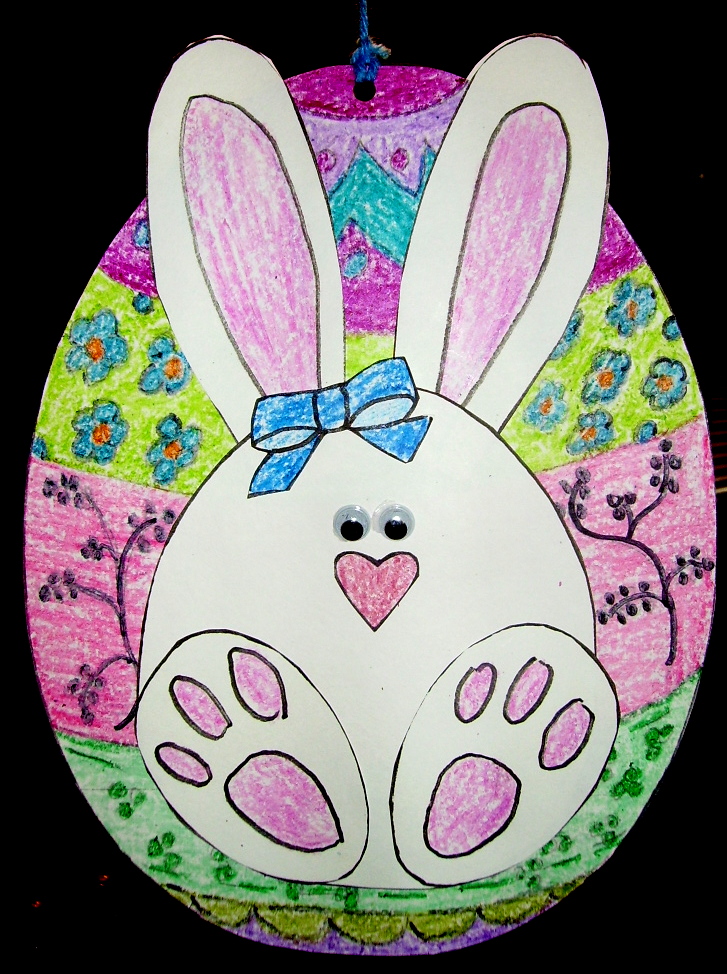
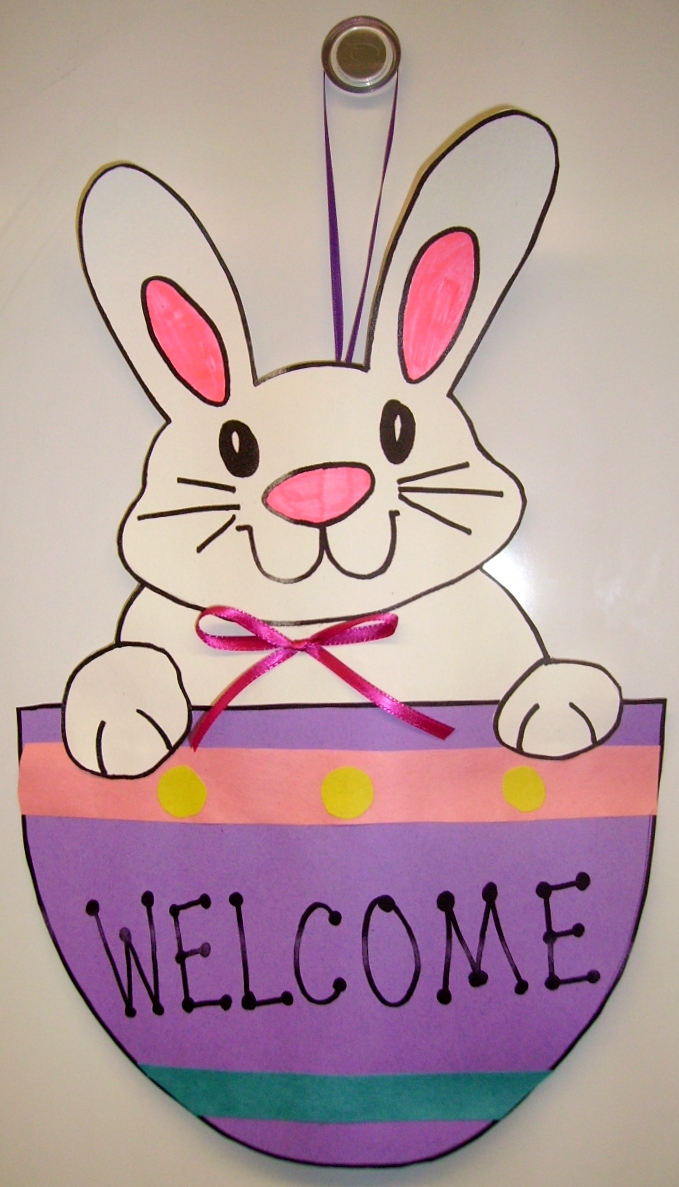
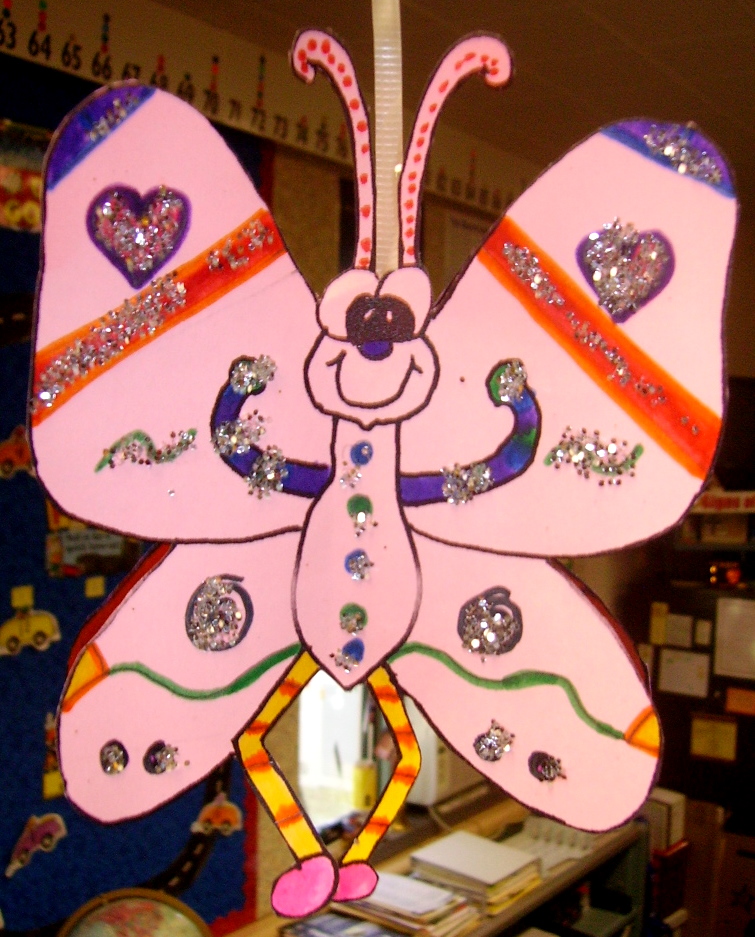
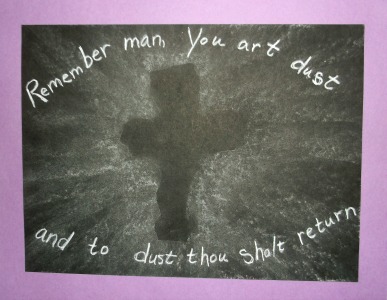
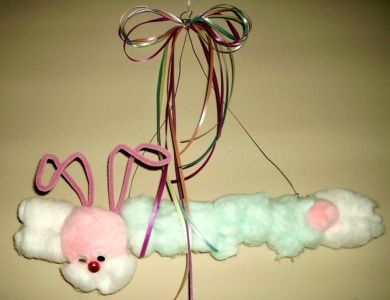
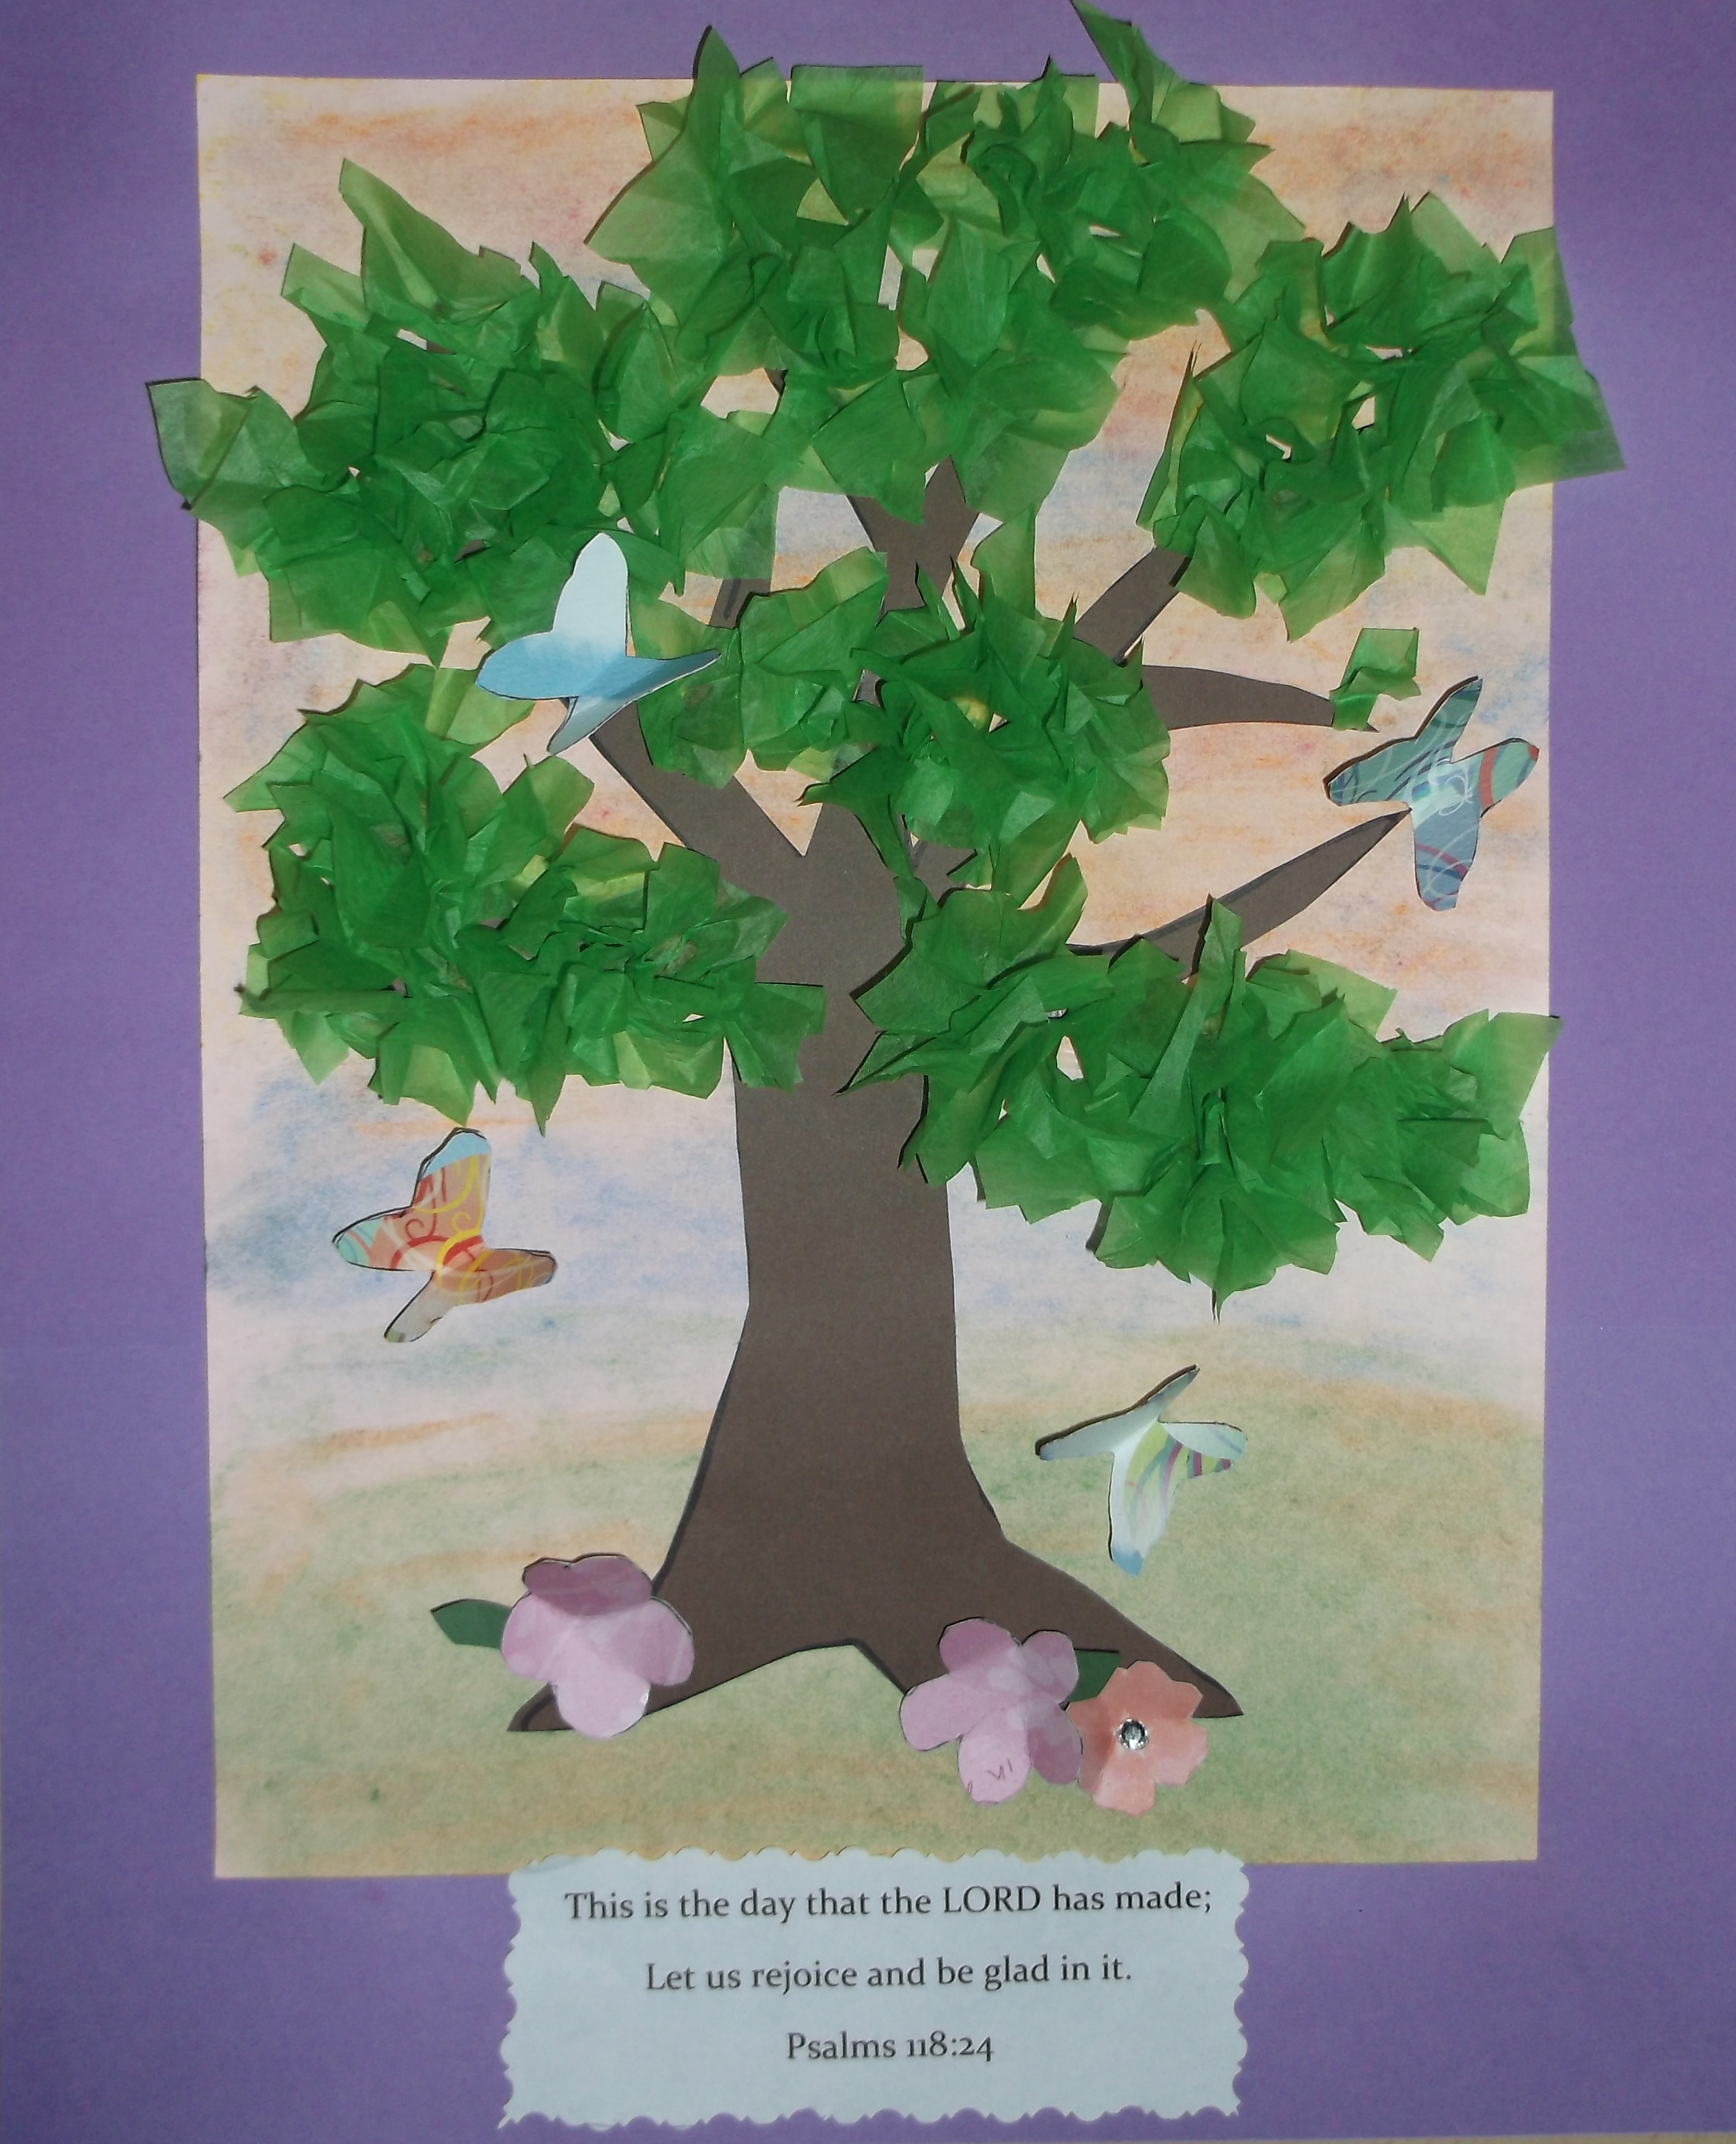
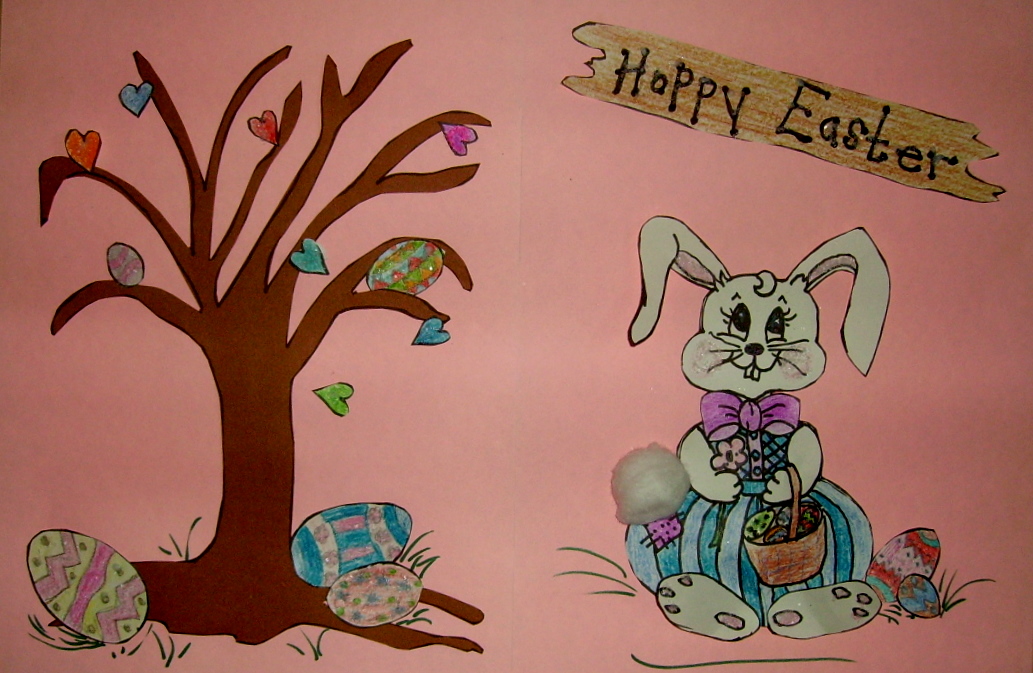
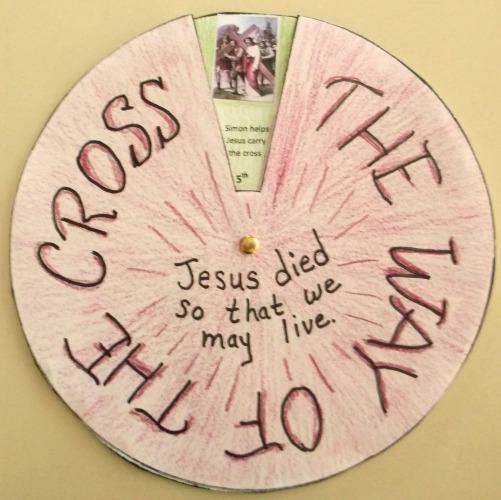
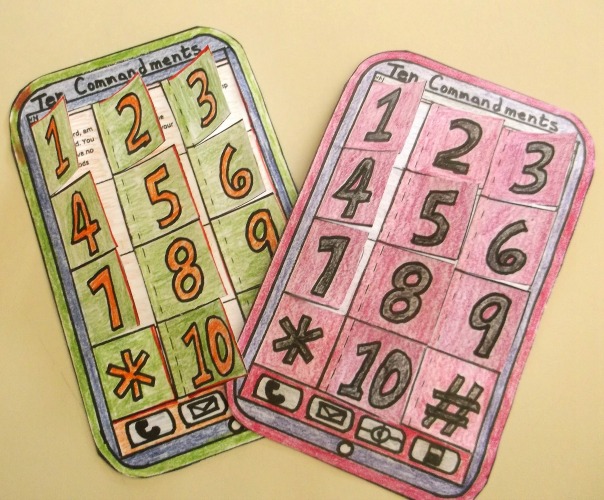
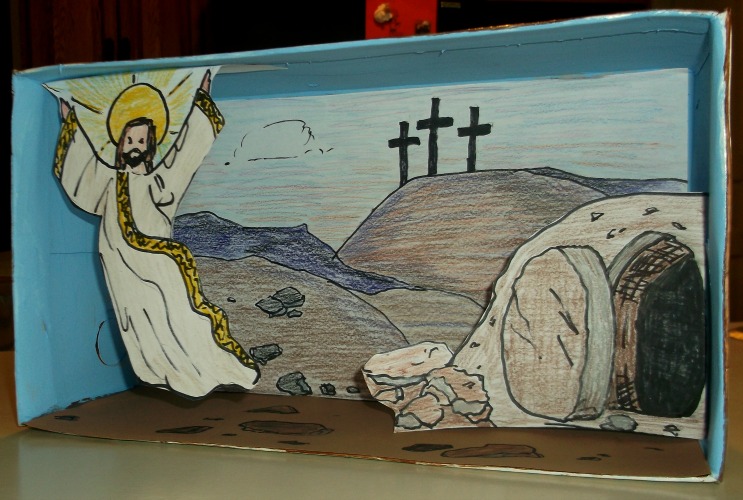
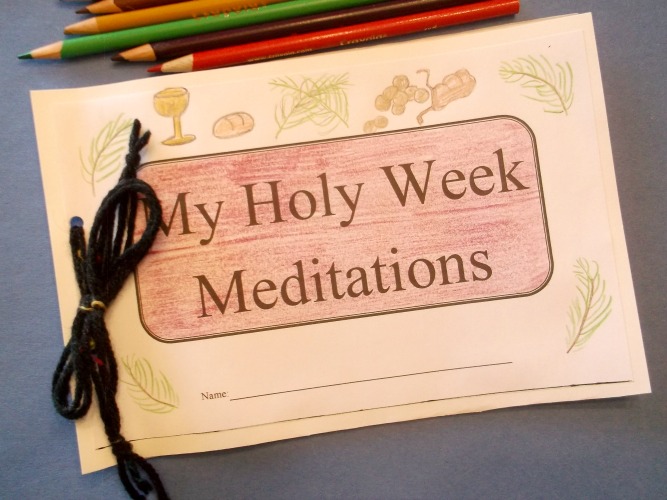
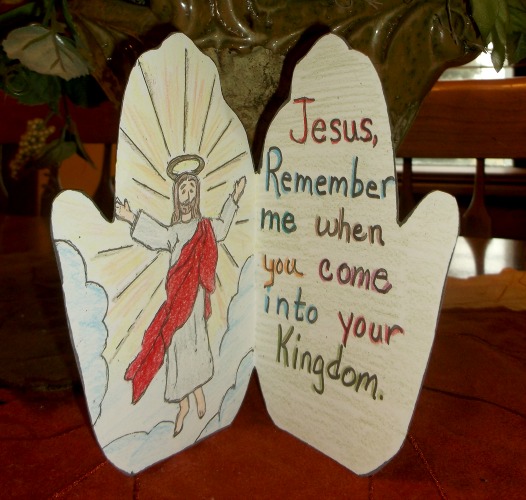
Easter Projects Gallery: