
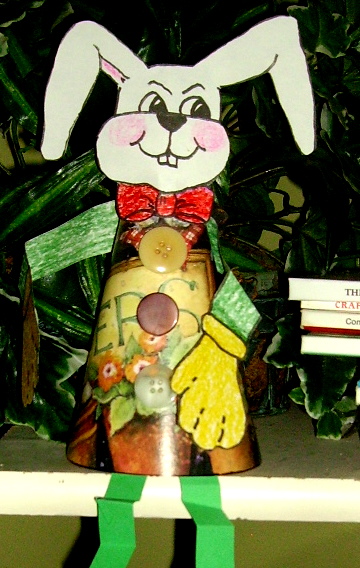
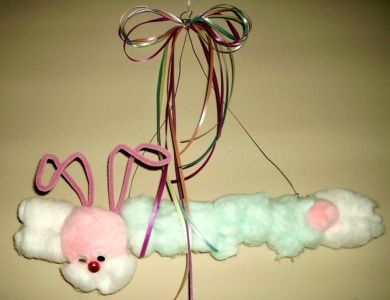
This paper mache bunny makes a very cute Easter decoration. But if you are a collector of rabbits, it is nice year round also.
 Supplies:
- 20 oz. pop bottle (without cap)
- Bottle cap
- Sand or beans (for weight inside bottle)
- 2 1/2″ or 3″ Styrofoam egg
- White glue
- 5 Chenille strips (pipe cleaners)
- Masking tape
- Black Sharpie
- Newspaper sheets
- Newspaper strips (torn)
- Paper Mache paste (recipe following)
- Craft paints and brushes
Paper Mache Paste: Blend 1/2 cup of flour with 2 cups of cold water. Set aside. Boil 2 cups of water. Add the original mixture to the boiling water and bring back to a boil. Remove from heat and add 3 tablespoons salt. Allow to cool before using.
 Directions:
- Partially fill the bottle with sand or beans. Press the Styrofoam egg, large end down, onto the open pop bottle. Remove egg, add glue to bottle neck and replace the egg on the bottle.
- Arms and hands: Fold one single sheet of newspaper into thirds. Take one chenille strip and fold both ends up about 1 1/2″. Tape the turned up ends of the chenille strip with masking tape. Roll the prepared chenille strip tightly inside the folded newspaper sheet and tape the length closed. Tape the arms to the top, back side of the pop bottle, making shoulders.
- Feet: Crumple one single sheet of newspaper into a ball, one for each foot.
 Tape a 1″x 8″ piece of cardboard to the bottom of each foot. Fold the opposite end of the cardboard strips up about 3 or 4 inches and tape them to the bottom and back of the bottle.
- Fold two chenille strips in half and insert them into the top of the styrofoam head, forming ears. Take them out, add glue and replace them in the egg. Now is the time to shape them however you want.
- Cover the bottle cap and tape to the bottom back of the bottle for the tail.
- Using the paper mache paste. Smooth paste on the stryofoam head before starting to apply the newspaper strips. It’ll make the paper adhere better and it gives you a chance to smooth the strips down. Dip the paper strips into the paste, run the strips through your fingers to take off some of the excess, and starting at the head, begin applying the strips. Add paste dipped strips to the entire body.

 Cover the ears with pasted paper strips and smooth down onto the head.
- Continue adding paste dipped paper strips until the bottle, Styrofoam egg, legs, feet and tail are all covered and smoothed as well as possible.
- Let dry thoroughly. This can take at least a few days. More if the weather is humid.


Painting: When the bunny is completely dry, give the bunny a coat of white craft or poster paint. Do a thorough job of this.
Now it’s time to paint your paper mache bunny however you like. Draw a face on your bunny. I found a fine black Sharpie was the easiest to control.
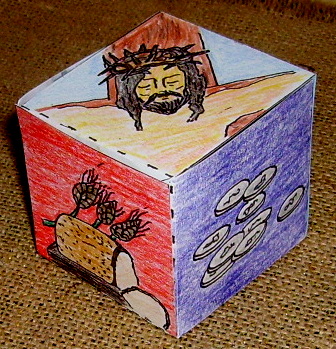
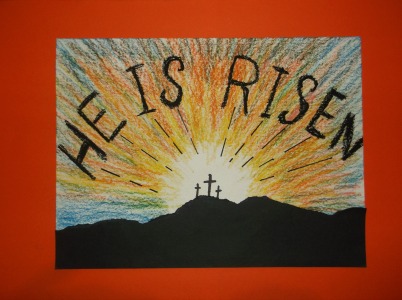
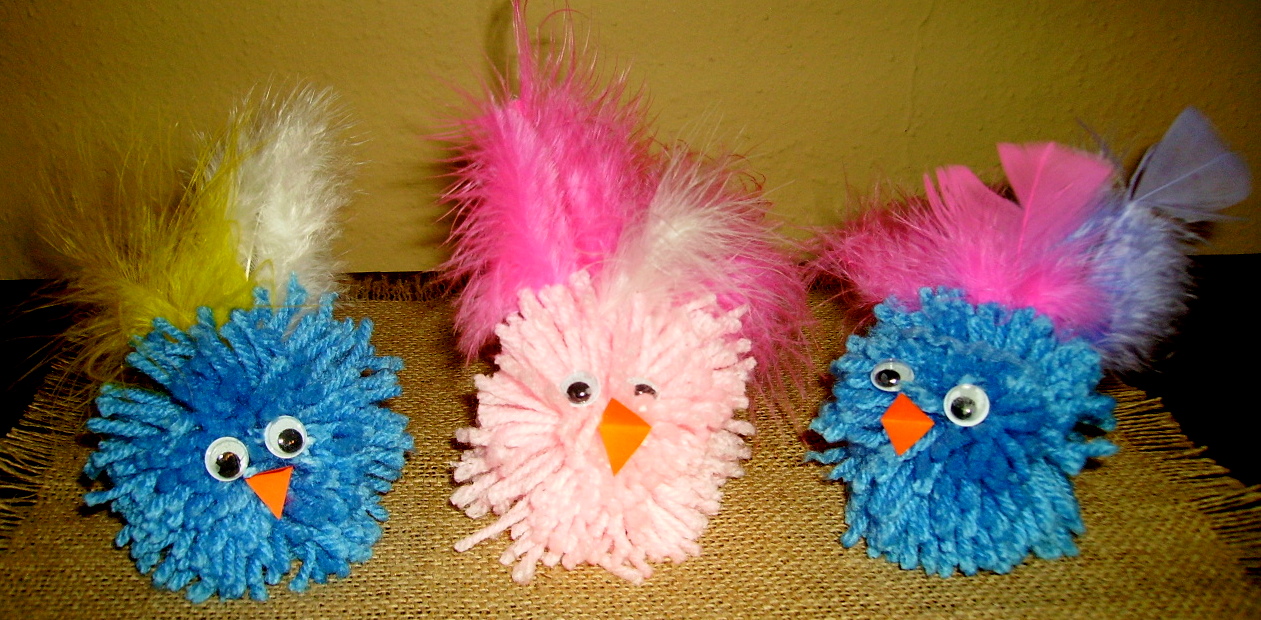
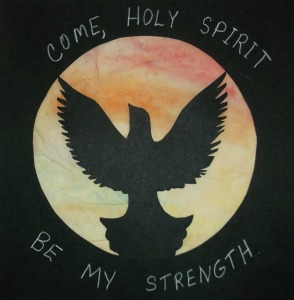
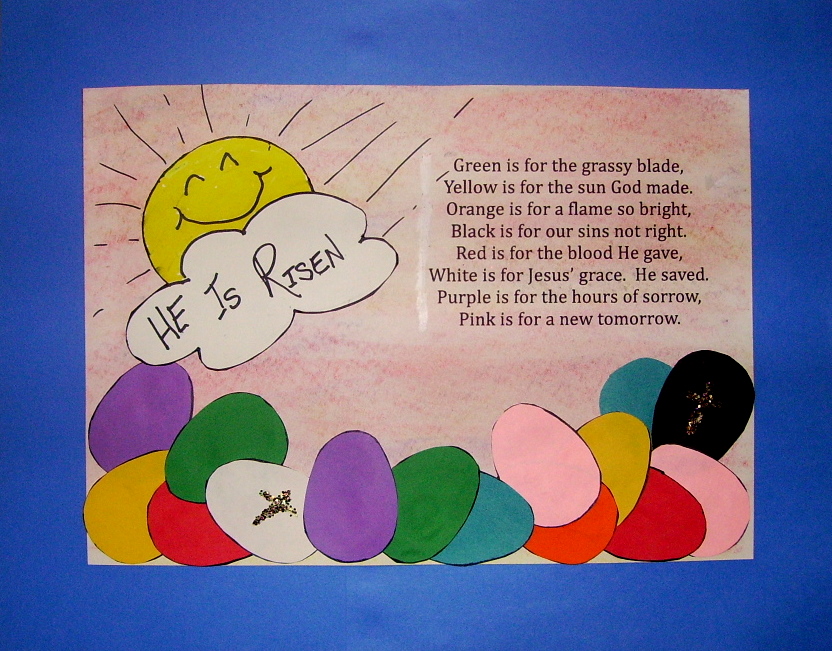
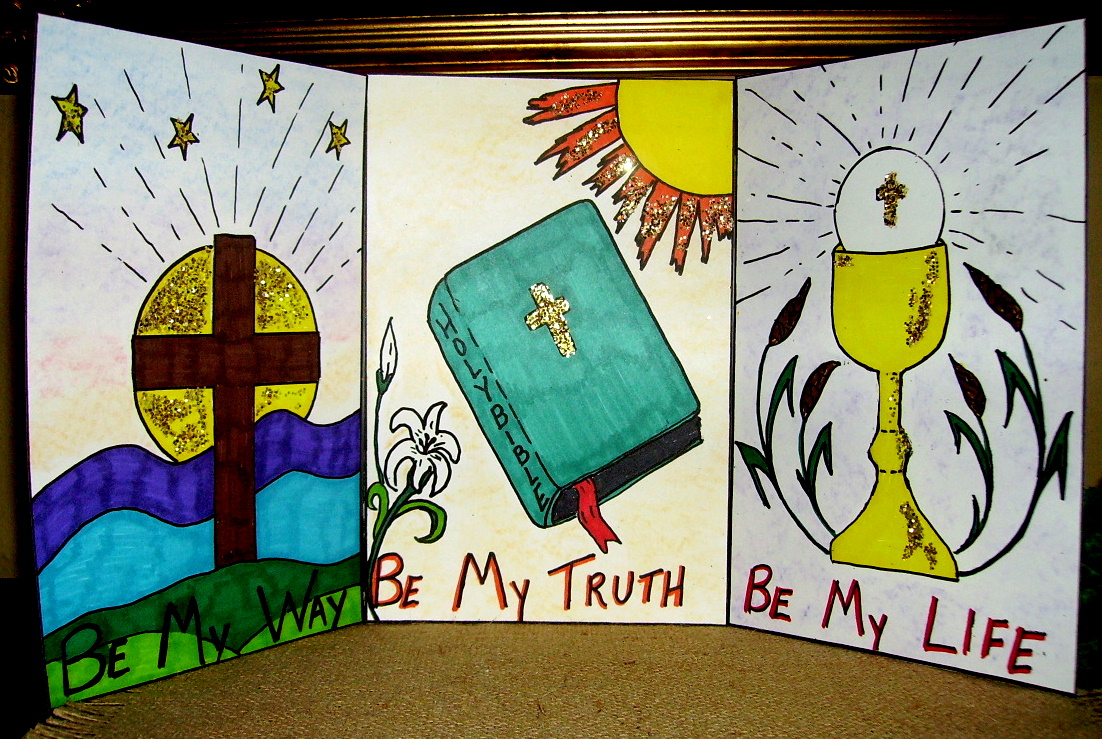
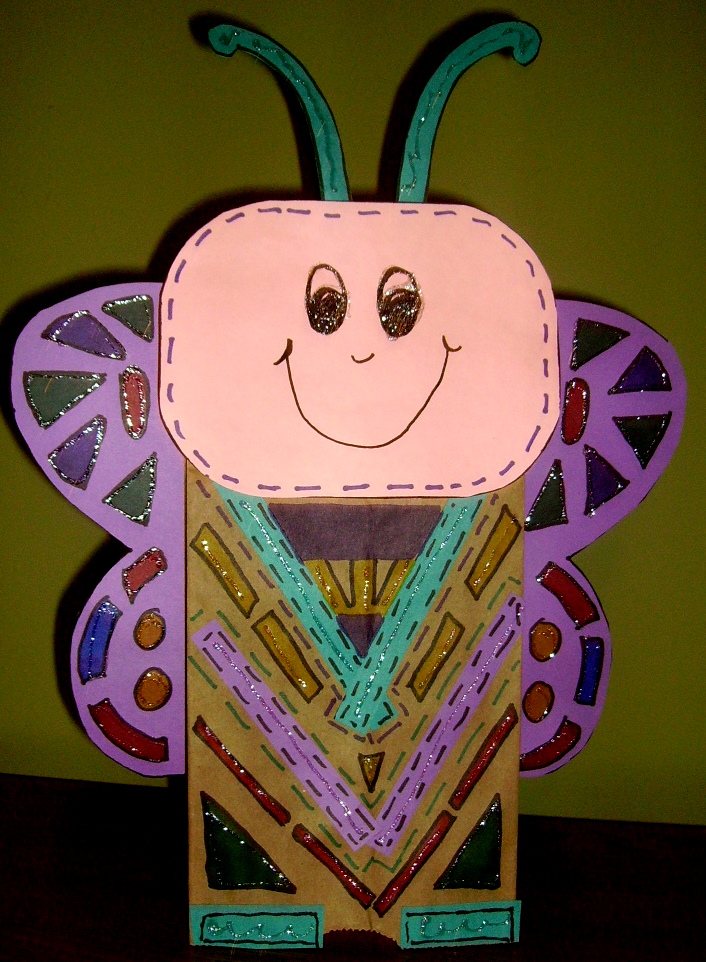
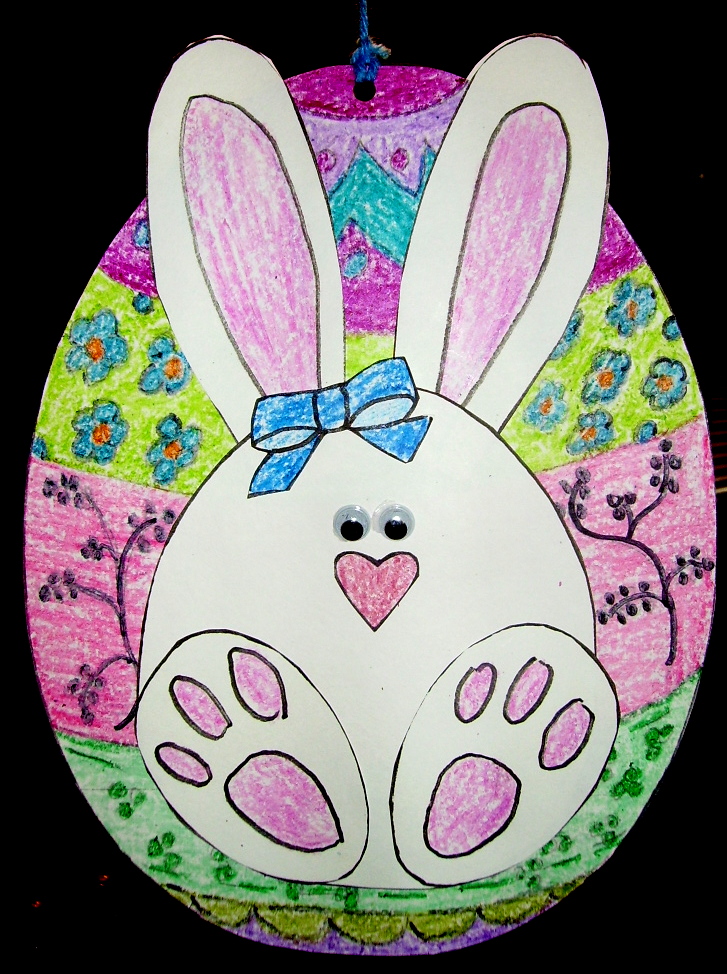
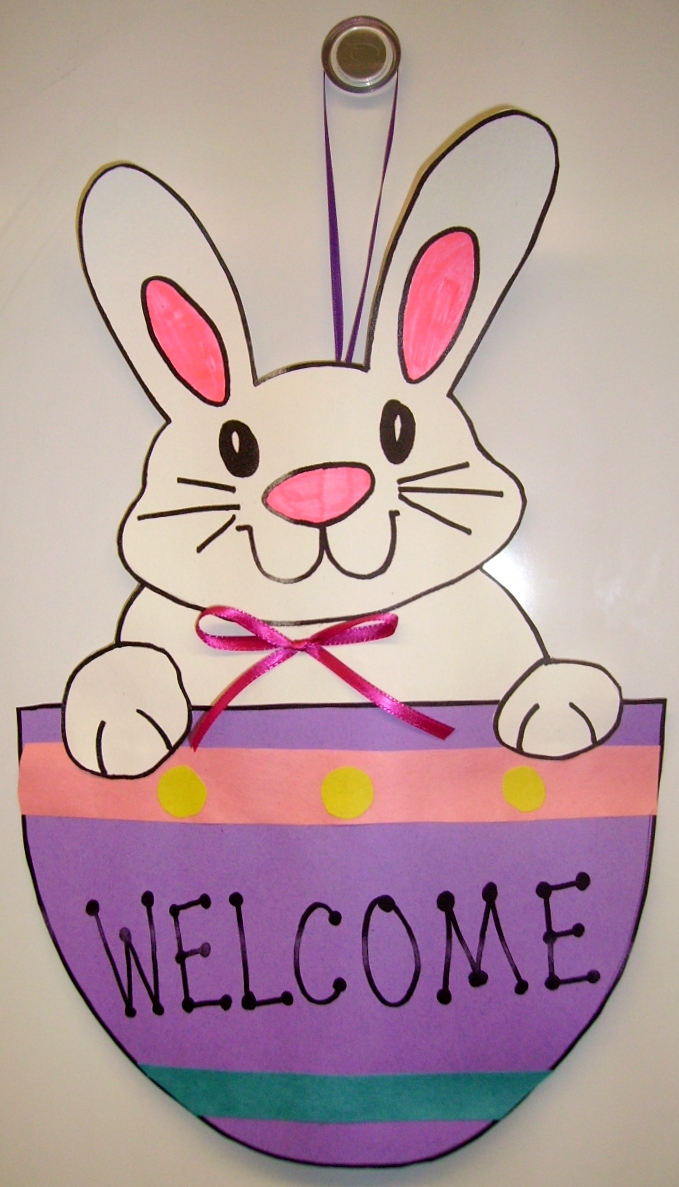
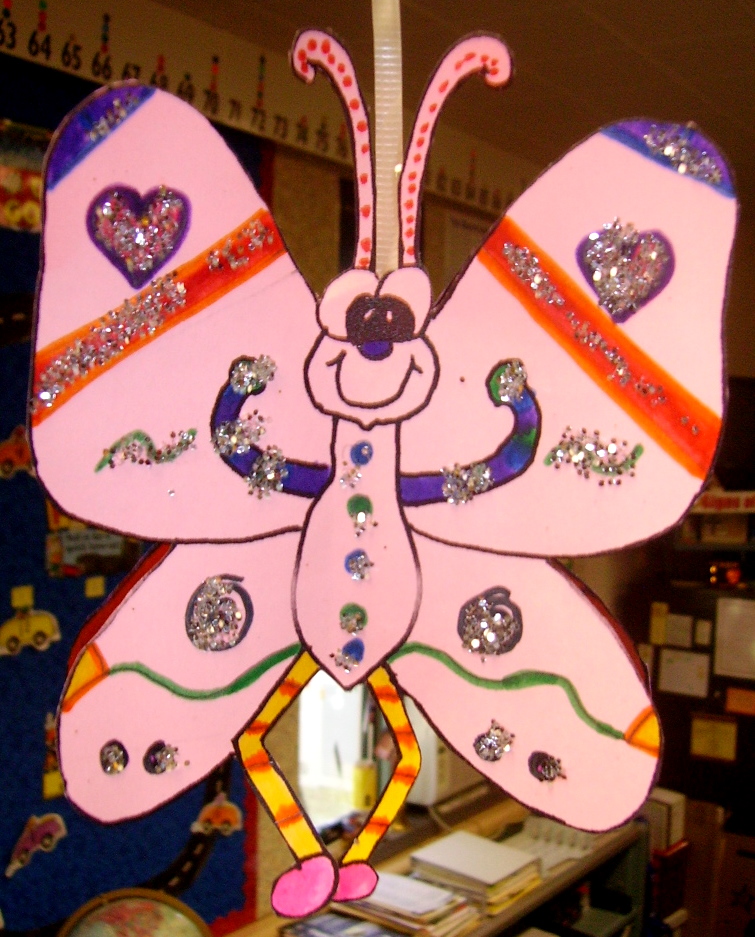
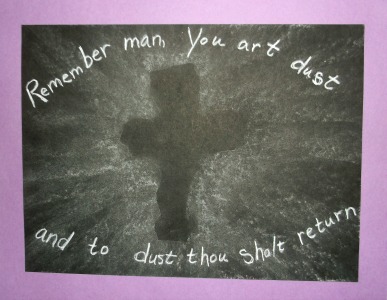
Easter Projects Gallery:


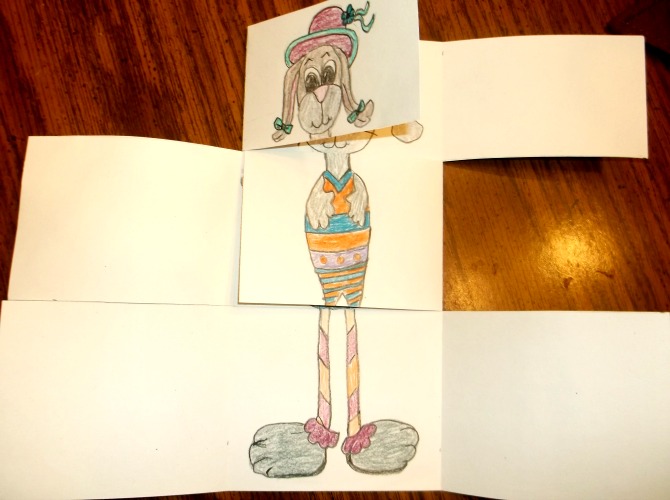

What a cool looking bunny! I will try this with my daughter and see what she can do.