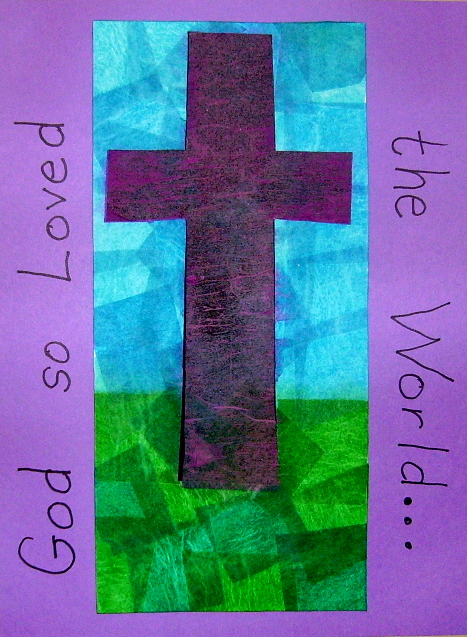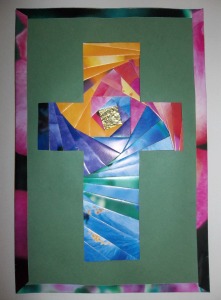
The iris folding technique, which resembles the iris of the eye or the lens of a camera, can be used to make greetings cards or a picture to be framed. Strips of paper are folded in half and then stacked and taped in a spiral design. For the cross pattern in this project, four color coordinated papers are used to create the design.
Lightweight paper is usually used for iris folding. Scrap booking paper, wrapping paper and magazines or calendar pages are all good paper choices. The flower themed calendar pages are my favorite because of their shiny finish and bright colors.
To make the directions easier to understand, watch the video called  How To Do Iris Folding
Supplies:
- Cardstock or construction paper (I used a piece of colored construction paper, folded in half)
- Iris Fold Cross (Pattern)
- 4 color coordinated papers (scrap book paper, gift wrap paper, magazine or calendar pages, construction paper or wall paper)
- Scissors
- Paper cutter or scissors and ruler
- Tape
Directions:
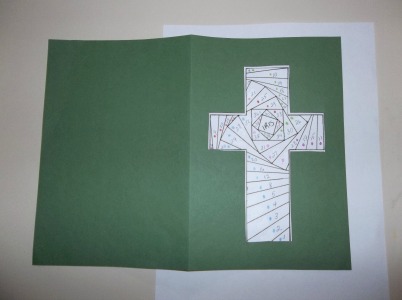
- Print the iris fold cross pattern.
- Trace the cross shape on a sheet of paper.  Cut the cross shape out, place the cross on the cardstock (back side of the cardstock) and trace the shape on the cardstock.
 Carefully cut the cross out of the cardstock.  You won’t need the cross shape, so you can pierce the center of the cross with the tip of your scissors and cut the cross out.
- Place the prepared cardstock over the pattern and tape to hold the pattern in place.
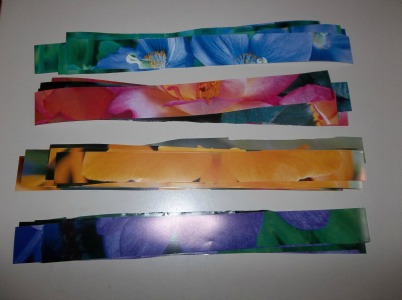 Cut the color coordinated papers in 1 ½†strips. Fold the strips in half lengthwise.
- On the pattern you will notice that there are numbers and colored dots. The numbers tell you in what order the strips of paper will be placed, and the colored dots signify the different colored strips of paper that you have cut, for instance Pattern/Color Blue: 1,2,3,4,5,8,12,16….  Pattern/Color Red: 6,9,13,17,21…. You may want to cut the chart from the pattern to make it easier to reference. Mark or signify on the chart which of your strips will use the blue, red, green or purple.
 The lines on the pattern indicate where you will place the folded edge of the strips. (This is actually a very easy craft to do.  If you find the instructions hard to understand, please watch the video “How To Do Iris Folding.â€Â  Then you’ll see that it is really simple.)
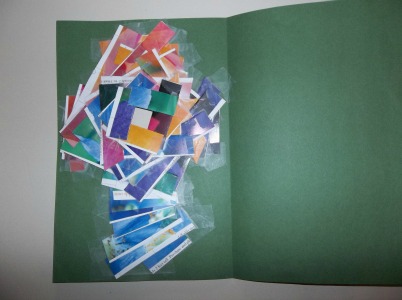
- Be careful when taping down the strips so you keep the tape only on the strips or the back side of the cardstock. Don’t allow tape onto your pattern. Keep adding and taping down strips until you get to the center iris.
- I used a piece of gold paper to tape over the center or iris of the cross. You can use whatever color you wish for the center.
- Now comes the surprise part of the project. Carefully remove the tape that is holding the cardstock to the pattern. Turn your work over and see the beautiful cross you have made.
- Because I wanted to use the project as a picture, I glued my cardstock front to back. Then I cut some folded strips to ¾†wide, applied glue to the inside of the fold and slipped the fold over the edges of the picture. I think it gives the project a nice finished look.
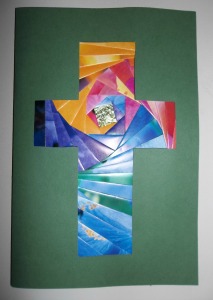 This is what it looked like before I added the strips around the outside edges.
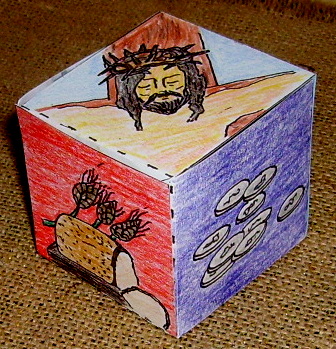
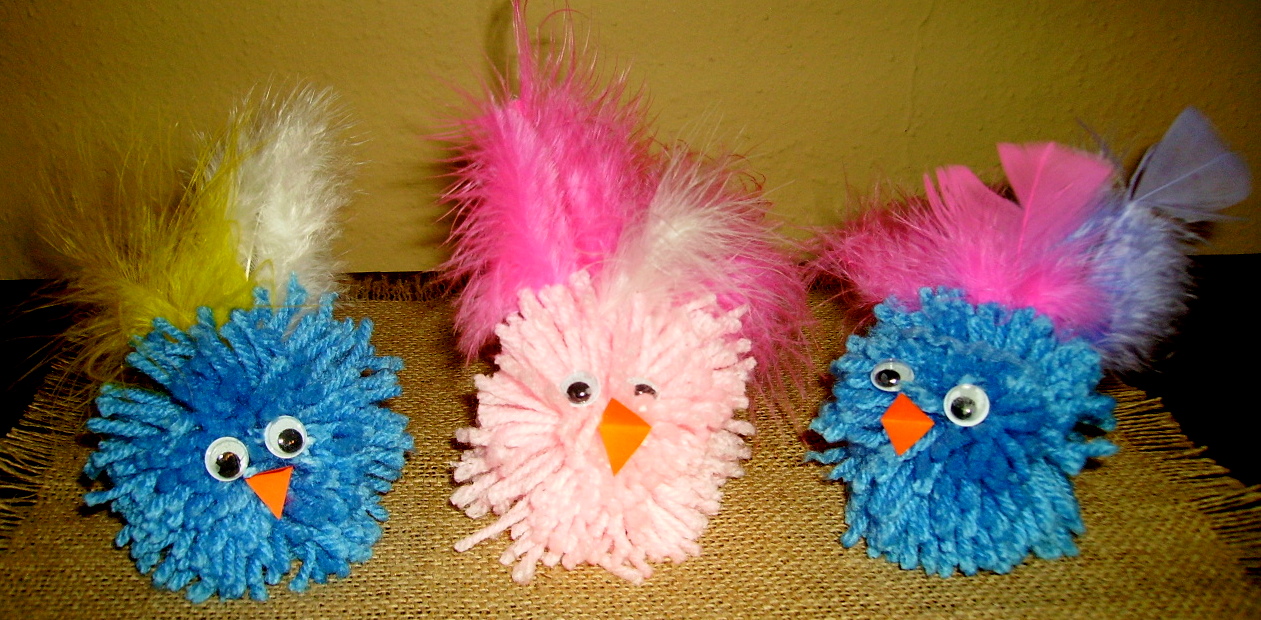
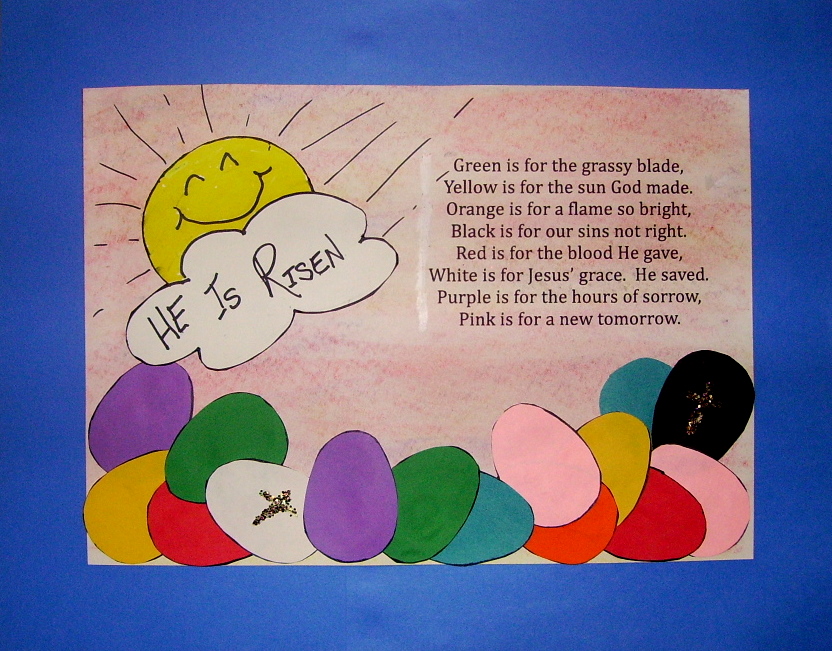
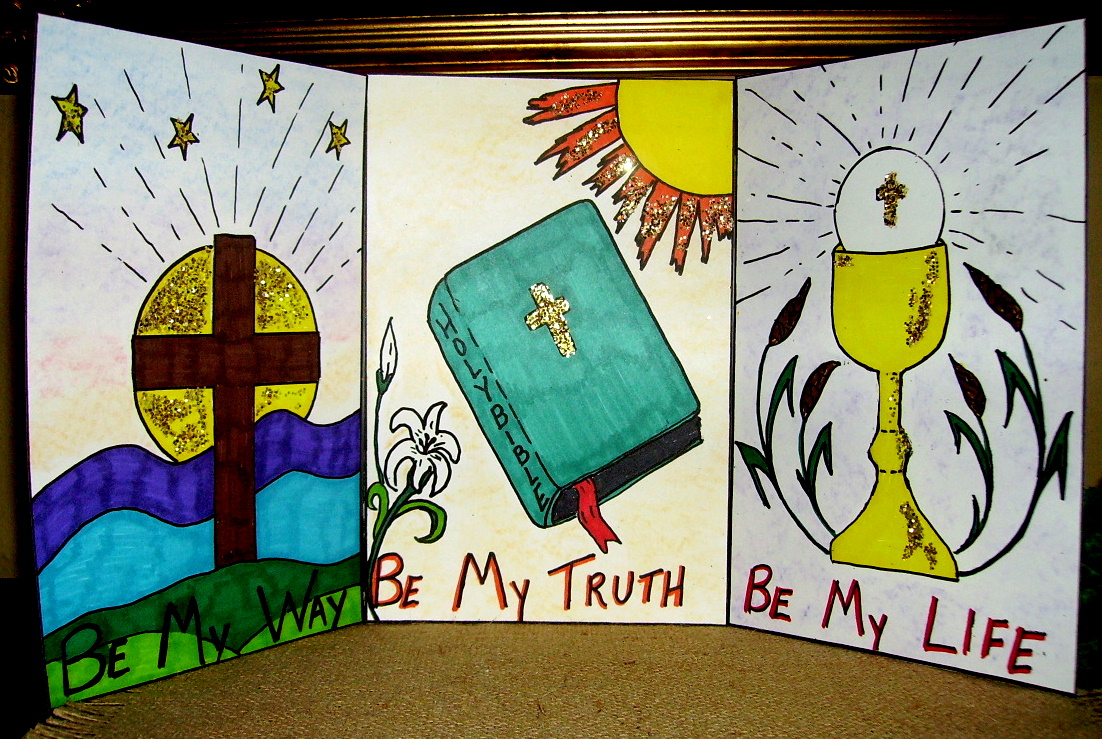
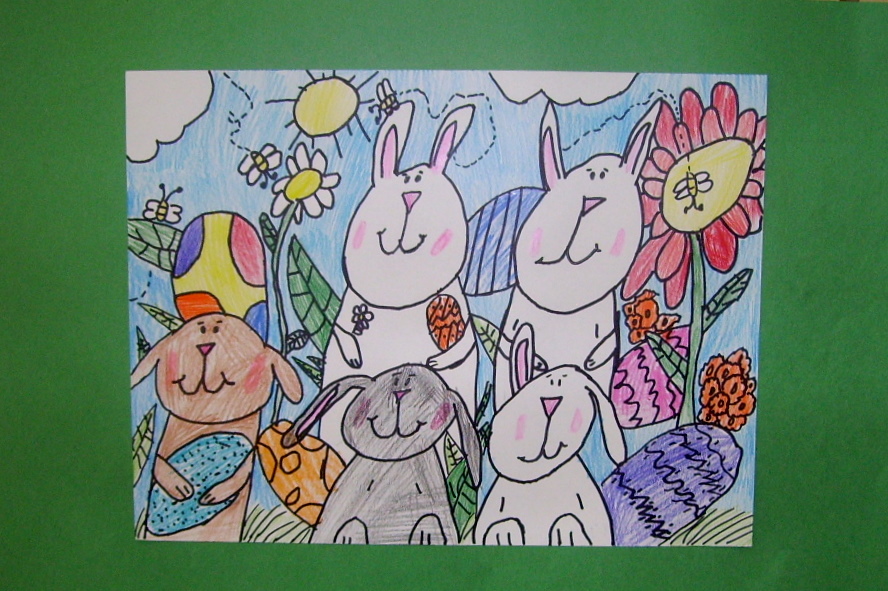
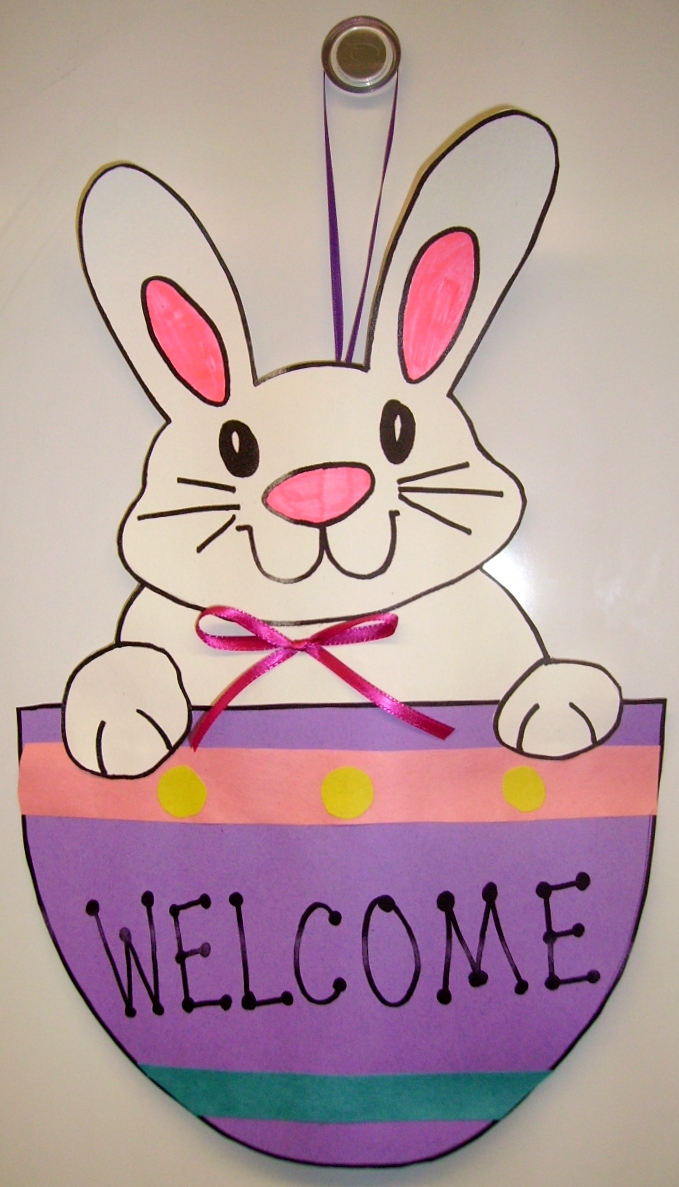
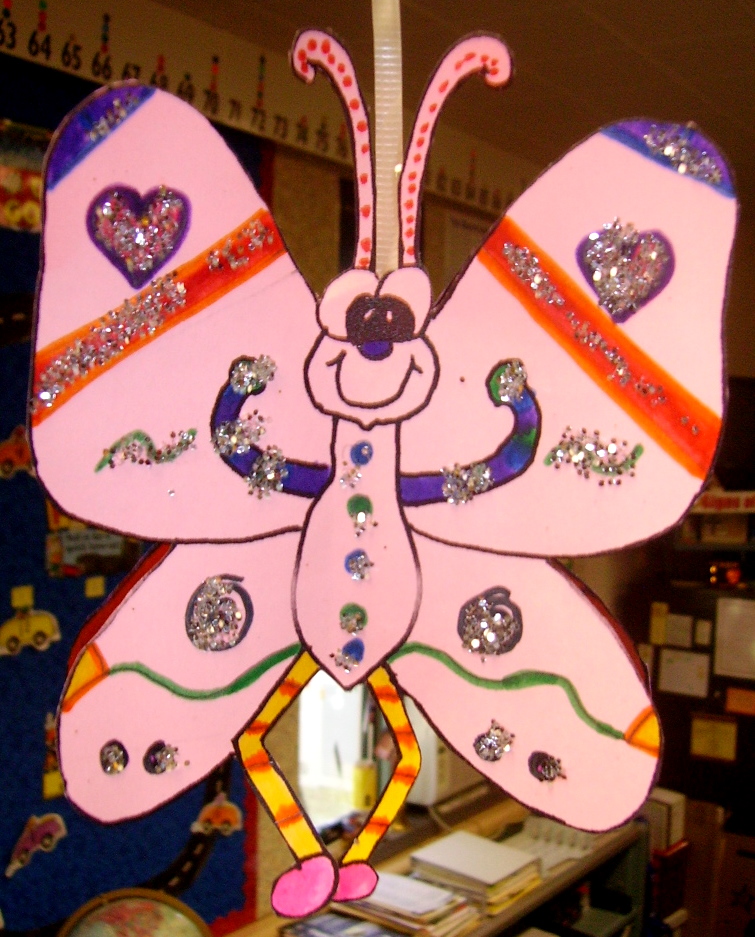
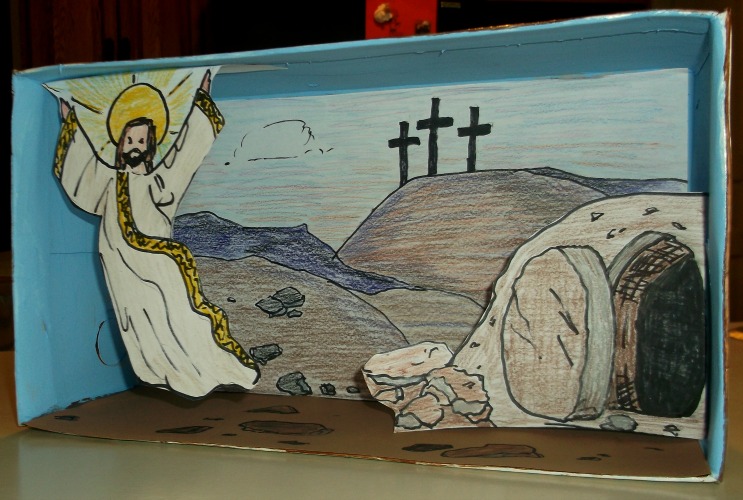
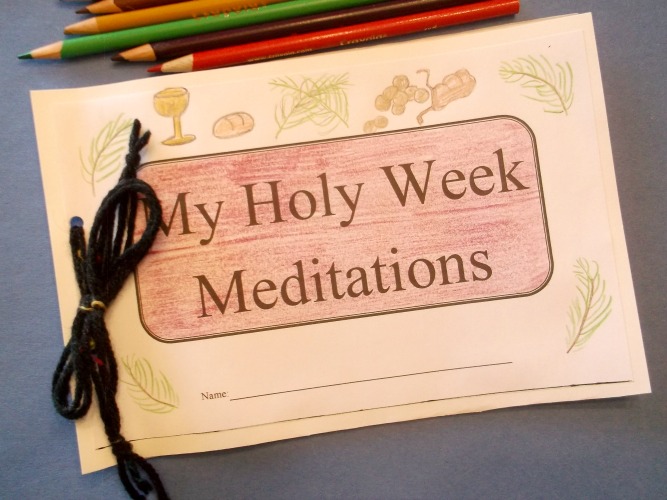
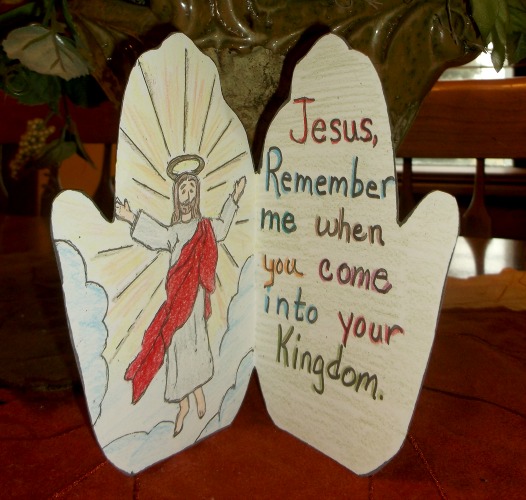
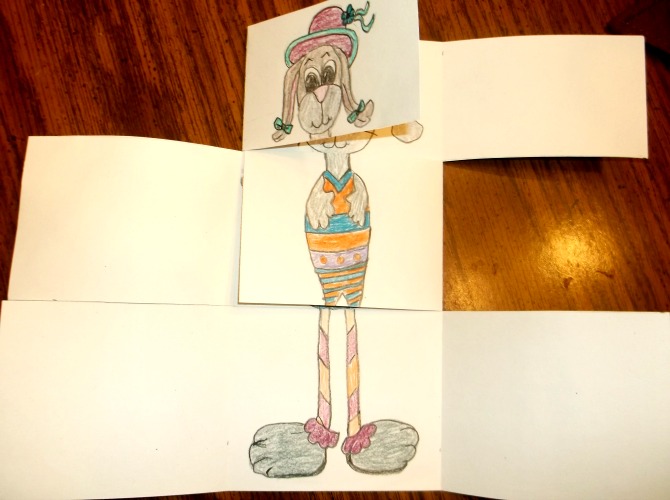
Easter Projects Gallery: