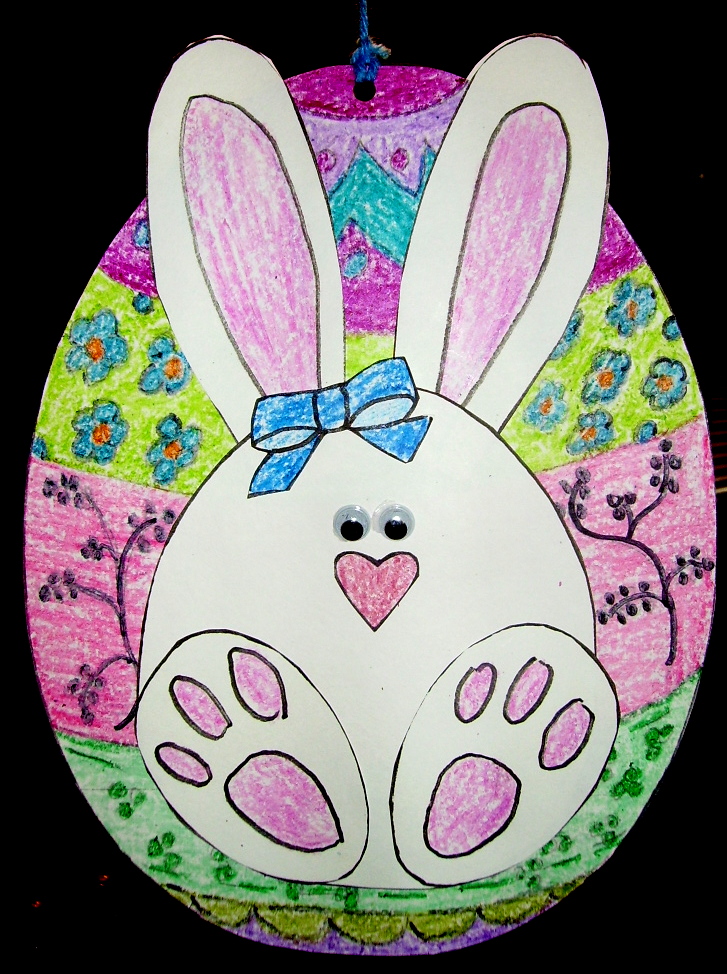
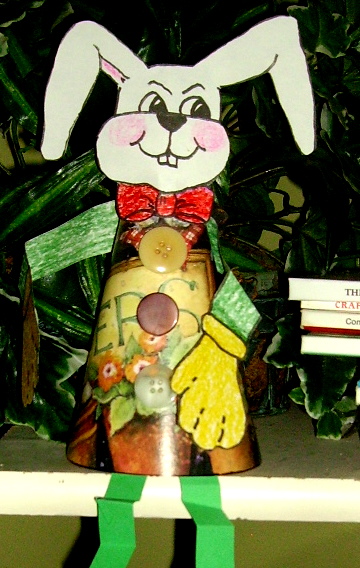
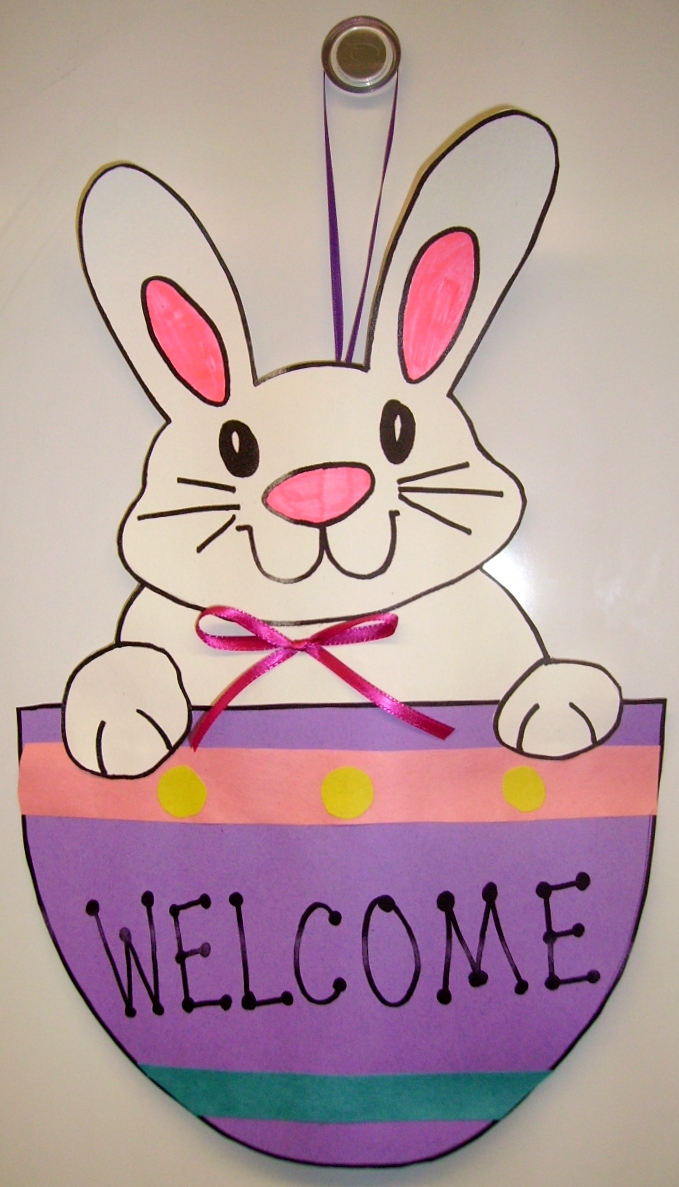
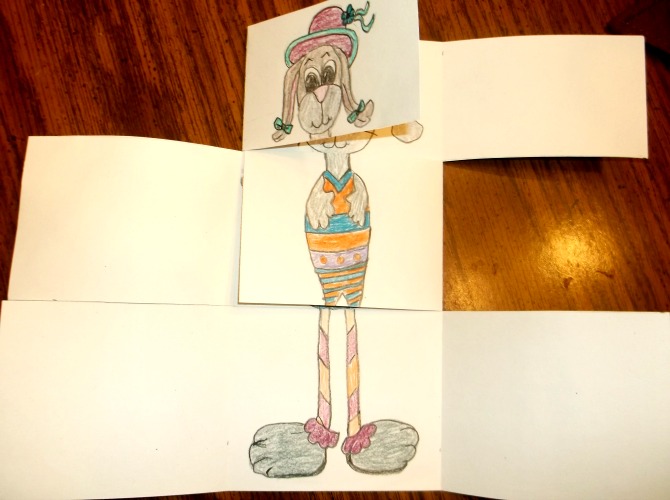
It’s always fun to have a project that decorates the classroom for a holiday. This bunny is finished on the front and on the back. I have a printed face for the bunny on the pattern, but if you want many different bunny faces, just cover that part of the head when copying.
 Supplies:
- White construction paper or cardstock
- Copy of bunny head, ears and feet (Pattern)
- Copy of bunny belly, arms and carrot (Pattern)
- Crayons or colored markers
- Scissors
- Tape
- Glue sticks
- Pink cotton ball
- Ribbon (any color and about 18″ long)
- Hot glue
Directions:
- Color all the bunny parts.
- Rough cut all the bunny parts apart to make it easier to cut the individual pieces. Then carefully cut all the pieces, on the outside of the black lines.
- Glue, with the glue stick, the two body pieces together, matching the edges.
- Glue the arms to the body, one on front and one on back. Tuck a carrot under an arm on both sides.
- Glue the ear pieces together, then tape the joined ear piece to the back of one of the bunny heads. Then tape that head to one side of the body. Refer to the photo for placement.
- Glue the second head piece over the first one, covering the taped area.
- Glue the feet to the front and back sides of the bunny.
- Hot glue the pink cotton ball to the bottom of the bunny.
- Punch a hole in the top of the bunny and thread a length of ribbon through it.
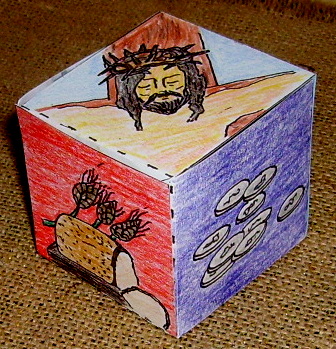
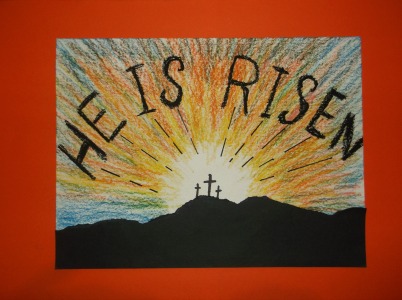
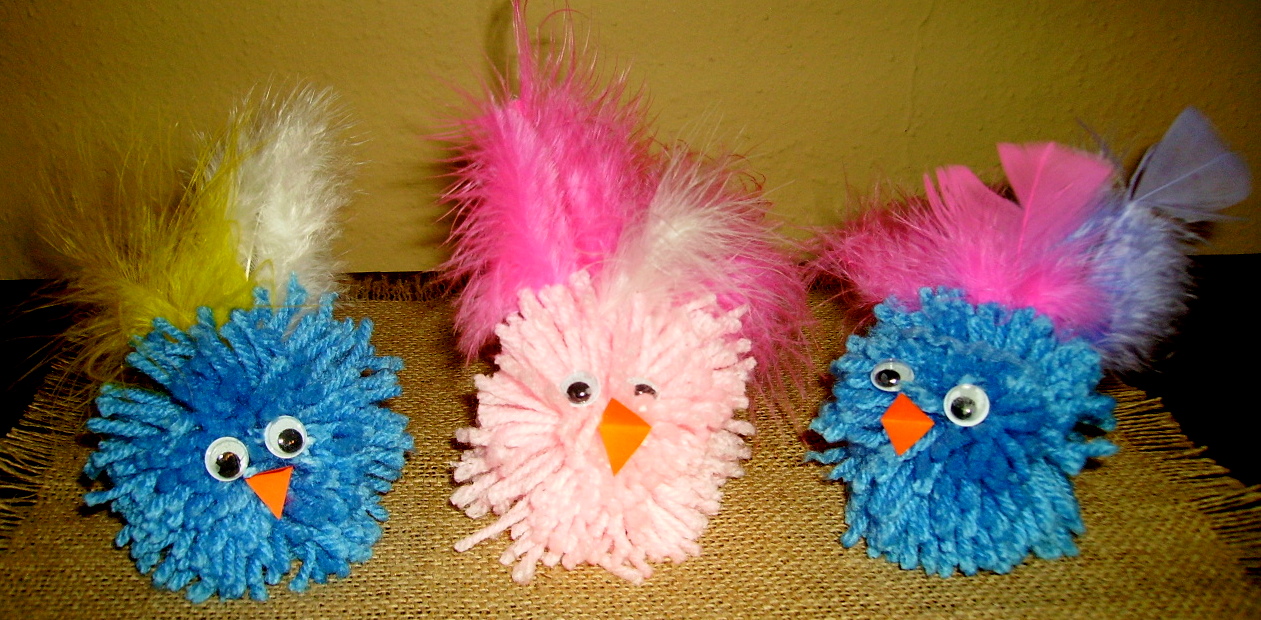
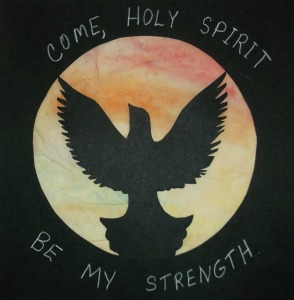
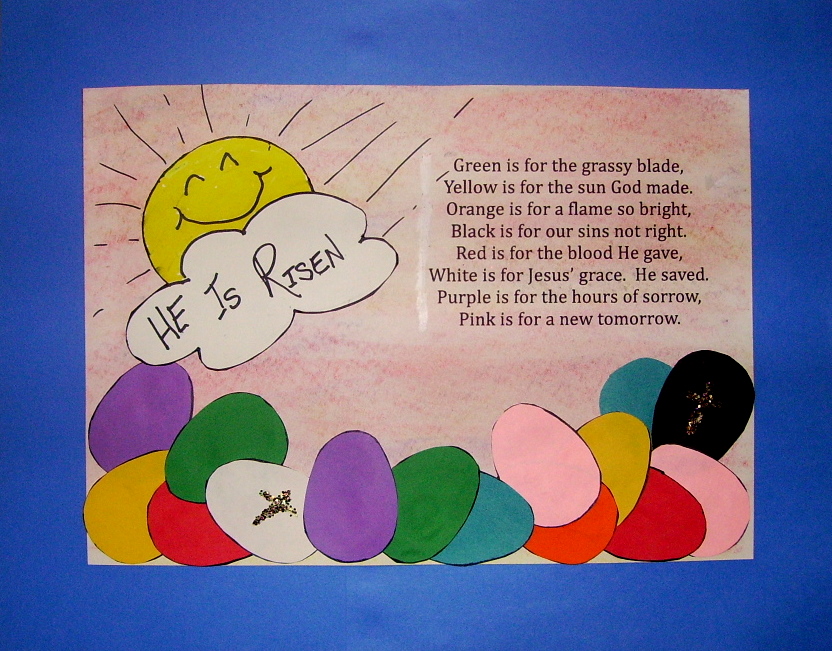
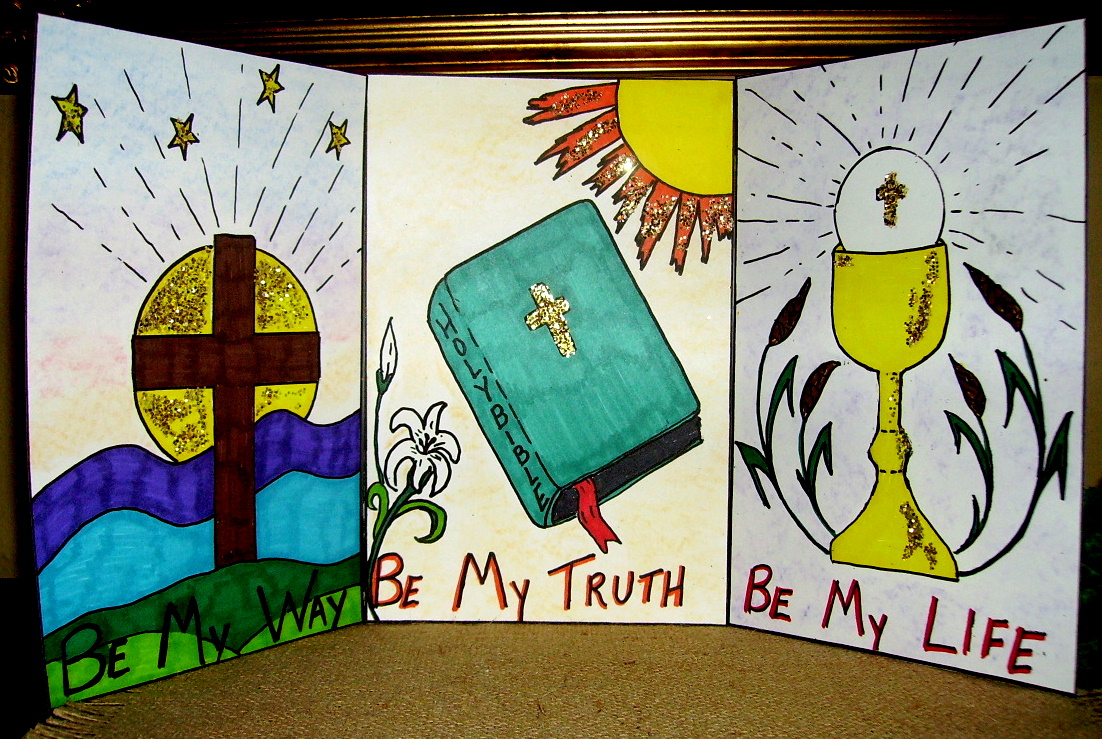
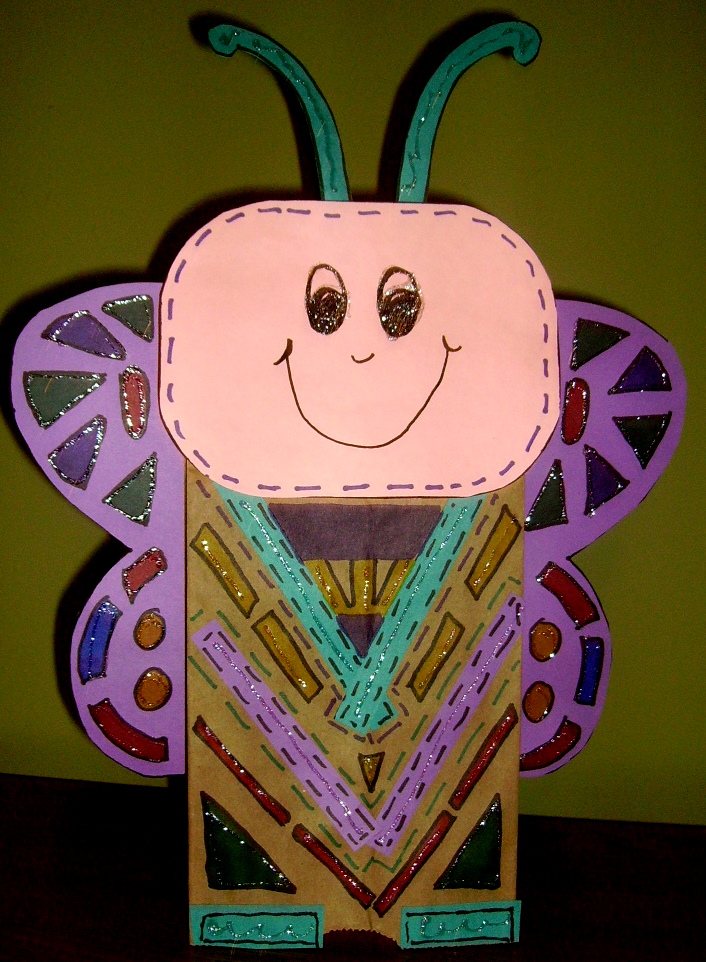
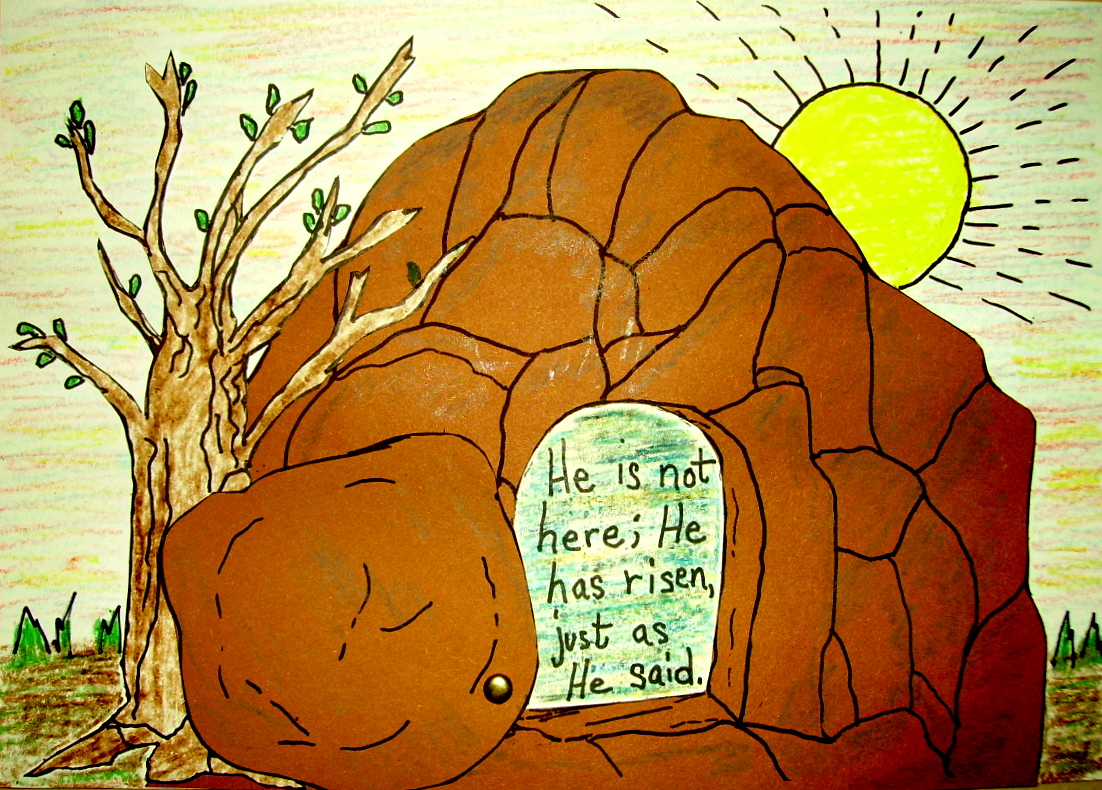
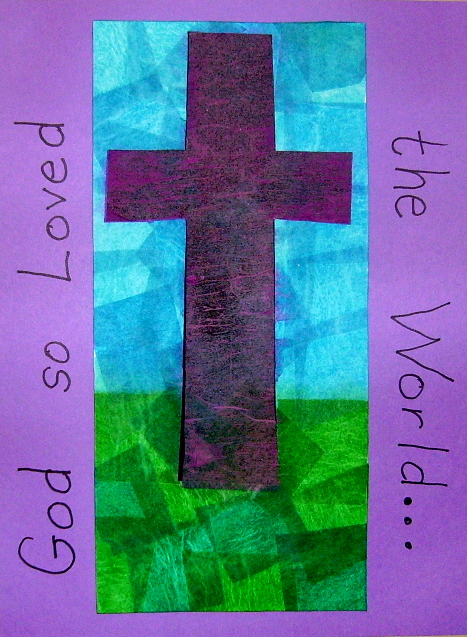
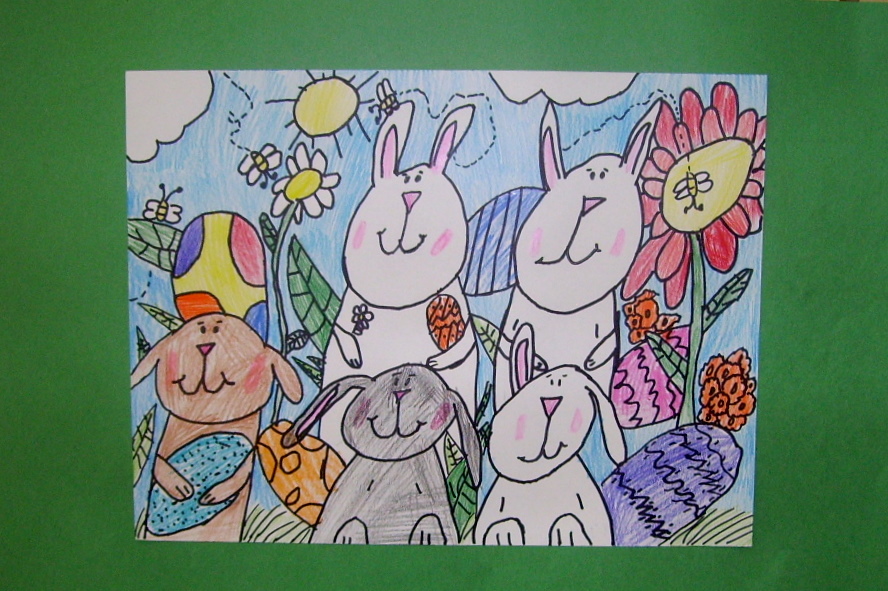
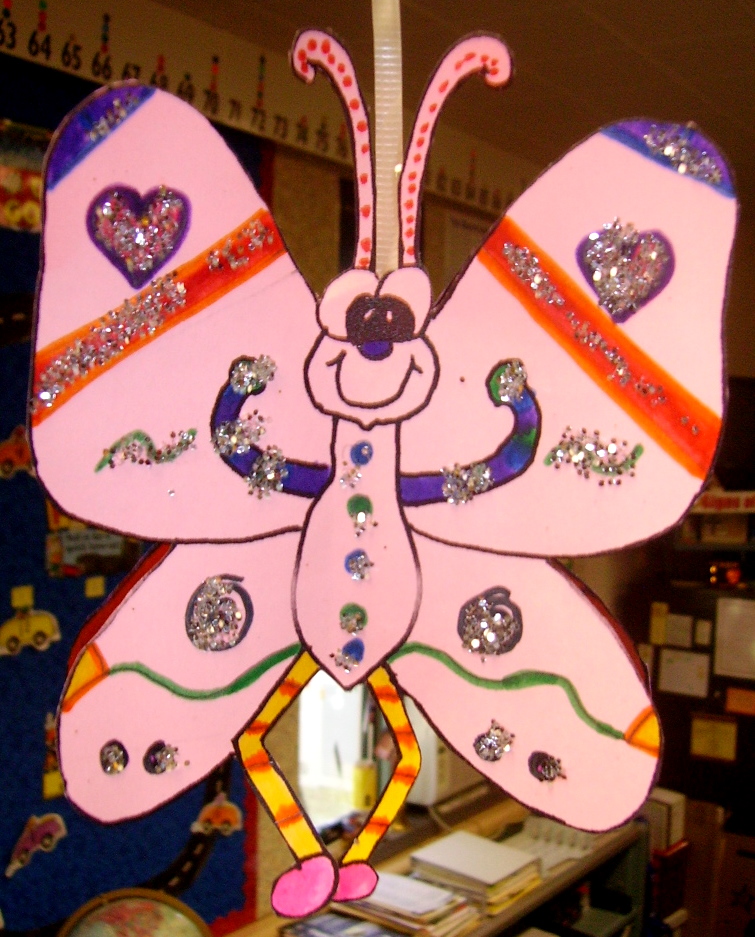
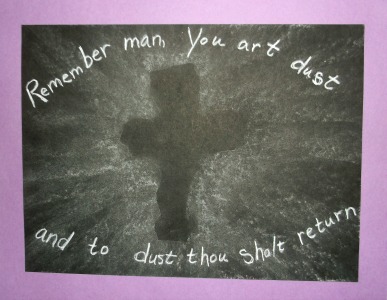
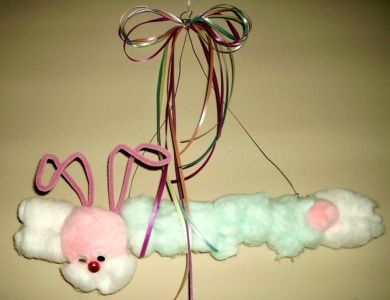
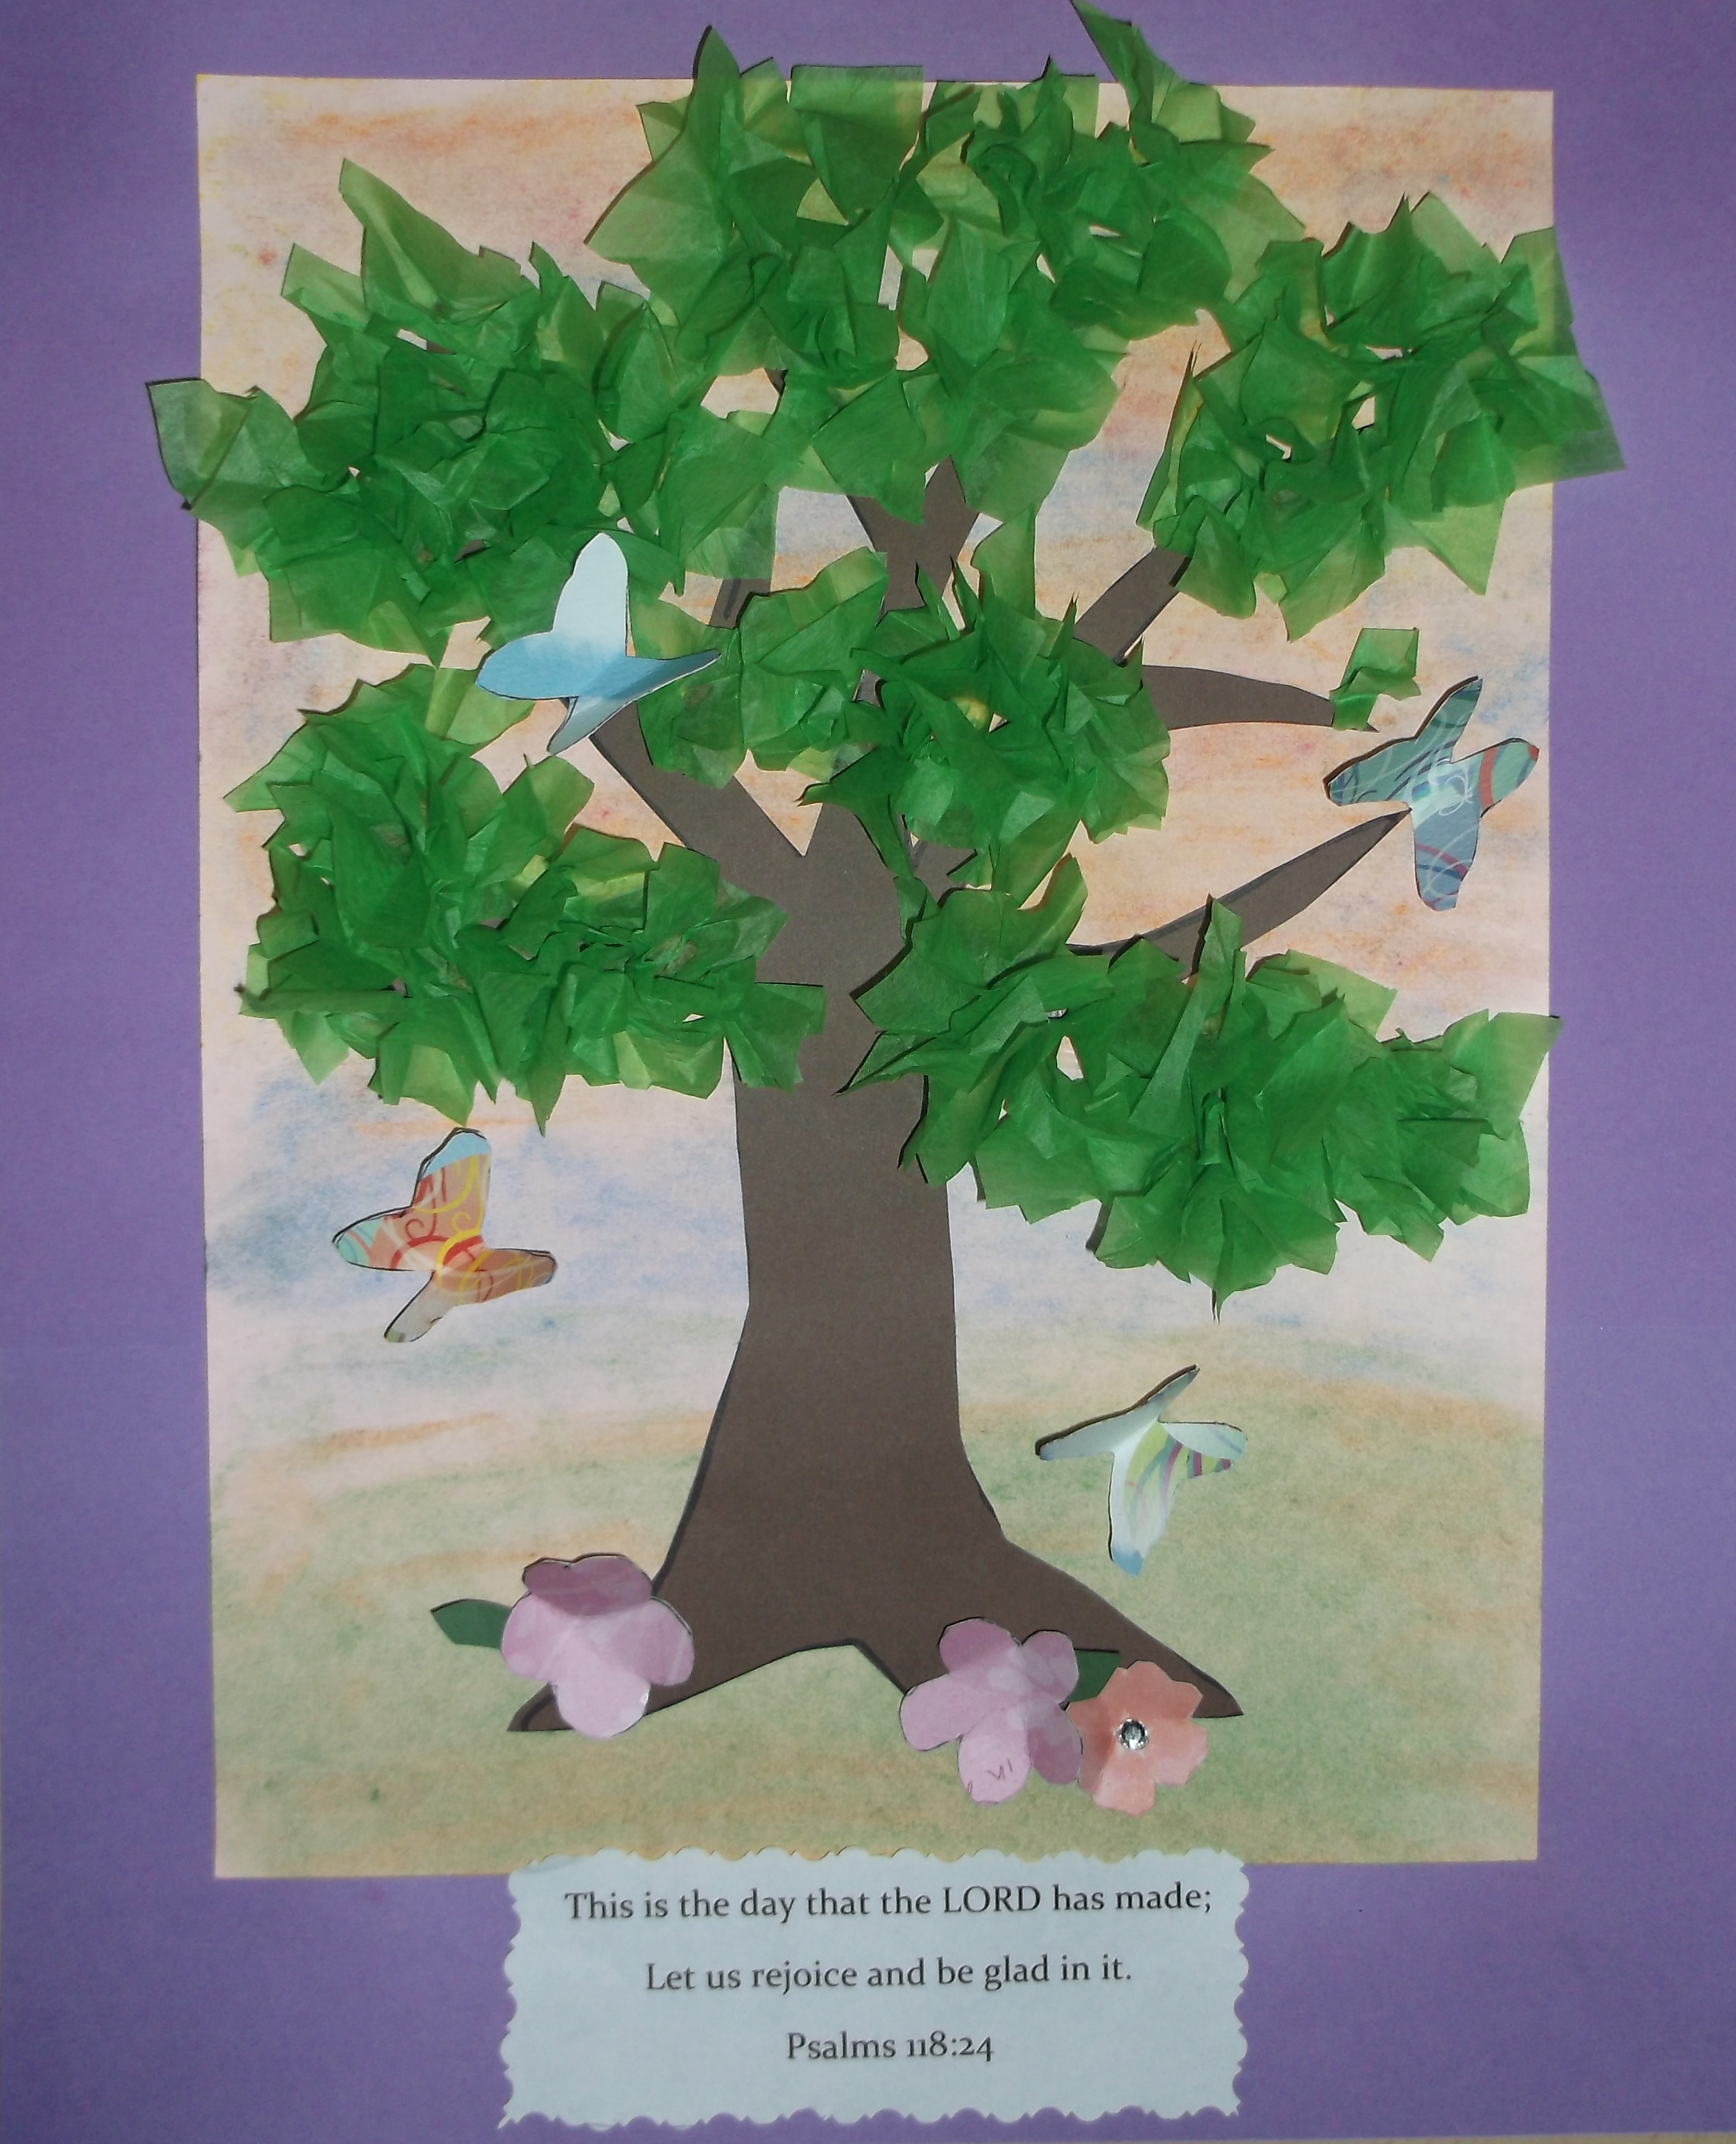
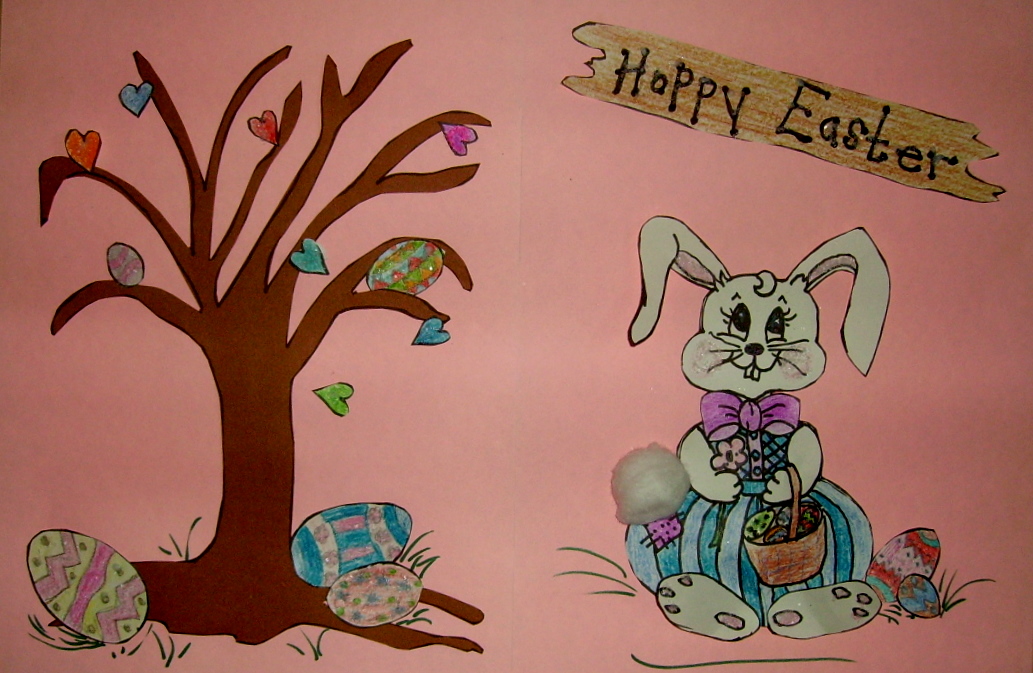
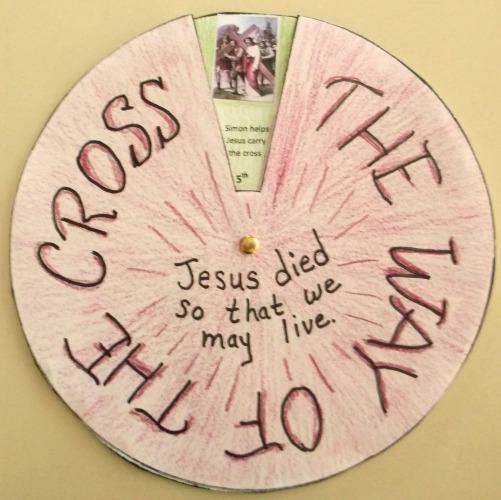
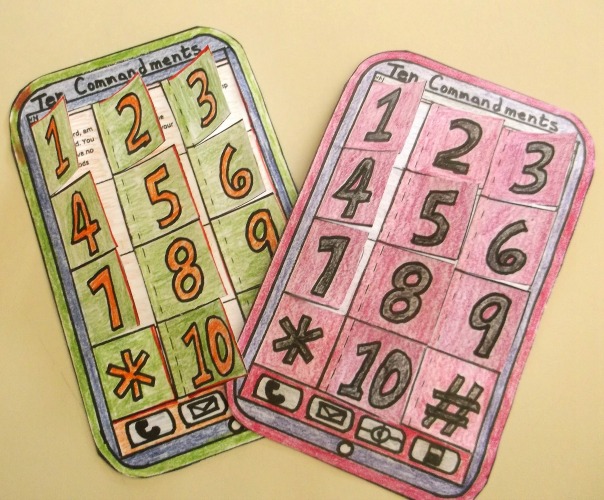
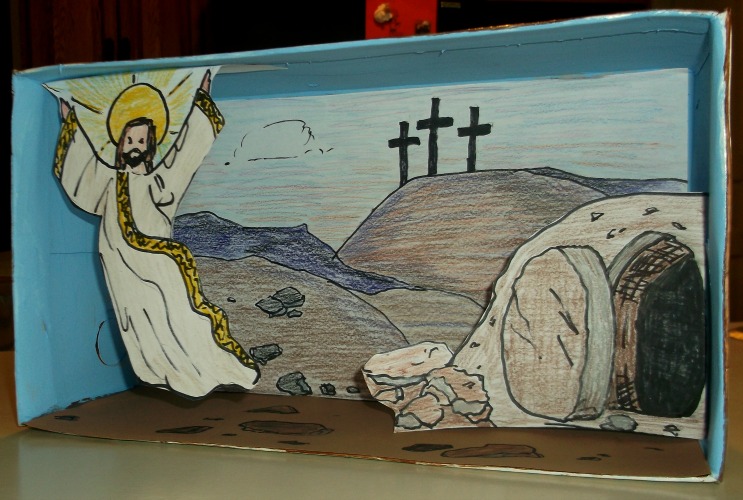
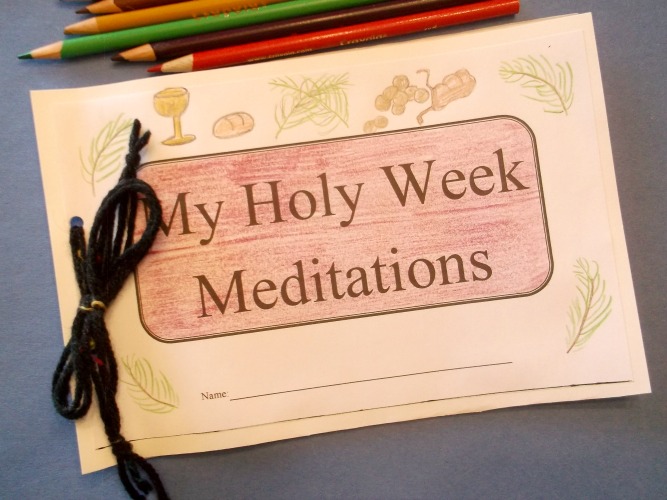
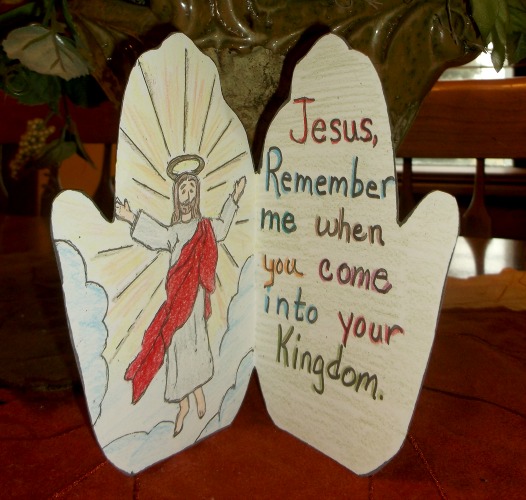
Easter Projects Gallery: