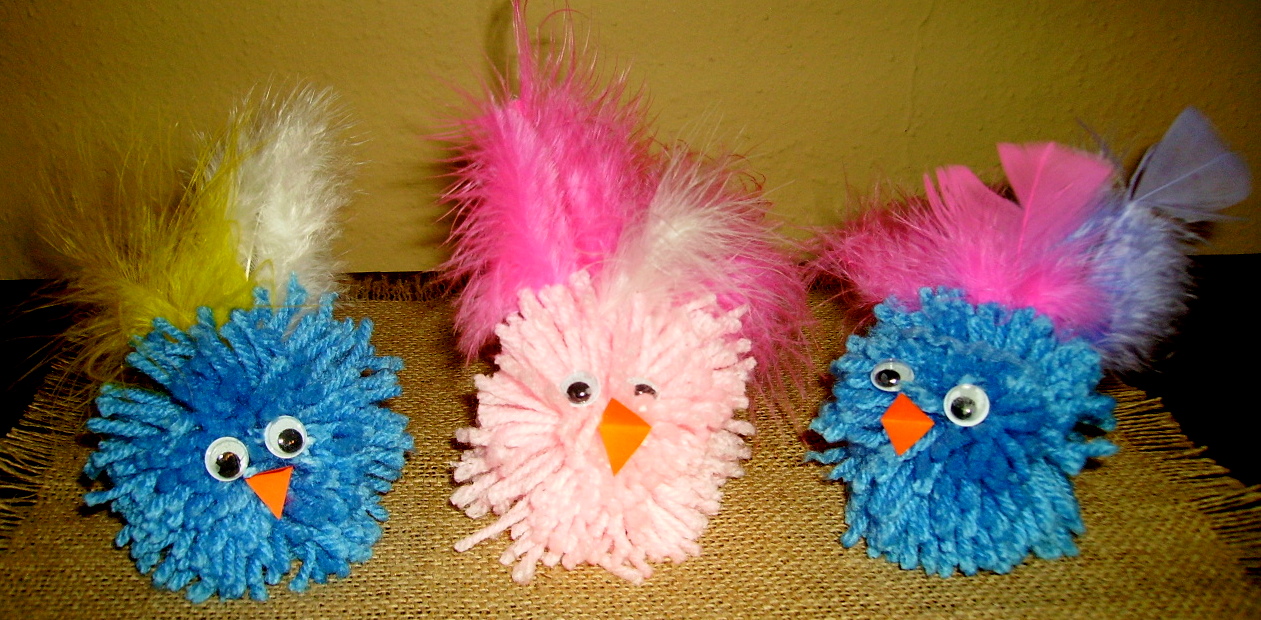
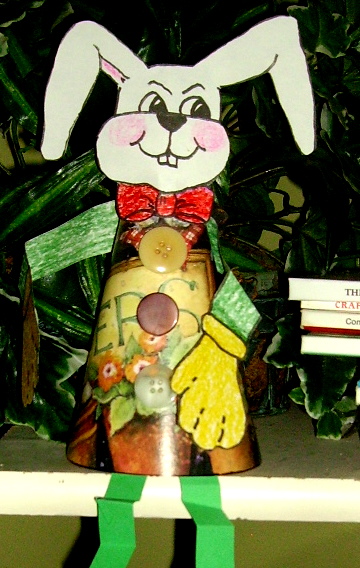
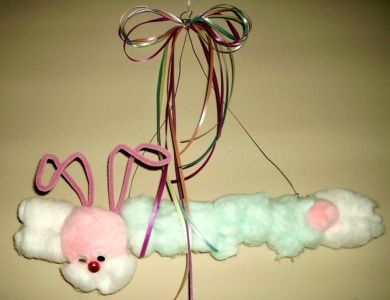
Do you ever wonder what you can do with the plastic Easter eggs that seem to multiply each year? Our little Easter egg critters are one good use for them. These little critters would make a nice addition to an Easter centerpiece if you have young or young-at-heart guests. Very cute and easy to make, using supplies that you have on hand or inexpensive at the dollar store.

Supplies:
- 2 ½” or 3 ½” Plastic eggs
- Colored construction paper
- Legs and wings or ears for 2 ½” egg (Pattern)
- Legs and wings or ears for 3 ½” egg (Pattern)
- Scissors
- Glue dots
- Glitter glue, assorted colors
- Black Sharpie
- Colored markers
- Feathers, sequins, google eyes, small buttons, bits of tinfoil, etc.
Directions:
- Print pattern pieces for the correct size egg. The wing pattern piece can be used as wings or as ears, depending on the critter you’re making.
- Carefully cut out the pieces. Use a glue dot on the back side of one side of the bottom part of the wing. Overlap the glue dot side with the opposite side and press together. Wing or ear is made. Decorate the legs and wings or ears if desired. Use sequins, small buttons, or use colored markers.
- Glue the ears or wings to one half of a plastic egg. Glue on google eyes or with the black Sharpie, draw in eyes and a mouth. Glue on a feather if the critter needs one.
- Run a line of glitter glue around the circle part of the legs and set the half egg on the glue line. Let dry.
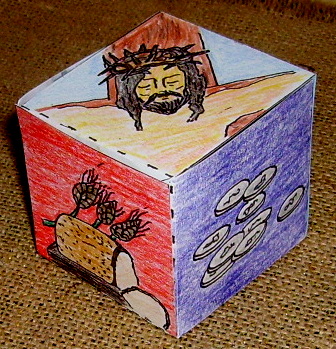
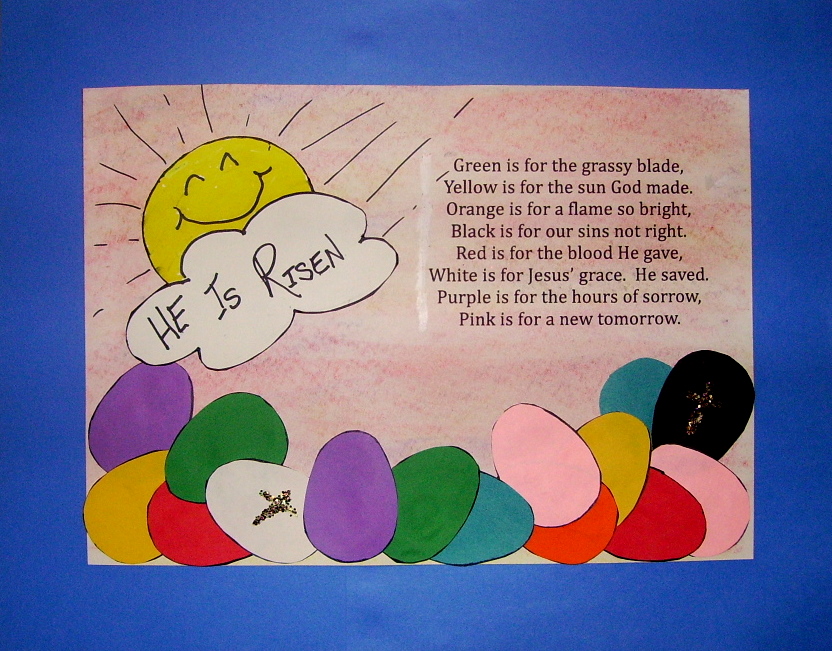
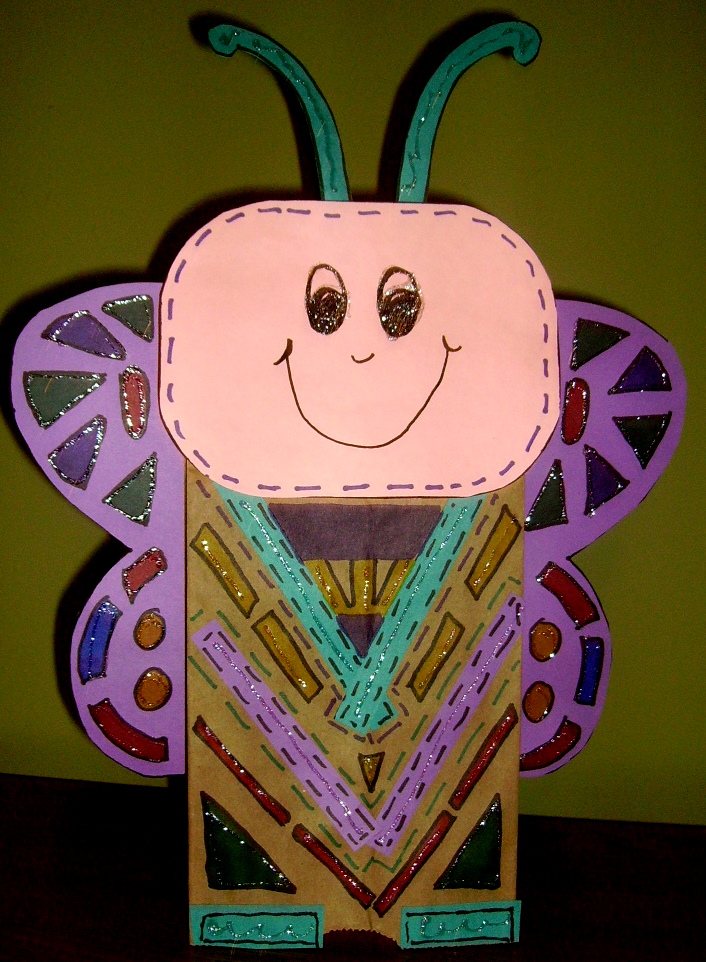
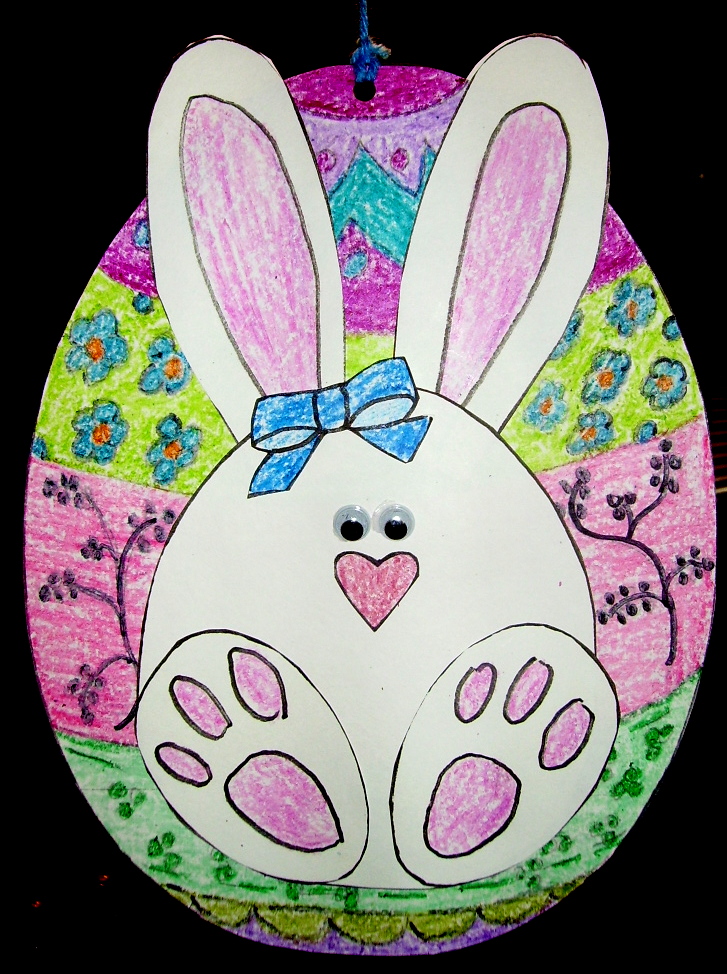
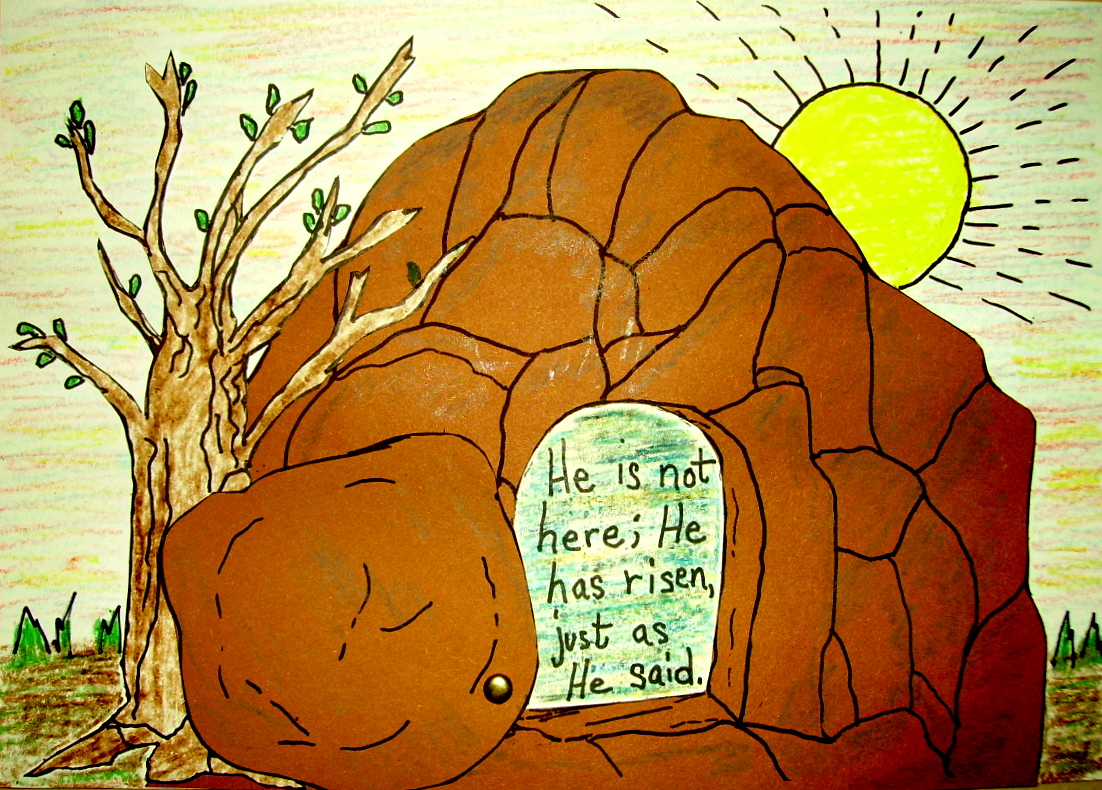
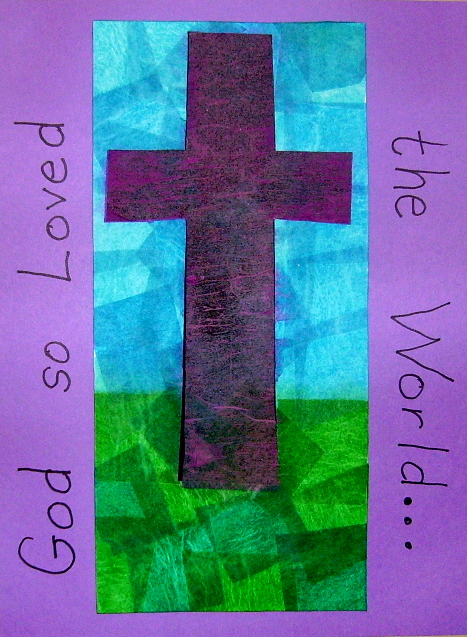
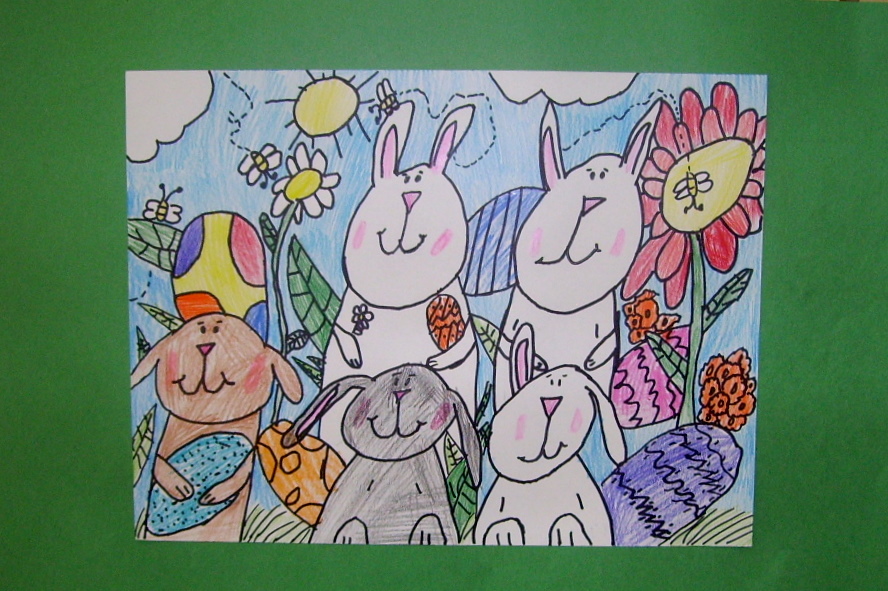
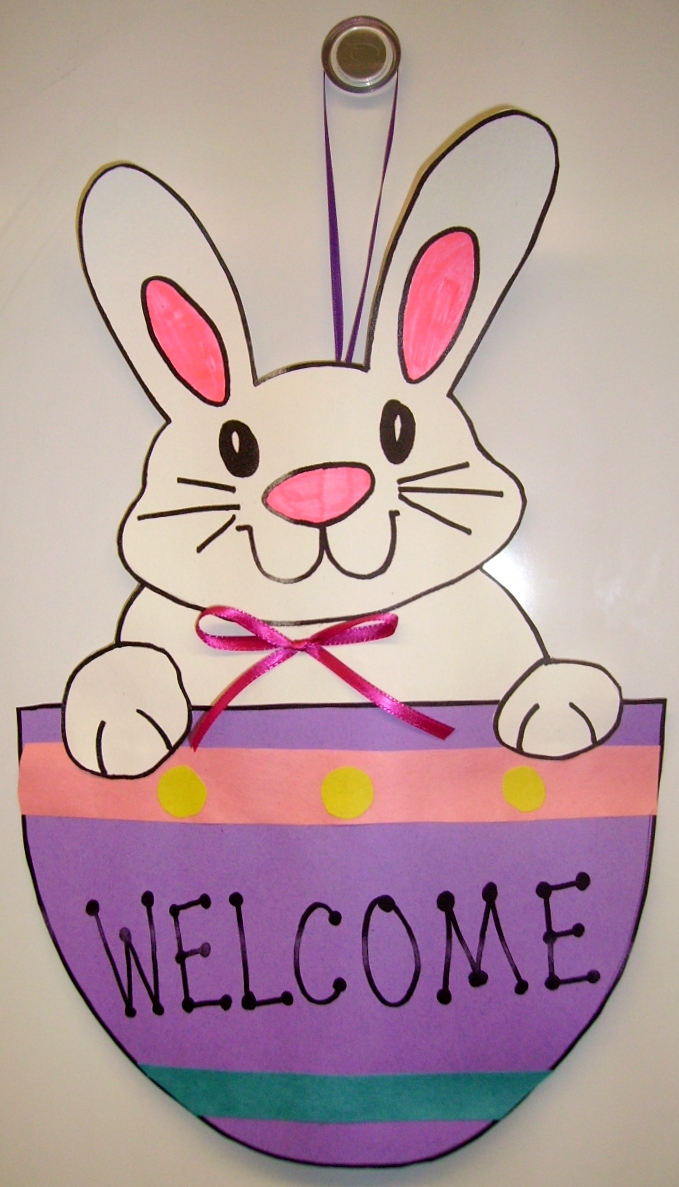
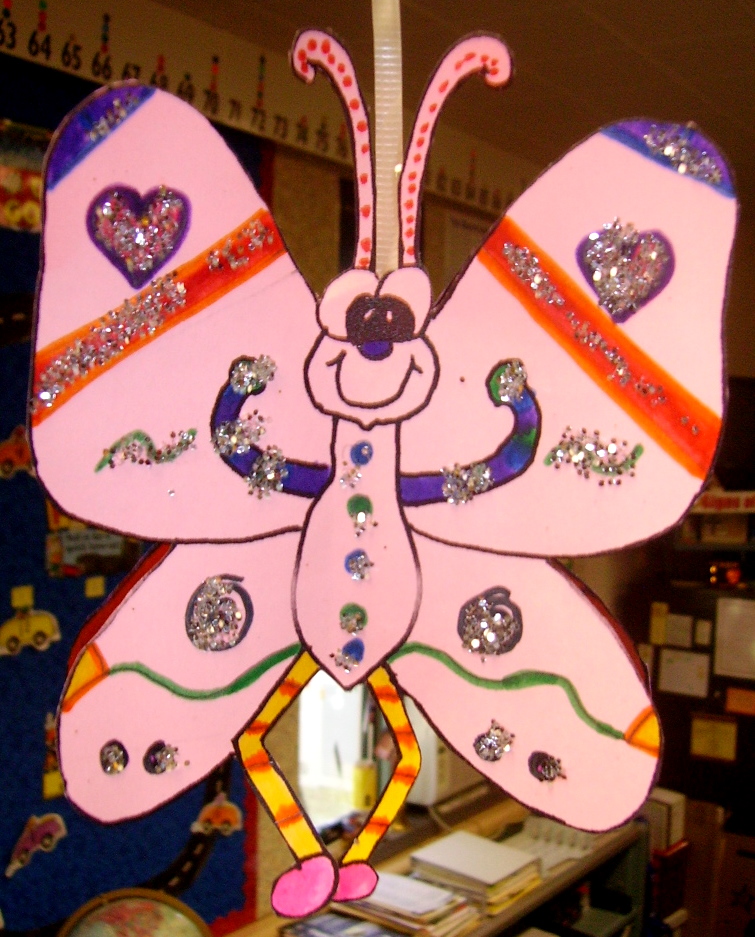
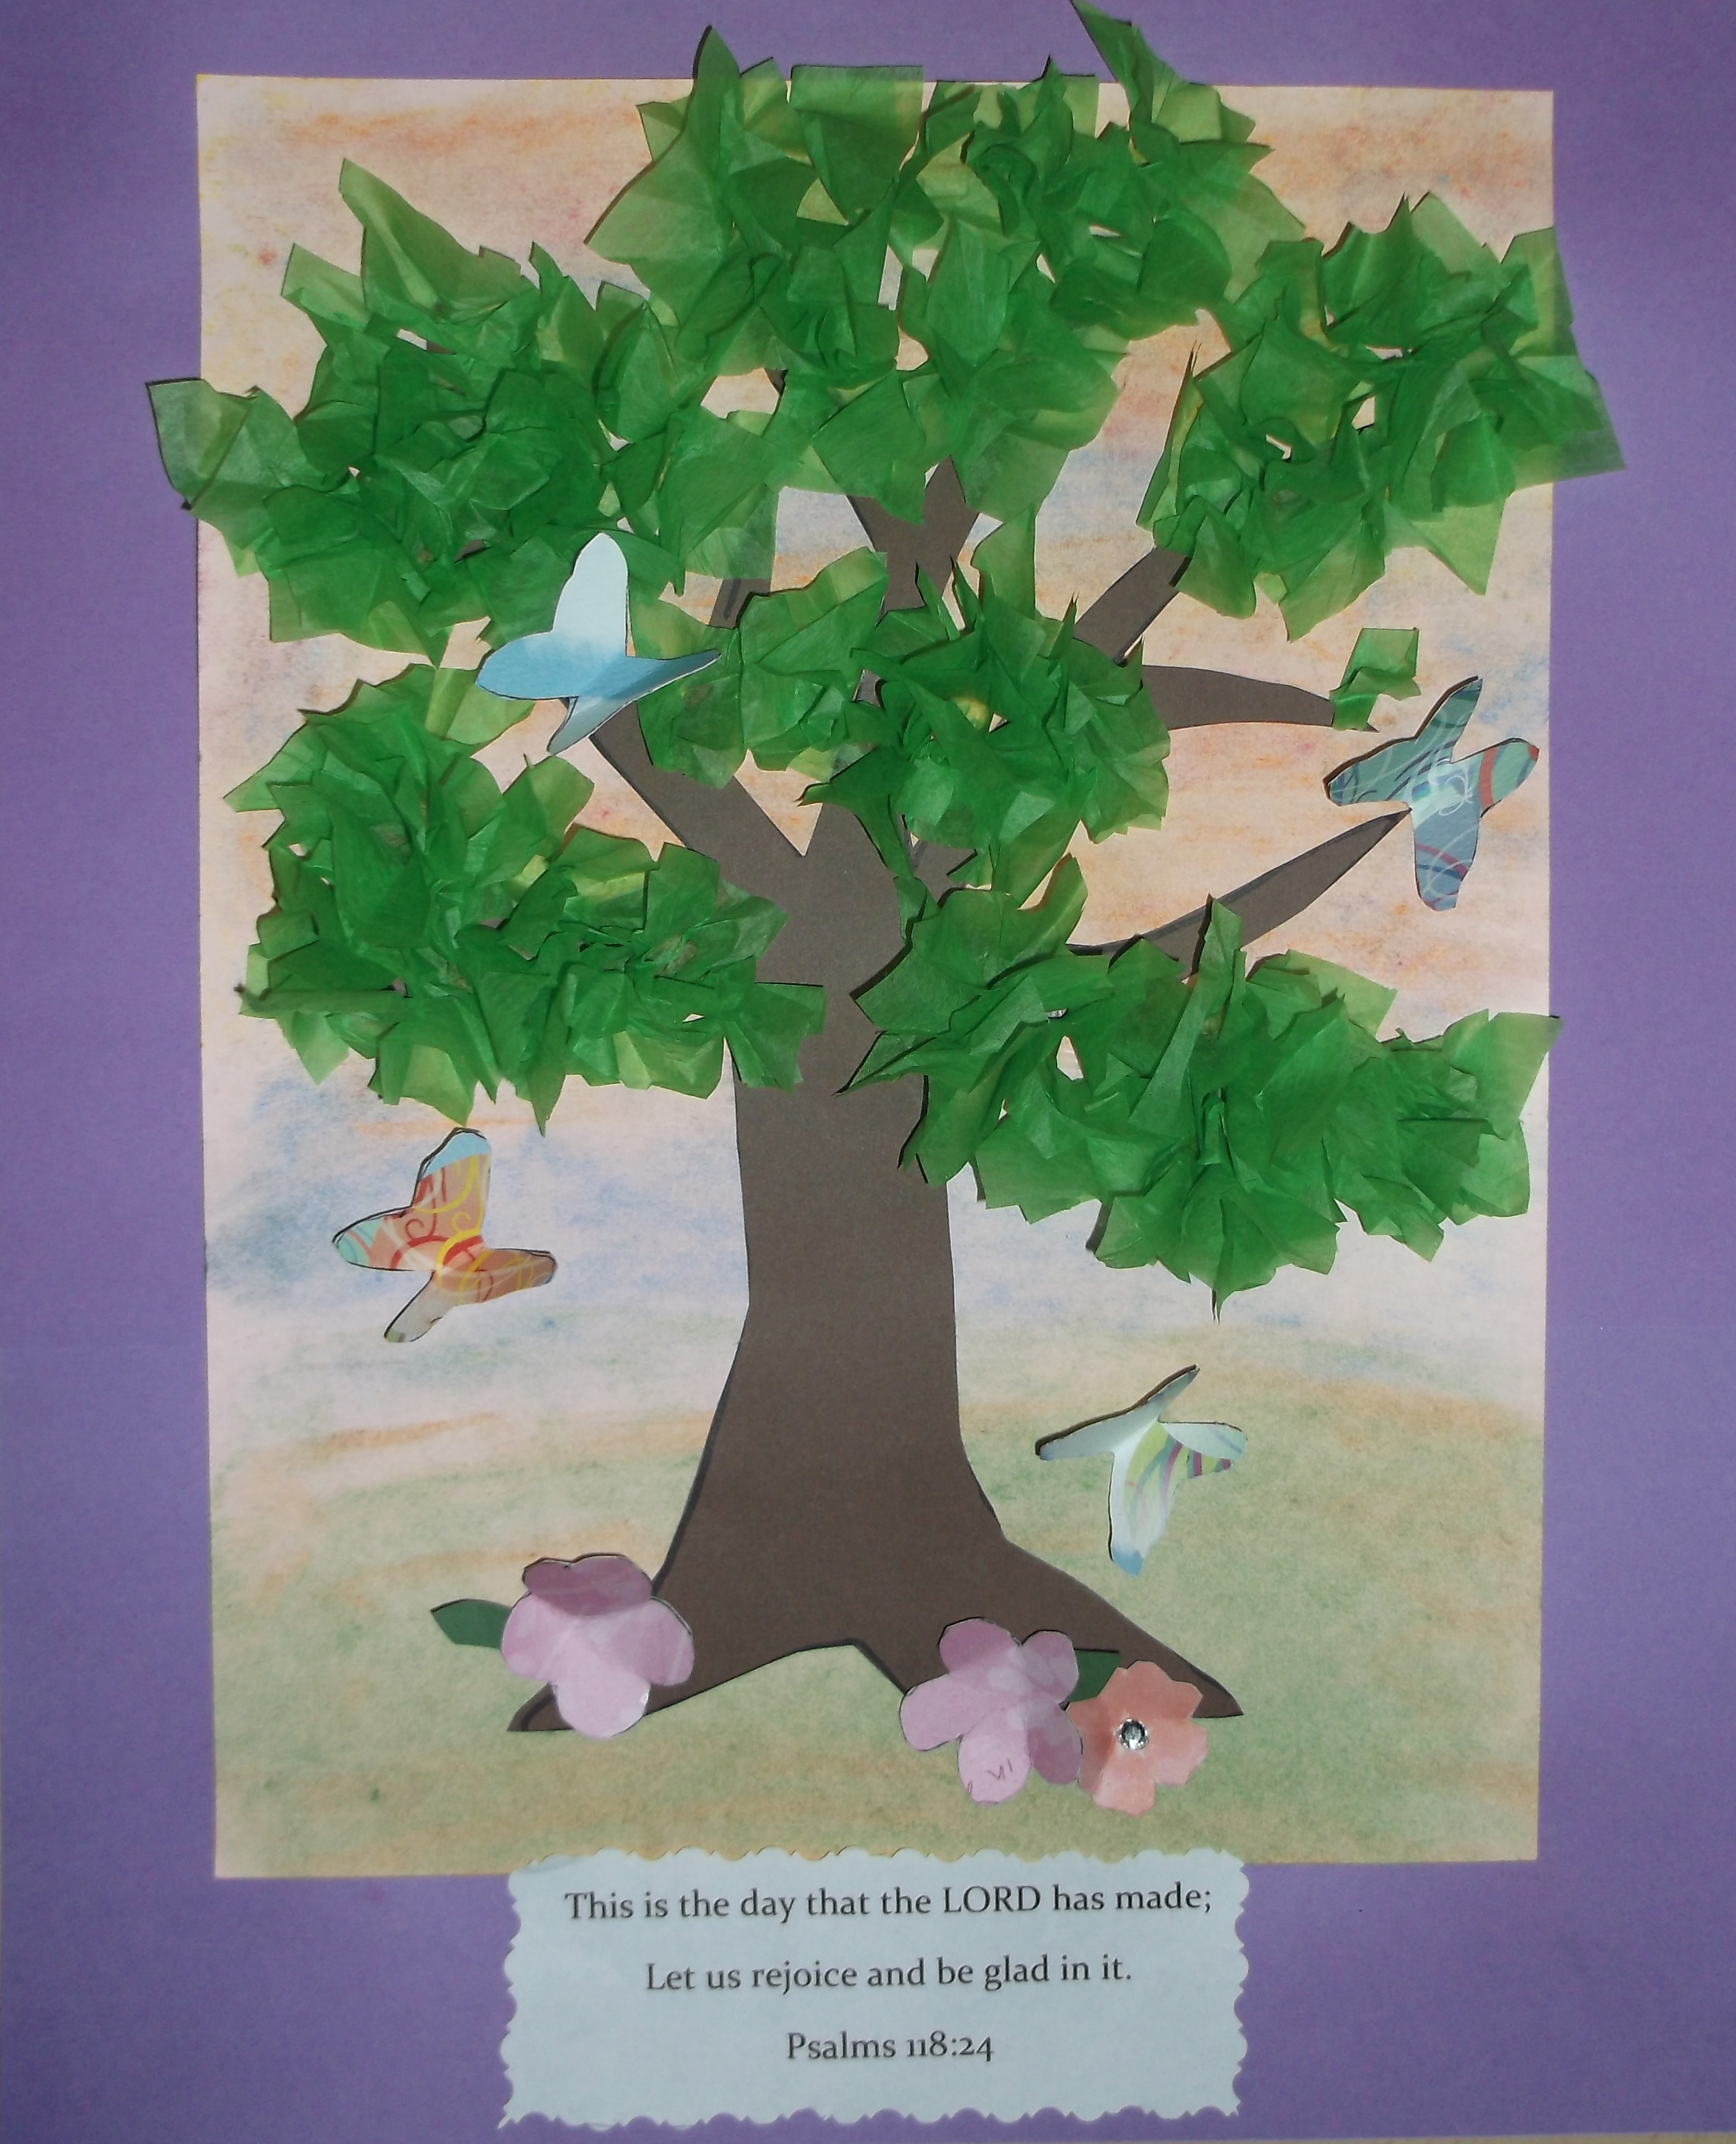
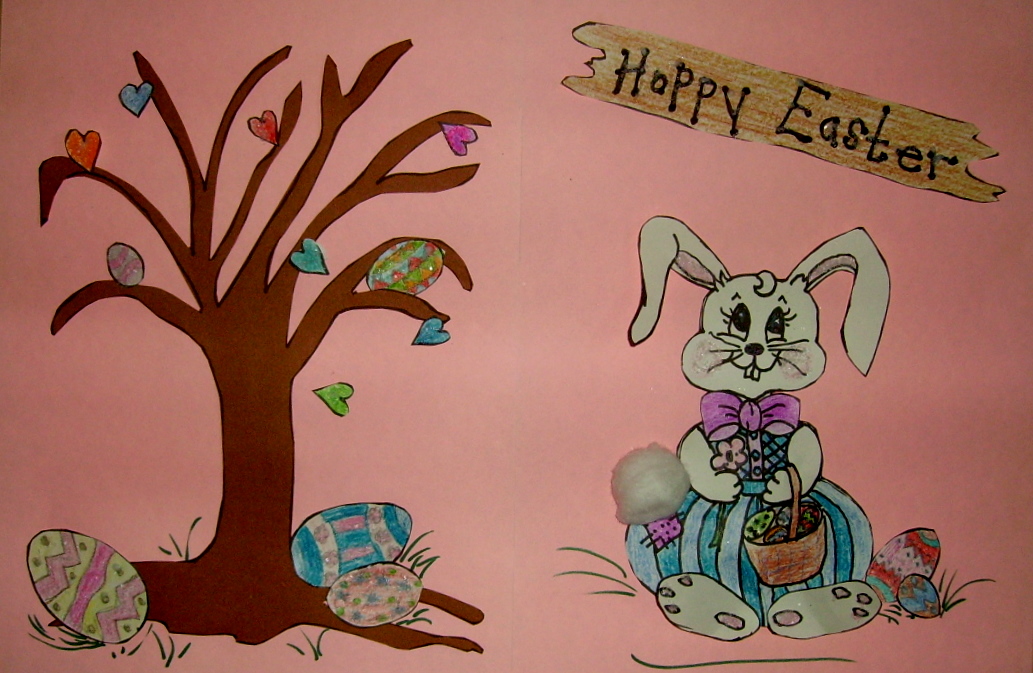
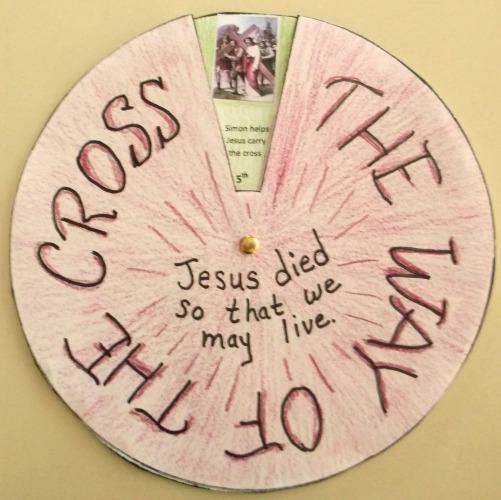
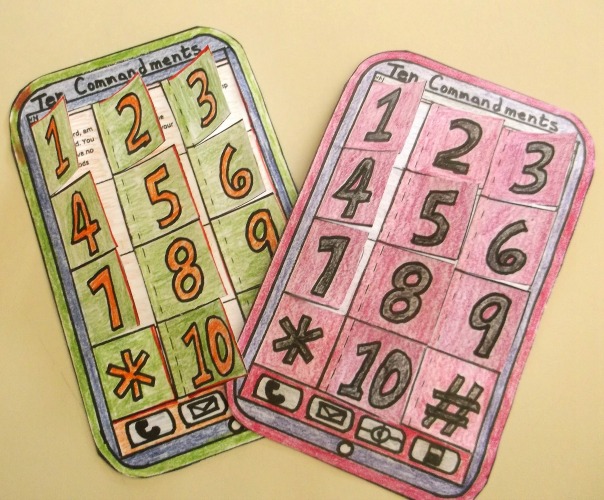
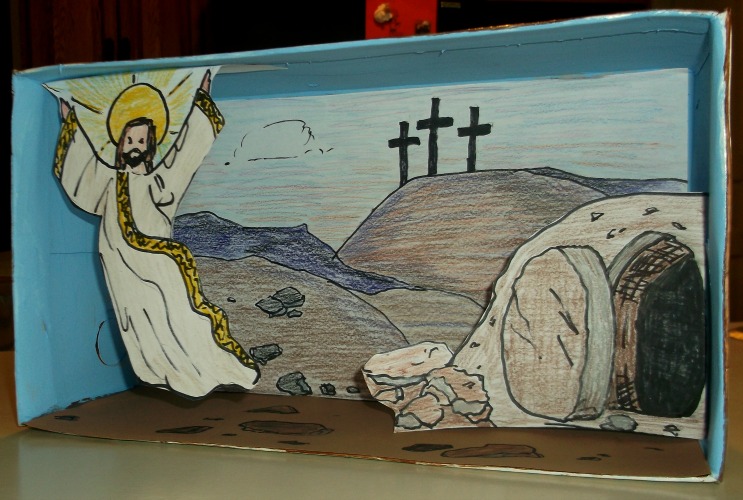
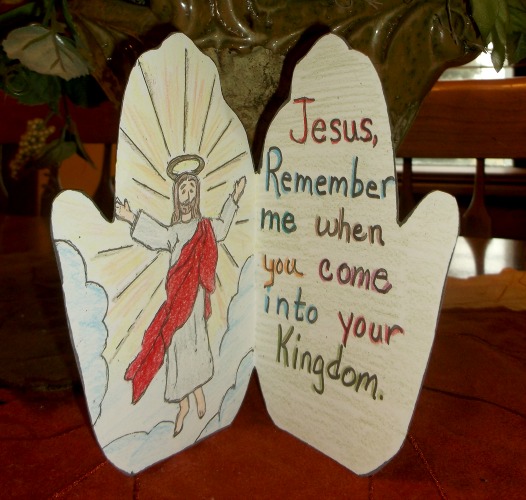
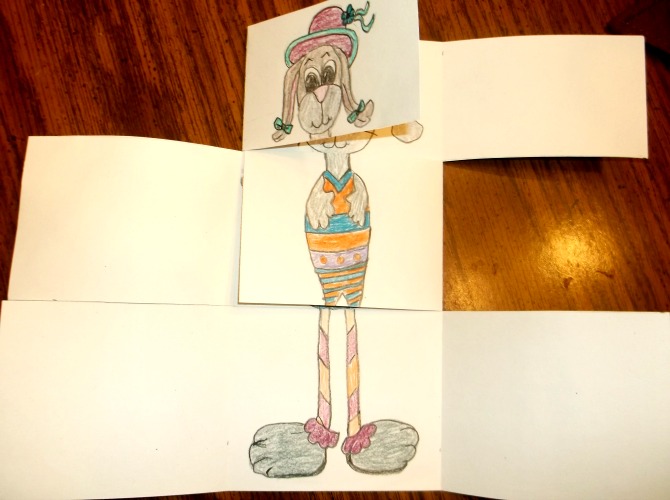
Easter Projects Gallery: