This little turkey is a very easy project that can be used as a napkin holder or in a centerpiece with autumn leaves and pinecones. I used 12″ x 12″ pieces of colored tissue paper for the centerpiece.
Supplies: 
- Tissue roll
- Tan, brown, red, and yellow construction paper
- 5″ x 7″ piece of brown paper
- Thanksgiving napkin or 12″ x 12″ tissue paper
- Turkey heads (Pattern)
- Turkey wattles (Pattern)
- Turkey beaks (Pattern)
- Turkey base (Pattern)
- Scissors
- Glue stick
- Black marker
Directions:
- Cover the tissue roll with the 5″ x 7″ brown paper, starting with one edge of the paper even with one edge of the roll. Glue the paper to the roll and then cut slits from the overhanging end of the paper to the roll.
- Fold the slits to the outside, center the roll over the base, put glue on the slit tabs and glue to the base.
- Fold the rectangle ends of the head pieces toward the head. Glue the head pieces together, but leave the rectangle ends unglued. Glue the beaks to each side of the heads, then the long wattle, and then the wattle over the beak. With the black marker, draw an eye on each side of the head.
- Glue the rectangle ends of the head to the tissue roll body.
- Fashion the napkin or tissue papers and stuff into the body.
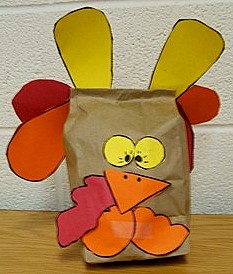
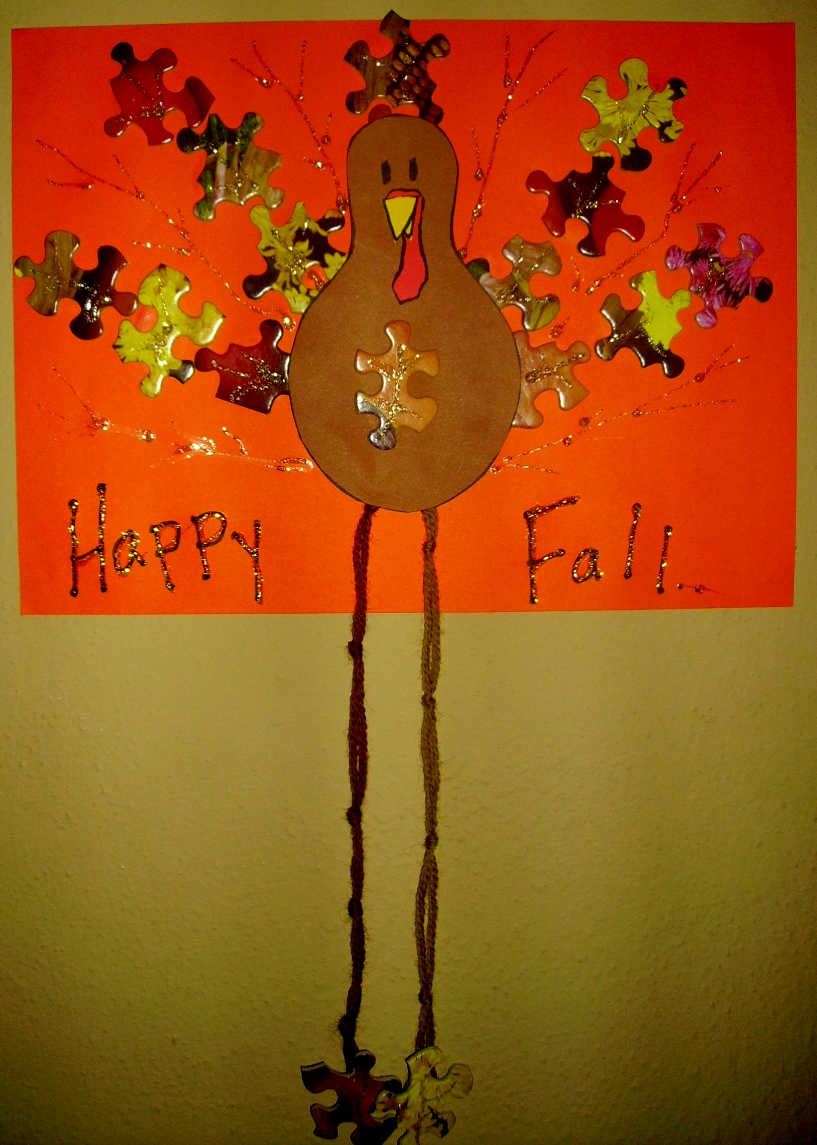
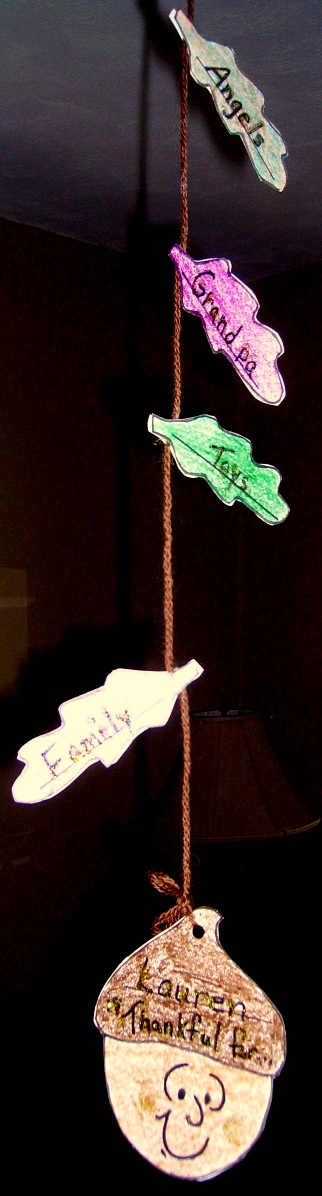
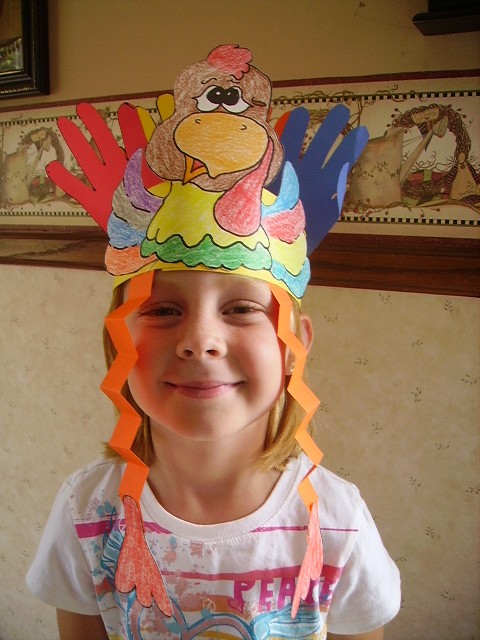
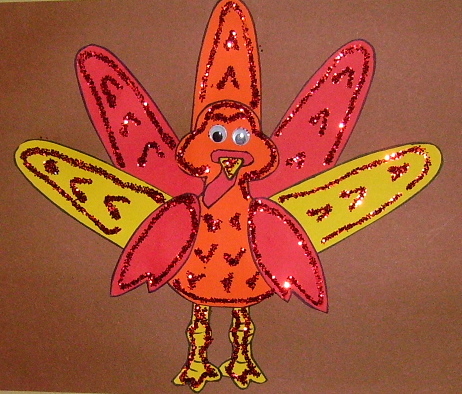
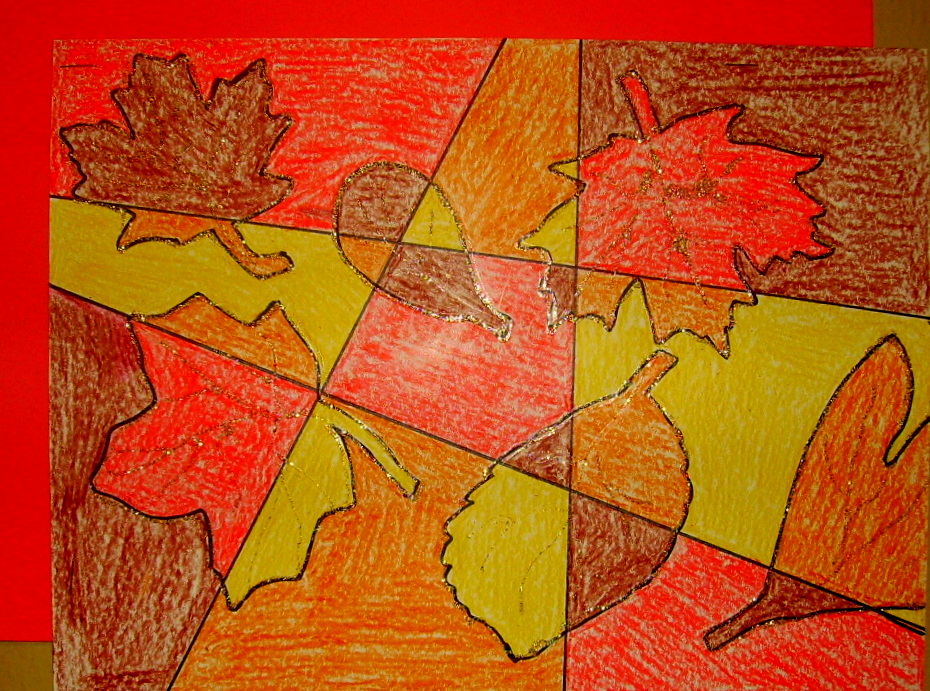
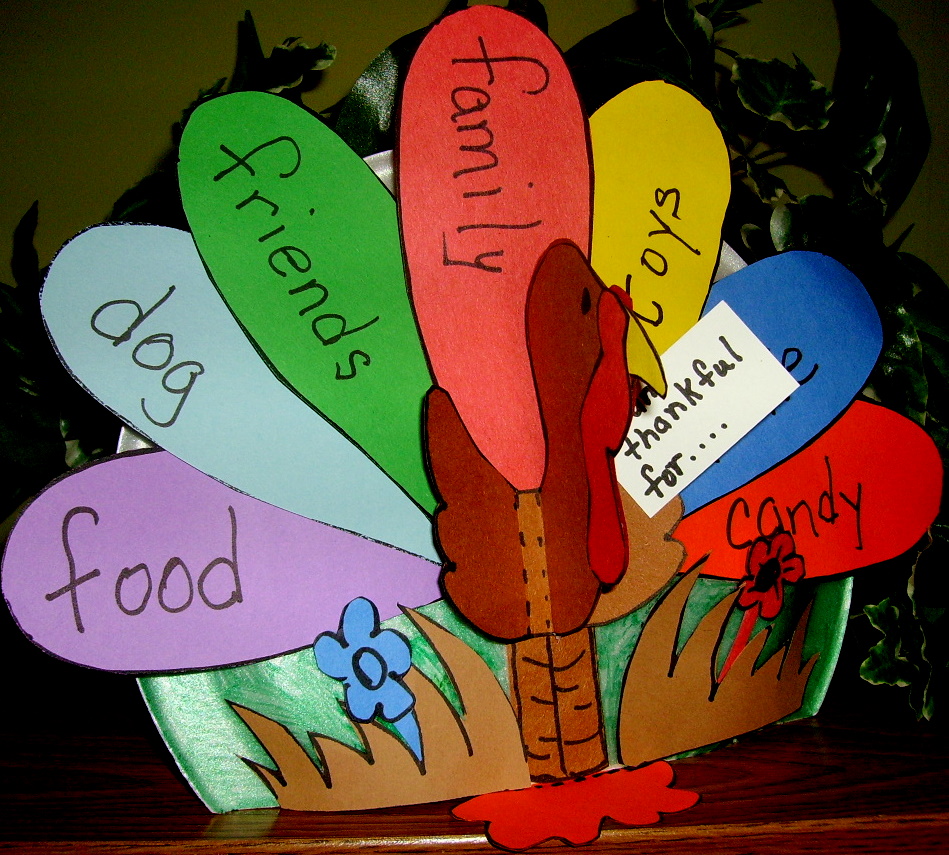
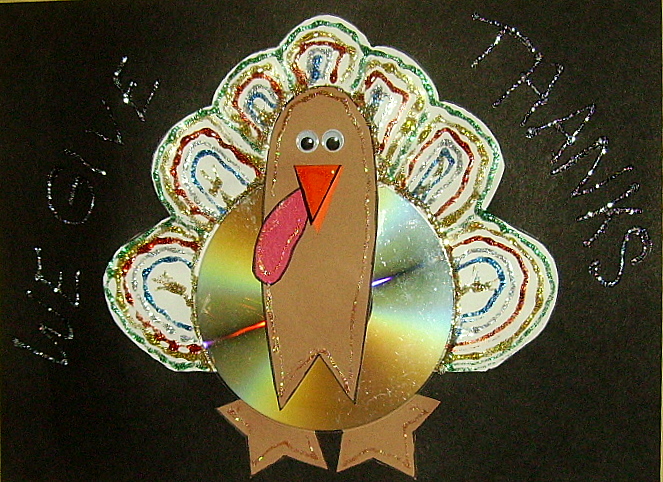
Thanksgiving Projects Gallery: