
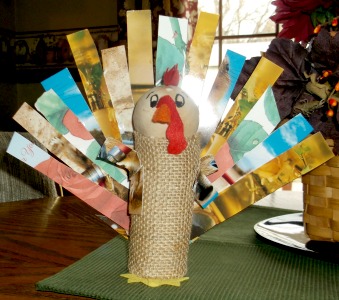
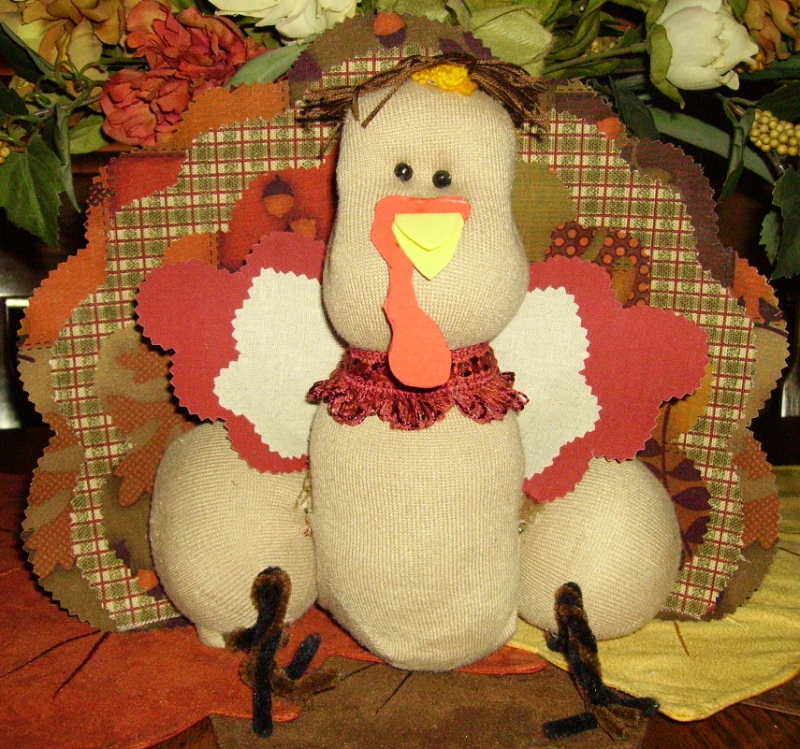
 If you are looking for a easy and inexpensive turkey project for the kids to make  before Thanksgiving, maybe this Simple Turkey is that project. Although I used burlap for the body, consider using pieces of print fabric or construction paper instead. I used greeting cards for the feathers because I wanted the paper stiff enough to hold its shape and colorful, but not all one color. On the turkey I made I used felt for the beak, comb, waddle and feet, but again you could use construction paper instead.  This project doesn’t need to be exact and the kids will have their own ideas about how a turkey should look. Enjoy their uniqueness and the uniqueness of their art.
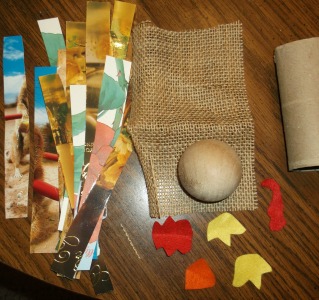
Supplies:
-   Paper Roll, tp or cut towel roll to 4†height
- Â Â Burlap, construction paper or fabric
- 2†wooden ball
- Felt or construction paper scraps: red, orange and yellow
- Old greeting cards
- Black Sharpie or Google eyes
- White glue
- Beak, waddle, comb and feet (Pattern)
Directions:
Print off patterns for beak, waddle, comb, feet. Trace pattern pieces on cardboard and cut out. Use the cardboard copy to trace the pieces on felt or colored construction paper. Or free draw the beak, waddle, comb and feet.  Free hand draw wings if you choose to add wings.  Cut greeting cards into ½†to 1†wide strips to use for the feathers.
- Cover the paper roll with burlap using white glue.
- Apply glue around the top of the ball and settle the wooden ball into the roll.
- Fold the beak in half, apply a dab of glue inside the fold and along the curved edge. Place and hold the beak onto the center of the ball face.Â
- Apply a small amount of glue to the top of the waddle and glue above the beak.
- Fold the comb in half, add a small dab inside the fold and along the outside fold. Apply to the top of the turkey head.
- With the Sharpie, draw eyes and eyebrows.
- Overlap the feet, glue and then apply glue to the bottom of the roll and set over the feet.
- Lay two of the greeting card strips about 3.5†apart (horizontally) on the table. Apply a dab of glue to the center of each strip and glue the center turkey feather over the glue. Working from the center feather, apply a feather on each side of it: one on one side and one on the other side, forming a fan shape for the turkey feathers.   When the glue is dry, trim off any excess.
- Run glue down the back of the turkey and place it over the center of the feather fan, making sure that the bottom is eve with the bottom of the tp roll.
- Fold a strip of greeting card and glue to the sides for wings.
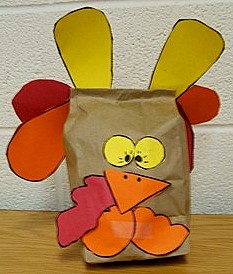
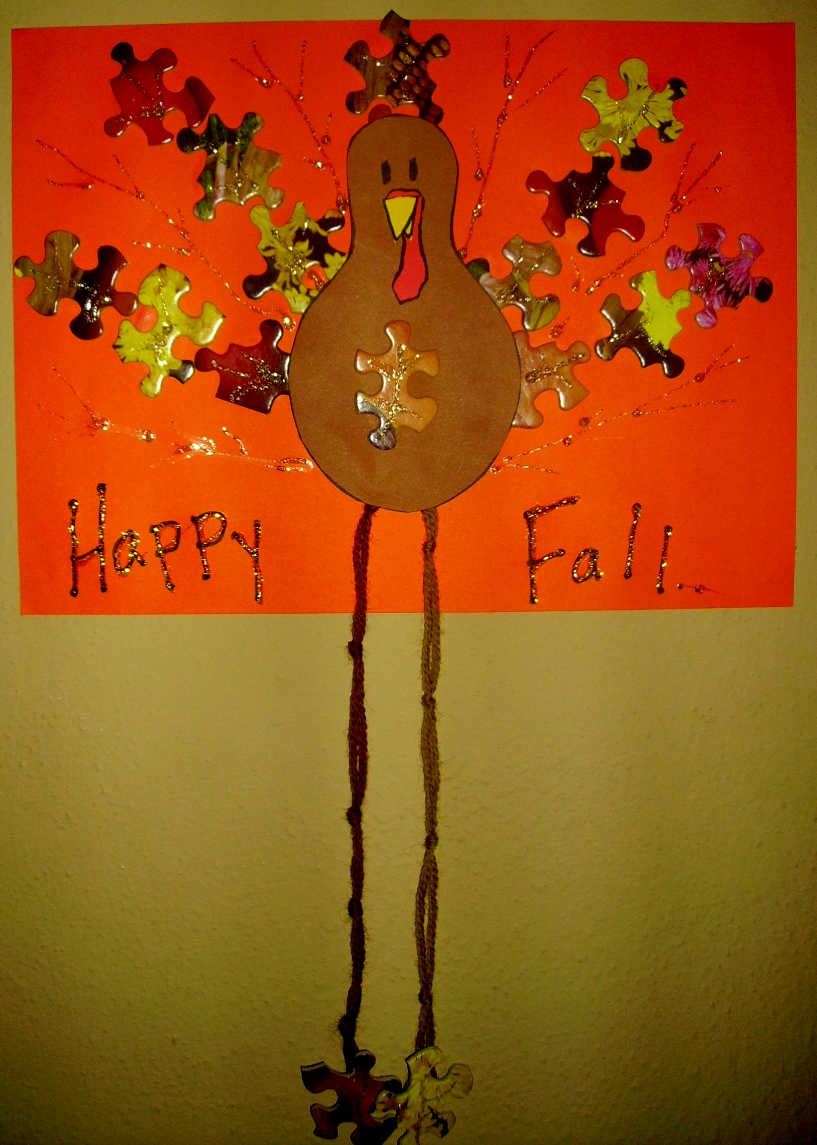
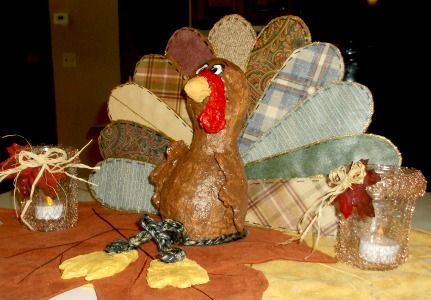
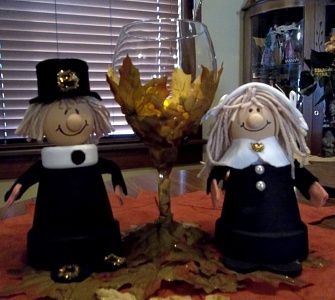
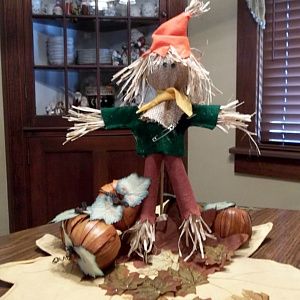
Thanksgiving Projects Gallery:


Â
3.     Â
4.      Â
5.     Â
6.      Â
7.      Â
8.      Â
9.     Â
