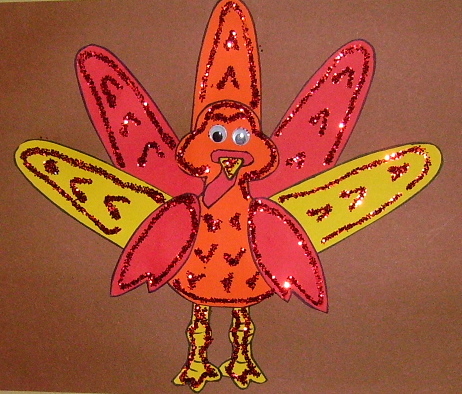
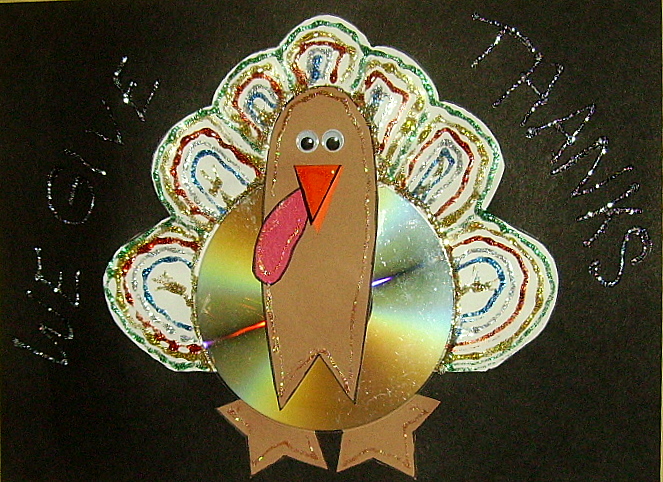
This project has three layers of feathers, a strip that holds the turkey body away from the feathers and a stand attached to the back to make the turkey stand on it’s own. There is a picture with and without gold glitter. Of course I prefer the glittered one!! A variety of color combinations would make this an outstanding display.

Supplies: 
- Construction paper
- One 1″ x 4″ strip of construction paper
- Back feathers (Pattern)
- Middle feathers (Pattern)
- Front feathers (Pattern)
- Body and stand (Pattern)
- Wings (Pattern)
- Feet (Pattern)
- Beaks (Pattern)
- Wattles (Pattern)
- 1/2″ google eyes
- Glue sticks or glue dots
- Black Sharpie
- Scissors
- Gold glitter glue (optional)
Directions:
- Carefully cut out all the standing turkey pieces.
- Glue the middle layer of feathers to the back layer, keeping the bottoms even.
- Glue the front layer of feathers to the middle layer, keeping the bottoms even.
- Glue the wings, feet, beak and wattle to the turkey body. Glue on the google eyes, using glue dots if you have them.
- Optional: Draw dots, dashes, or some other design around outside edges of the feather layers and wings with the black Sharpie.
- Glue the 1″ x 4″ strip of paper to the back, middle of the turkey body. Glue the other end to the front layer of feathers, keeping the feet even with the bottom of the feather layer. The body should lean away from the feather layers.
- Fold the stand at each of the dotted lines. Crease well at the middle fold. Overlap the other two ends and tape or glue together. Glue one wide side of the stand to the back of the turkey so the turkey will stand alone.
 This is how the strip between the layers and the body looks.
  This is how the stand looks from the back.
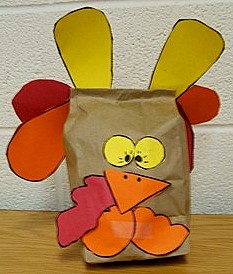
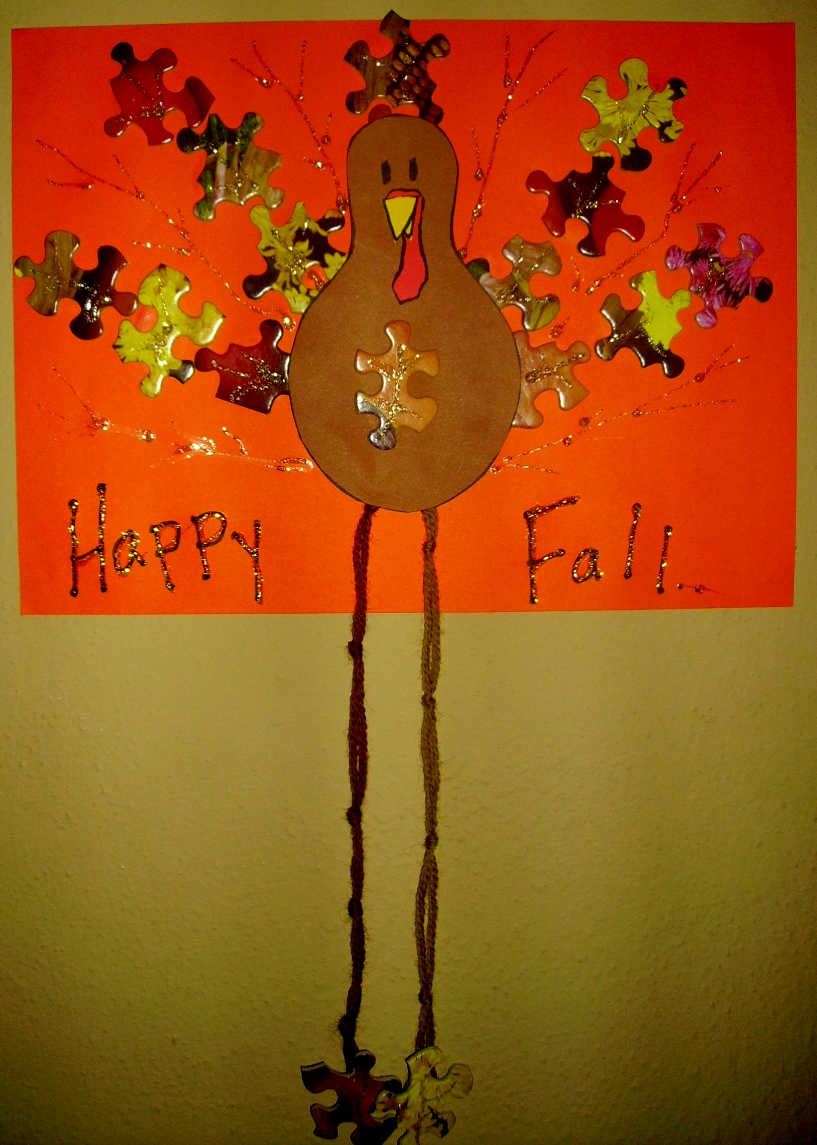
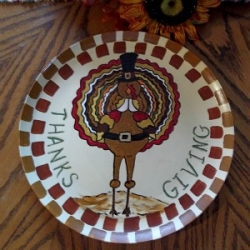
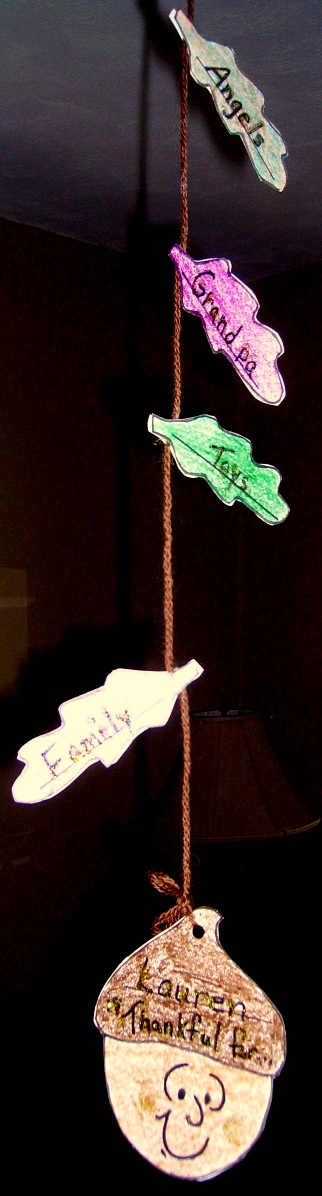
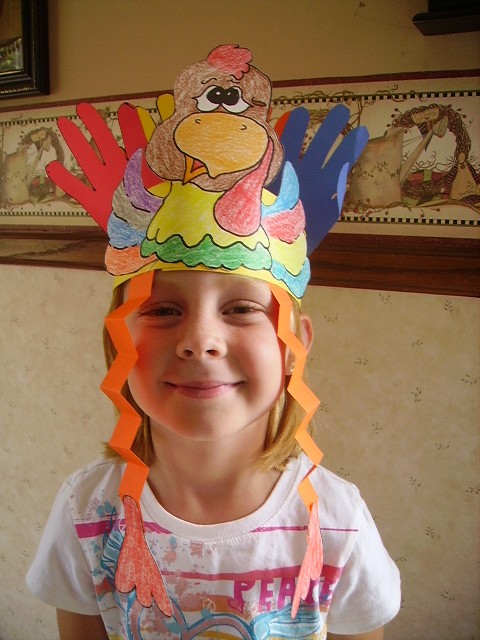
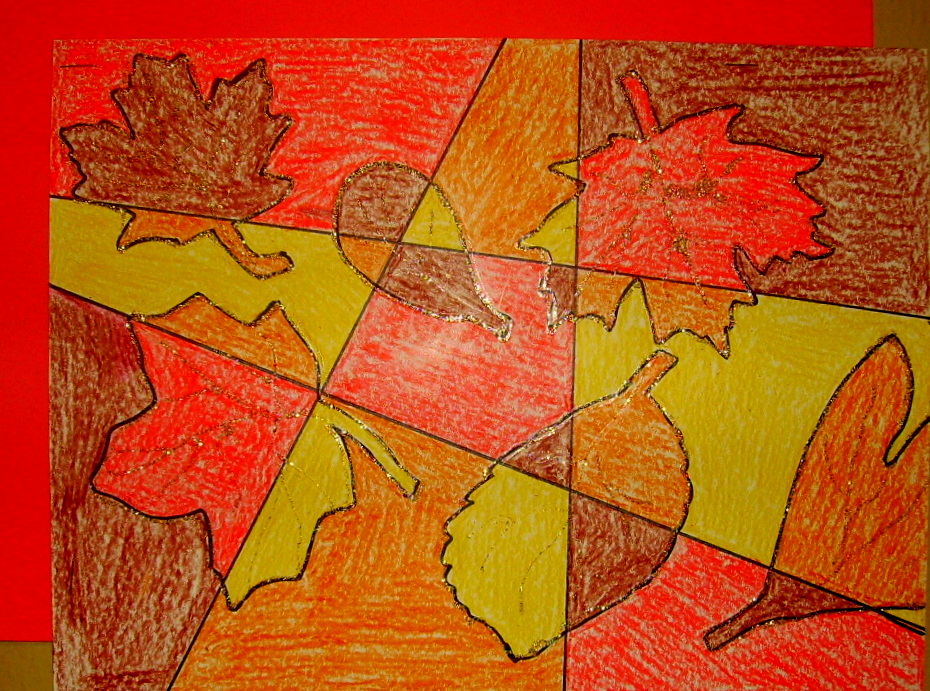
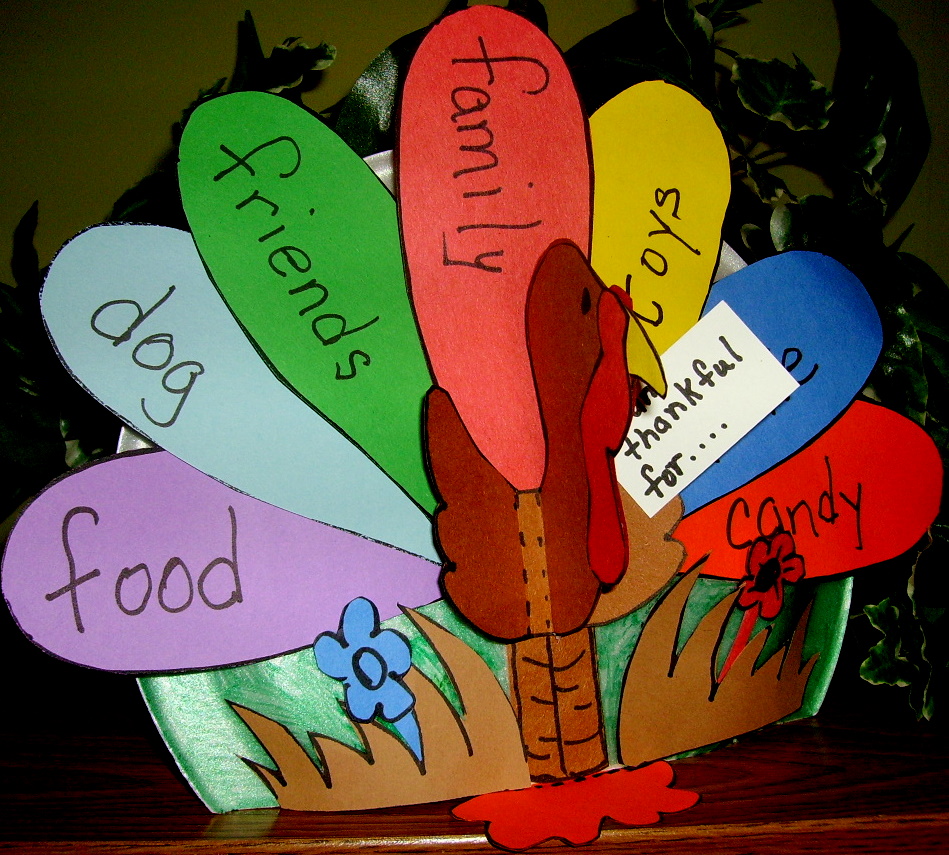
Thanksgiving Projects Gallery: