A wire coat hanger is the skeleton of this turkey. Make him one sided and hang him on the wall, or finish both sides to hang him from the ceiling.

Supplies:
- Wire coat hanger
- Construction paper (red, yellow, orange, green, blue, brown or whatever combination you prefer.)
- Turkey body (Pattern)
- Head (Pattern)
- Feathers (Pattern)
- Wattle (Pattern)
- Two orange paper strips (1/2″ x 12″)
- Three buttons
- Glue stick and glue dots
- Tape
- Scissors
- Black Sharpie
- Gold glitter glue
Directions:
- Shape the wire coat hanger into a roundish egg shape.

- Cut all the pieces, from the construction paper, for the turkey.
- Overlap and glue five of the curved body pieces together.
- Lay the prepared wire coat hanger on the back side of the body piece, shape and fold the paper over the hanger and tape down.
- On the front side of the body, lay the head over the wire hook, and glue the part that overlaps the body, to the body. Turn the turkey over and tape the head to the wire hook.
- Glue the wattle to the head. Glue five feathers to each side of the turkey body.
- Draw and cut feet shapes on one end of the long orange strips. Glue the straight end to the bottom of the turkey body.
- Glue three buttons down the front of the body. Glue dots work well for this.
- Make stitch lines around all the parts of the turkey. Go over the stitch marks with the gold glitter glue

OPTIONAL:
If you want to make the turkey reversible, overlap and glue body pieces as before. Lay the right sides of the bodies together and rub your finger over the wire so you know where to cut the second body shape. Cut slightly (1/8″) larger than the wire mark. Cut and glue to the back of the first body. Tape a string to the back side of the first head and then glue the second head over the first. Glue the overlap on the body and add a wattle. The feathers and legs are in common for both sides. Finish as you did the first side, or decorate differently.
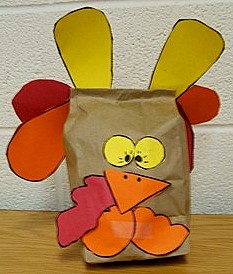
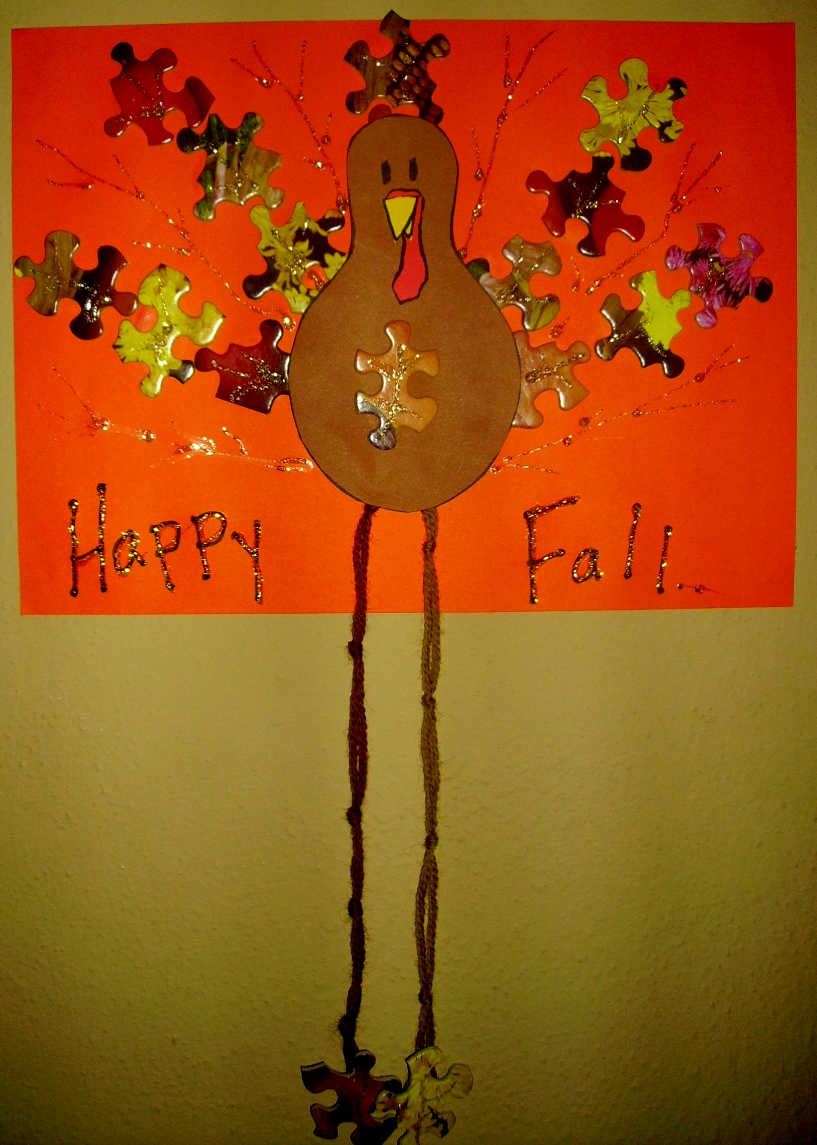
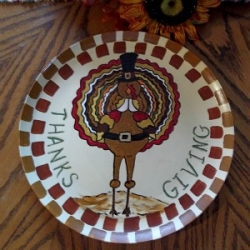
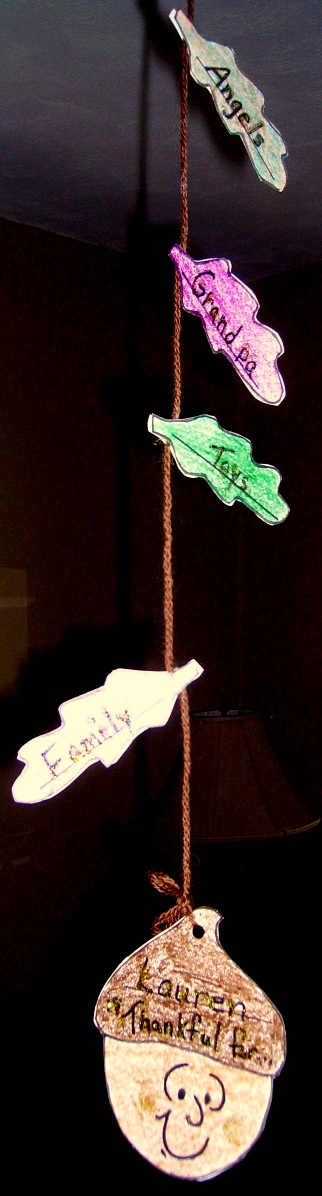
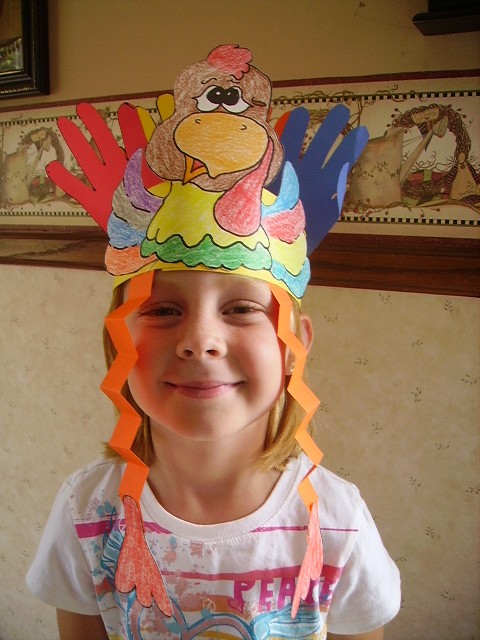
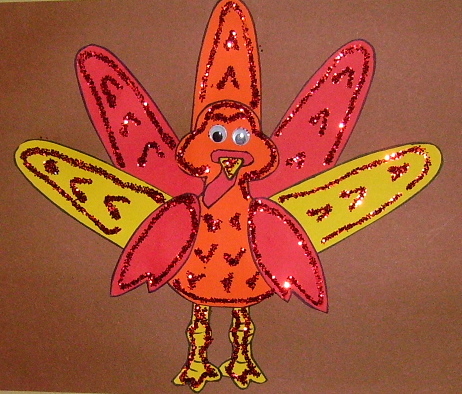
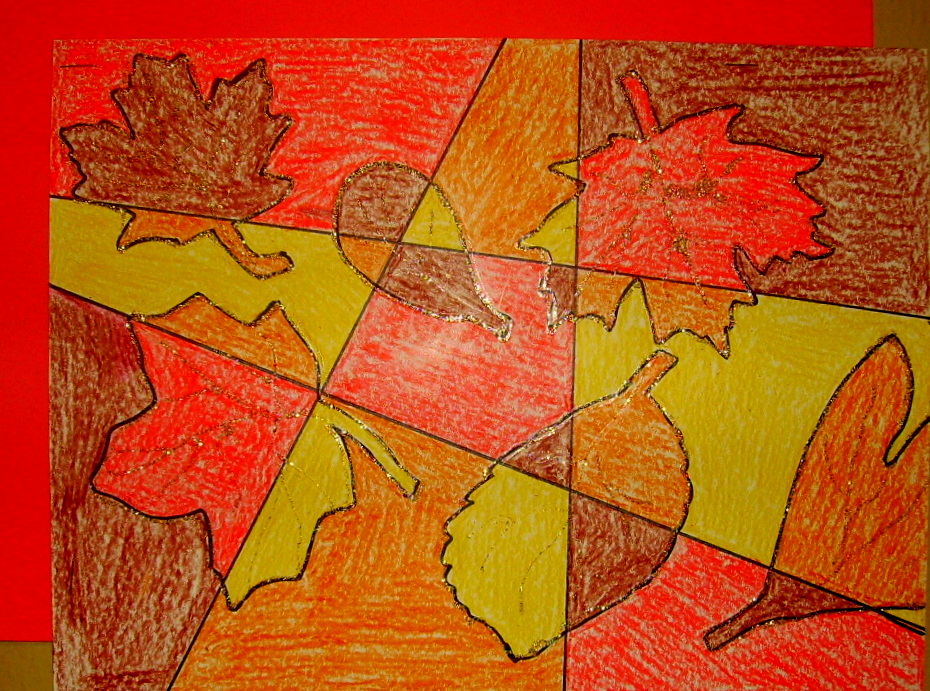
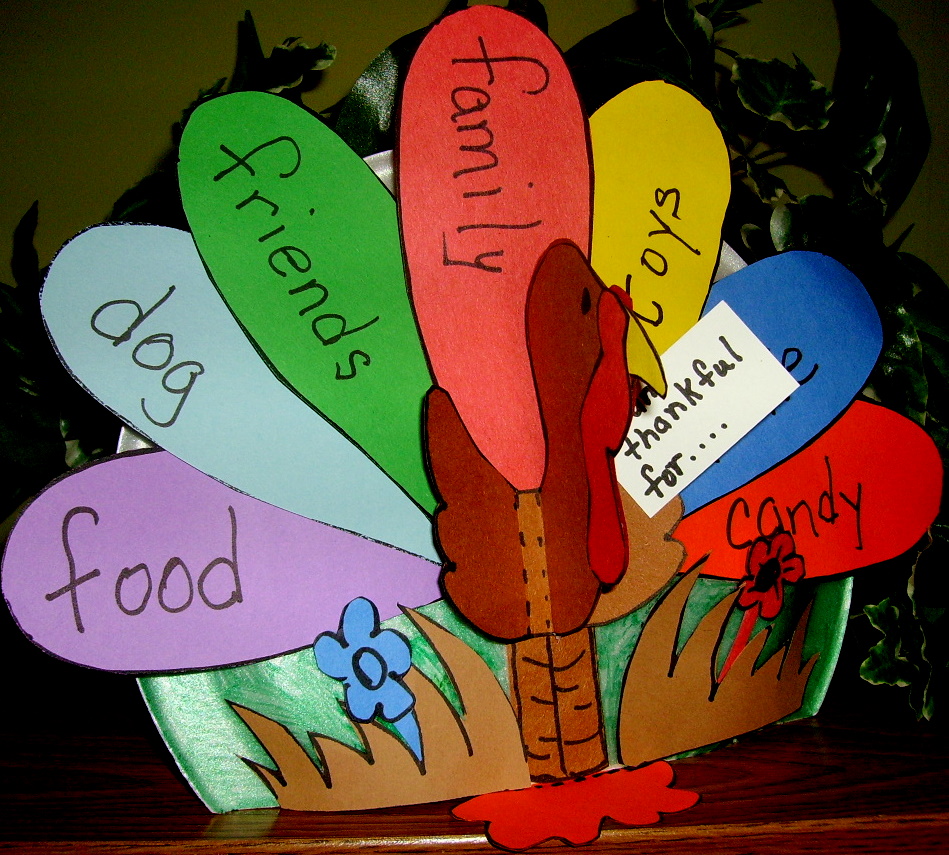
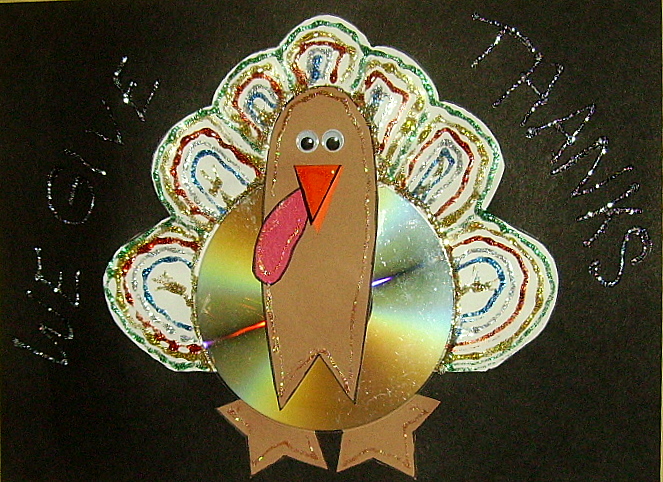
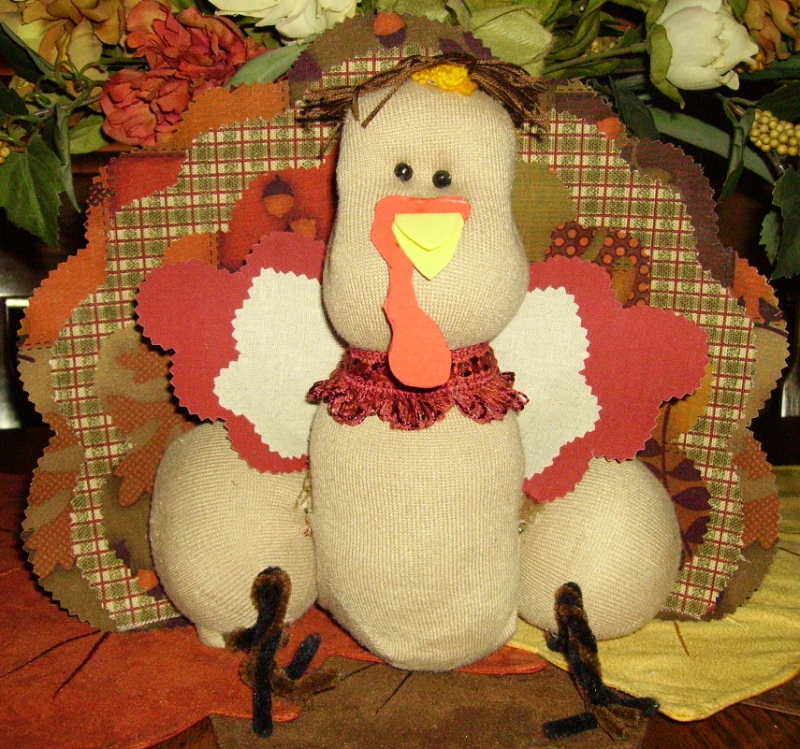
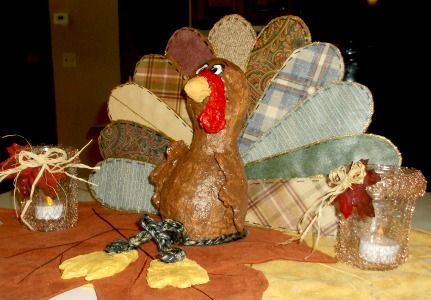
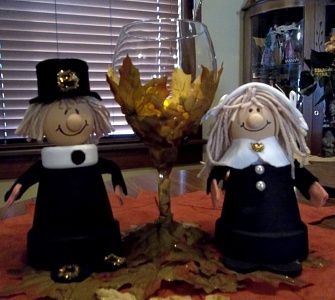
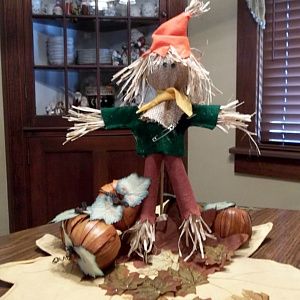
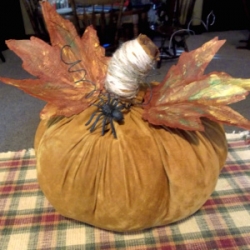
Thanksgiving Projects Gallery: