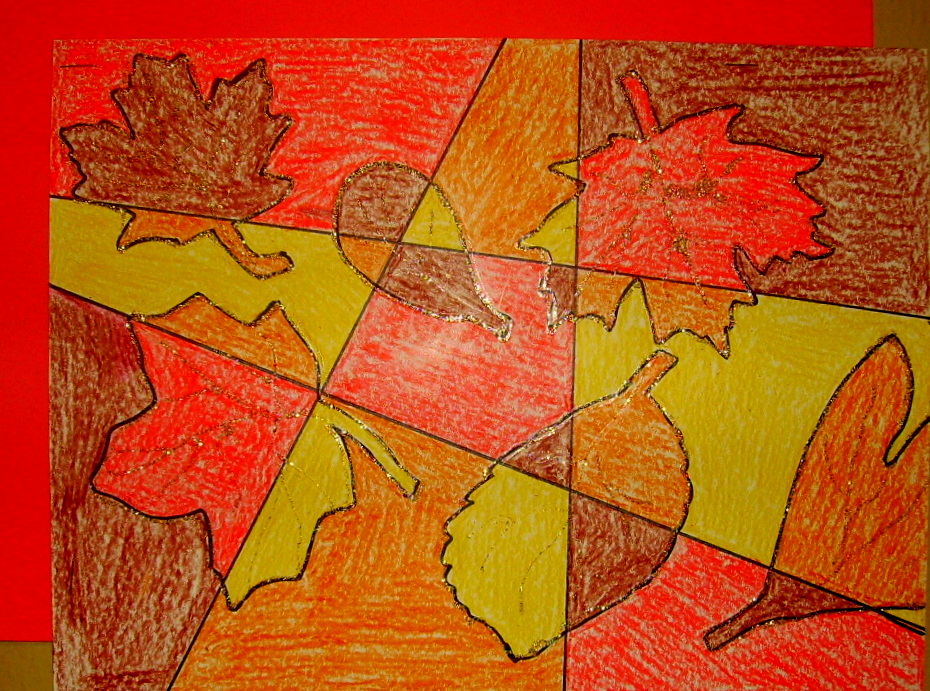
The object of this project is to improve some ordinary skills, like shading, cutting and arranging. There are two pages of images to work with. All of them do not have to be used in the arrangement. One pumpkin can be used or you can add, or don’t add, the autumn leaves. See how many different looks can be acheived with the same starting images.  Other background colors can also be used.
 Supplies:Â Â Â Â Â Â Â Â Â Â Â Â Â Â Â Â Â Â Â Â Â Â Â
- Two sheets of white construction paper
- Images 1 (Pattern)
- Images 2 (Pattern)
- Assorted colors and sizes of construction paper for background
- Crayons, colored pencils, colored markers
- Scissors
- Black Sharpie
- Glue stick
Directions:
- Using colors, colored markers or colored pencils, color the images on both pages.
- Cut the images out.
- Choose a background (color and size) for your arrangement. If you want to use all of the images, choose a 12″ x 18″ piece of background paper.
- Lay the pieces on the background sheet, move the images around until you are satisfied, and then glue them down.
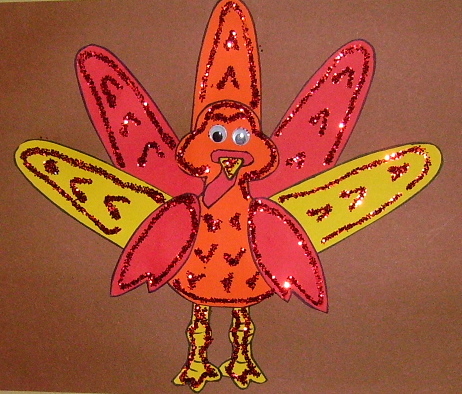
Oct. 21, 2011: We changed the directions for this class of 6th graders. When I passed out the two sheets of images, I told the class that they were to decide which images they wanted to use for their project, color the images that they were using, cut them out, arrange them on whatever autumn colored background sheet that they chose and to glue the pieces to the background. Then if they chose, they could use colored glitter glue on their picture. The pictures below are some of the ones made today.


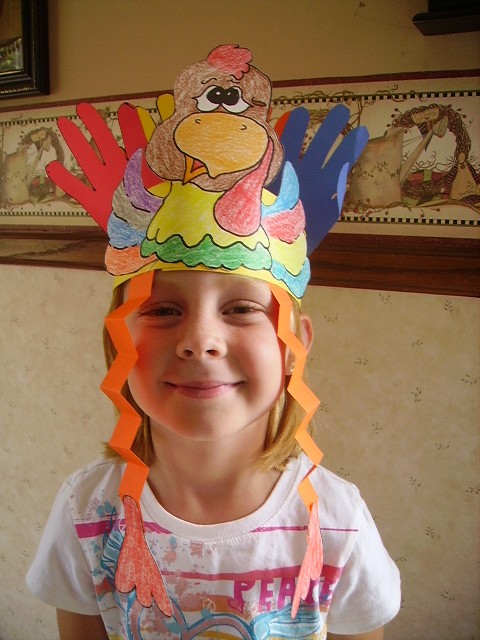
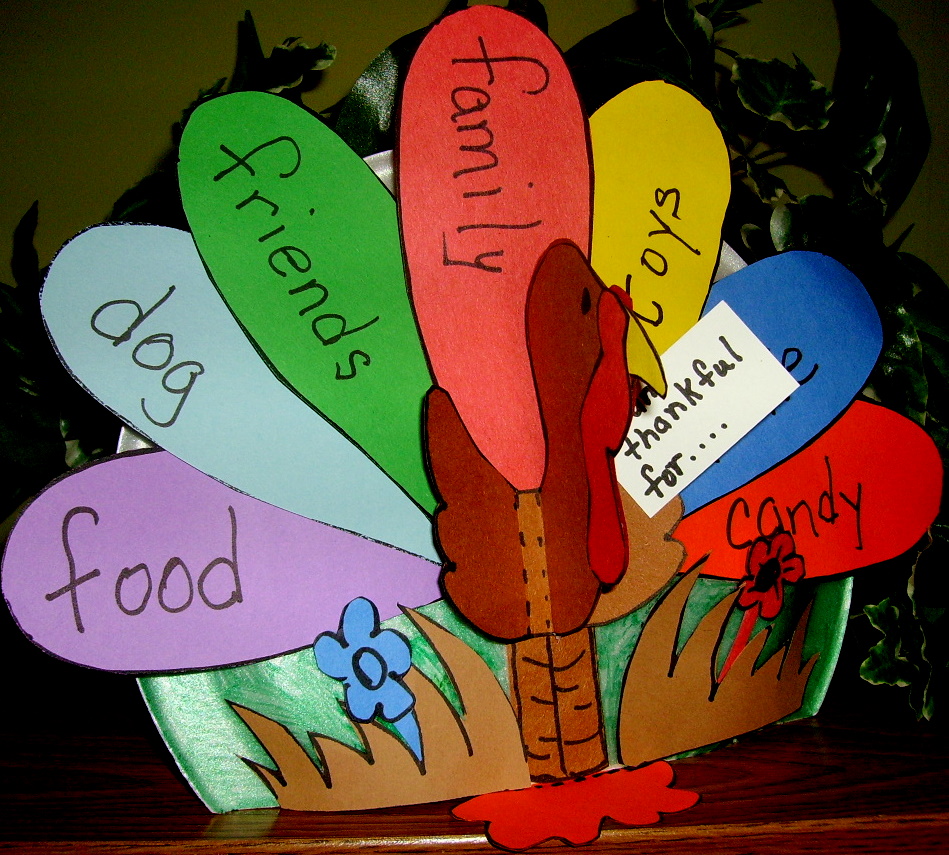
Thanksgiving Projects Gallery: