It’s dark, it’s cold, and it’s the middle of the night. What would a pumpkin patch look like under these circumstances? A sleepy moon and glittering stars spreading their magic is how we see it.

Supplies:
- Black construction paper
- White construction paper
- Pencil and eraser
- Oil pastels
- Scissors
- Glue stick
- Silver, green and gold glitter glue
- Black Sharpie
Directions:
- On the white construcrion paper, draw three pumpkins and a quarter moon. Draw curved lines in the pumpkin, from top to bottom. Draw a stem and leaves on each pumpkin. Draw veins in the leaves, and a nose and sleepy eye in the moon.
- Using yellow oil pastel, color in the pumpkin and the moon.
- With orange oil pastel, draw a line over each of the curved lines, along the outside edge, and at the top and the bottom of the pumpkin.
- With your finger, blend the orange into the yellow to produce shading.
- Color in the stem with brown and the leaves with green oil pastels.
- Blend a little bit of orange and black inside the moon.
- On the bottom third of the black construction, paper make lines and blend with the brown and green oil pastel.
- Carefully cut out the pumpkins and the moon.
- Glue the pumpkins to the bottom part of the black construction paper. You can overlap a couple of the pumpkins.
- Glue the moon in the upper left hand corner of the paper.
- With the black Sharpie, trace over the curved lines in the pumpkin, the veins in the leaves, and the eye of the moon.
- With white oil pastel, make stars or dots in the sky.
- Starting at the top of the picture, run a narrow line of gold glitter glue around the moon and above the eye. Put a dot of silver glitter glue on each star.
- With the green glitter glue, trace around each leaf and it’s veins. Draw a curlique with the green glue by the leaves of the pumpkin.
- With gold glitter glue, trace each curved line and around the outside of the pumpkin.
- Using green glitter glue, draw some wavy lines at the bottom over the brown and green colored areas.
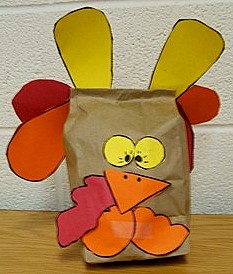
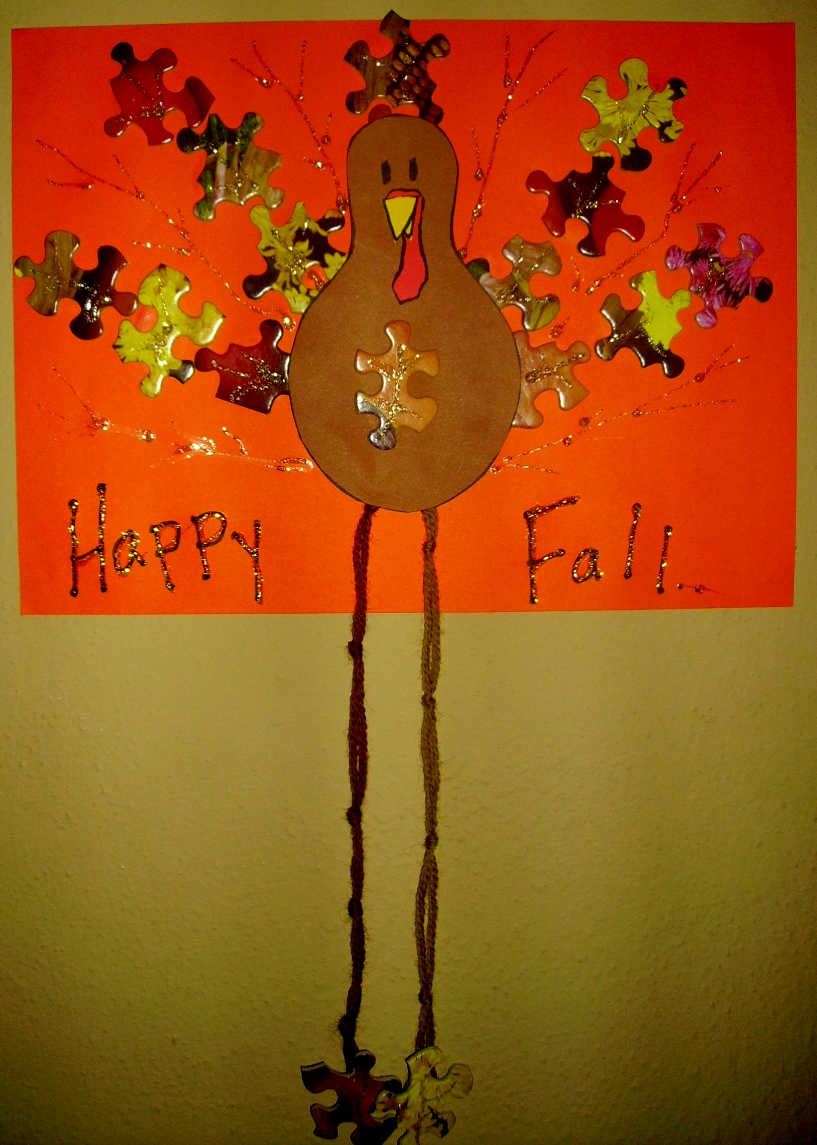
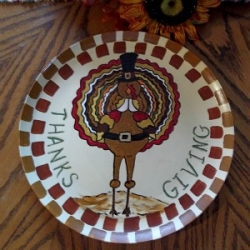
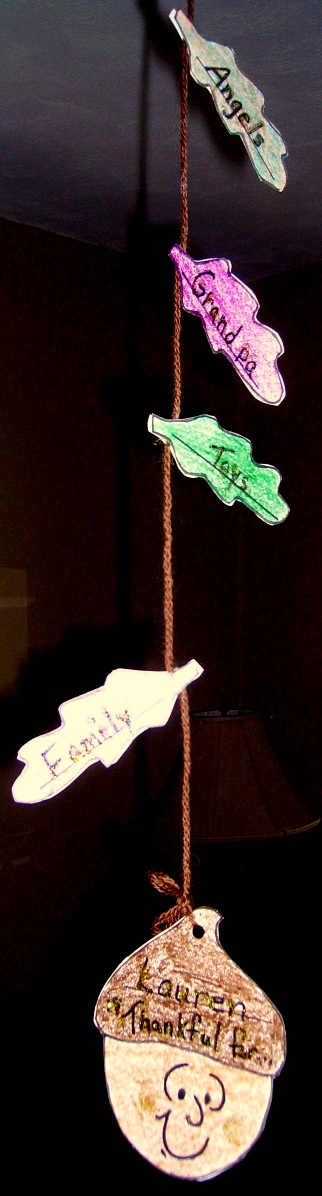
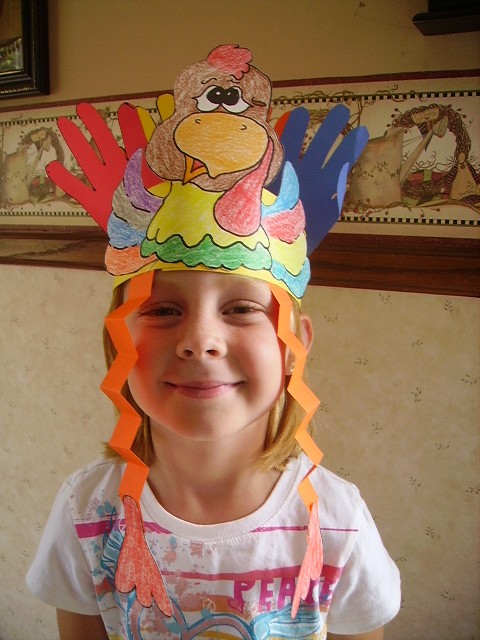
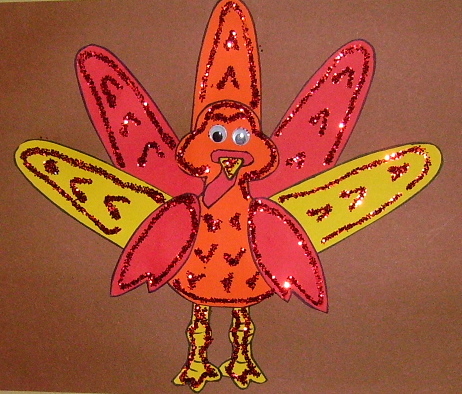
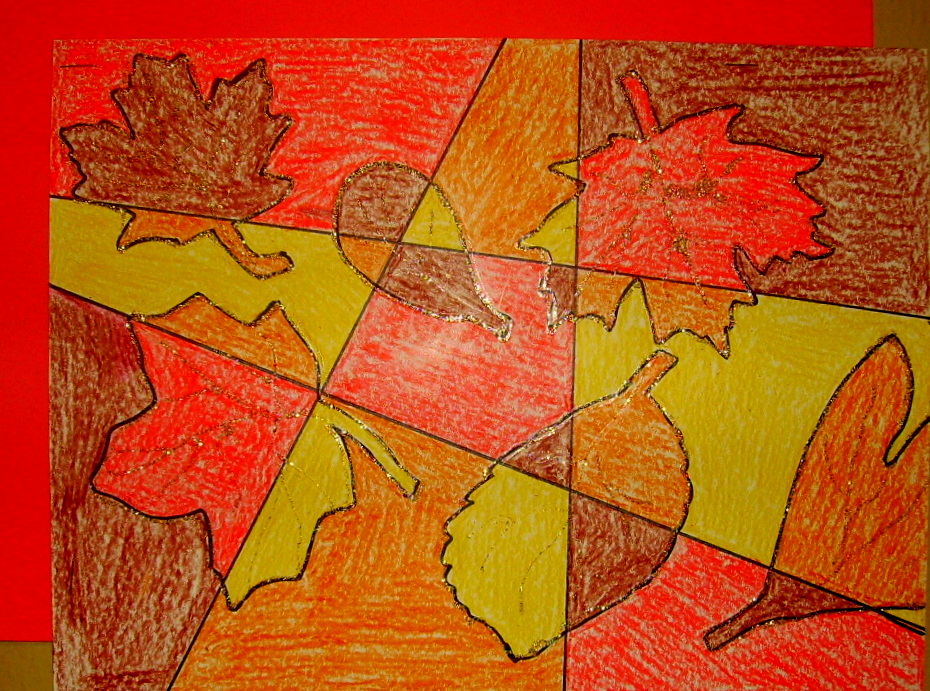
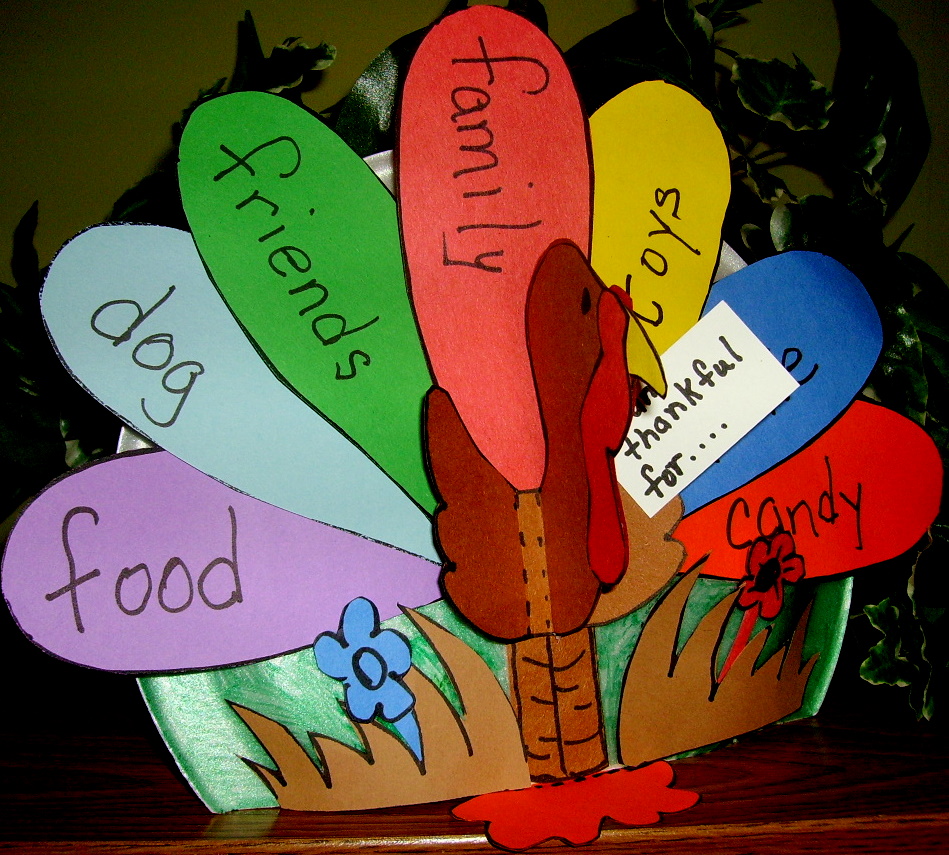
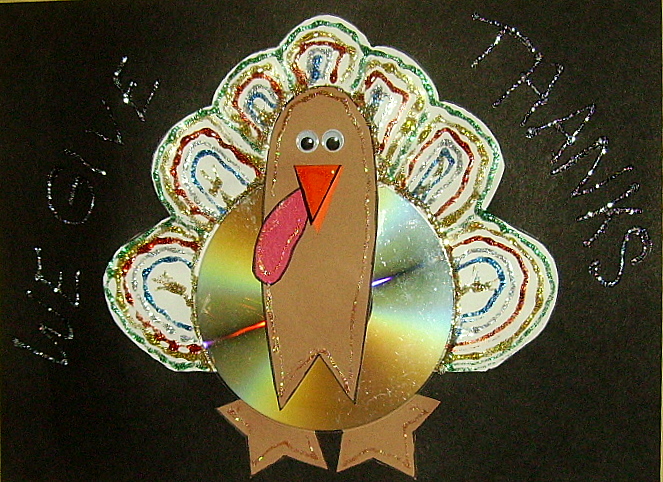
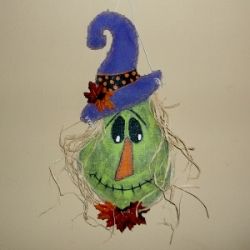
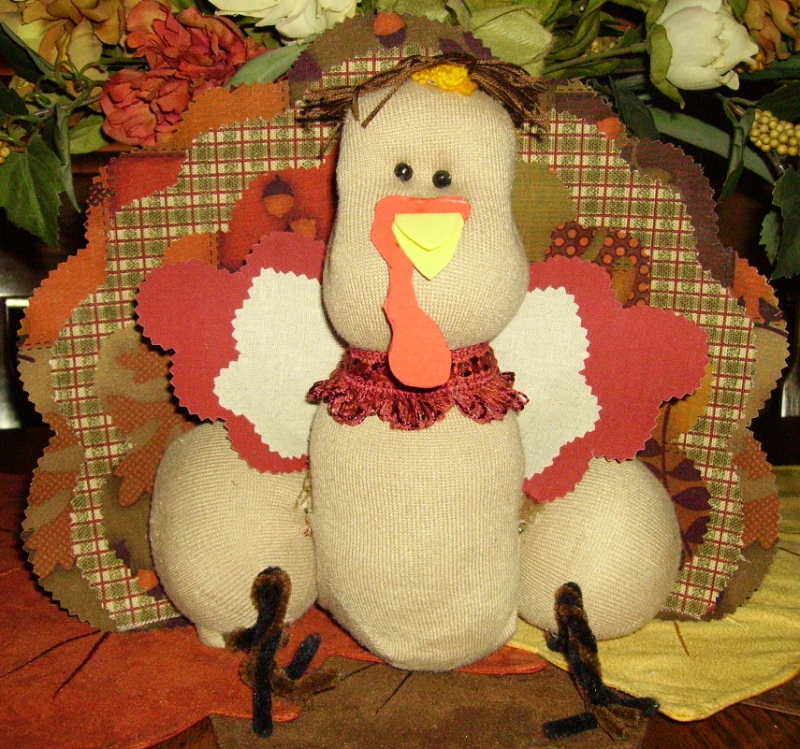
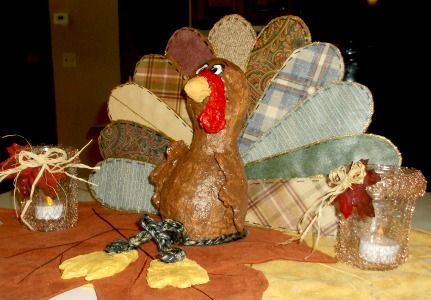
Thanksgiving Projects Gallery: