
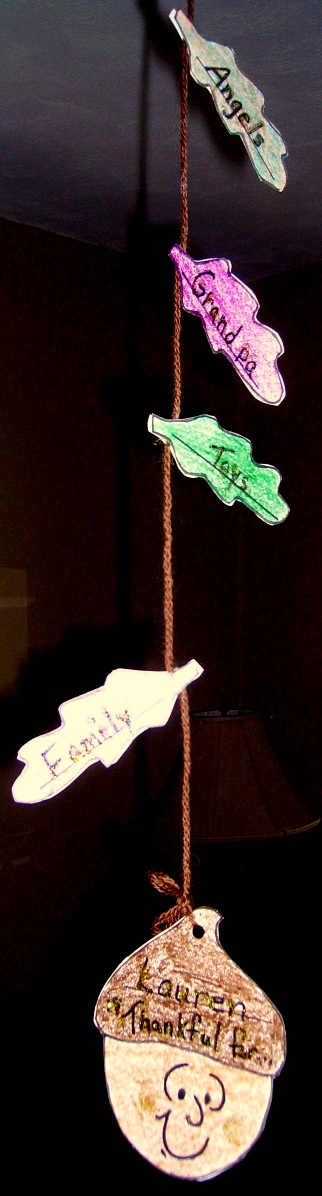
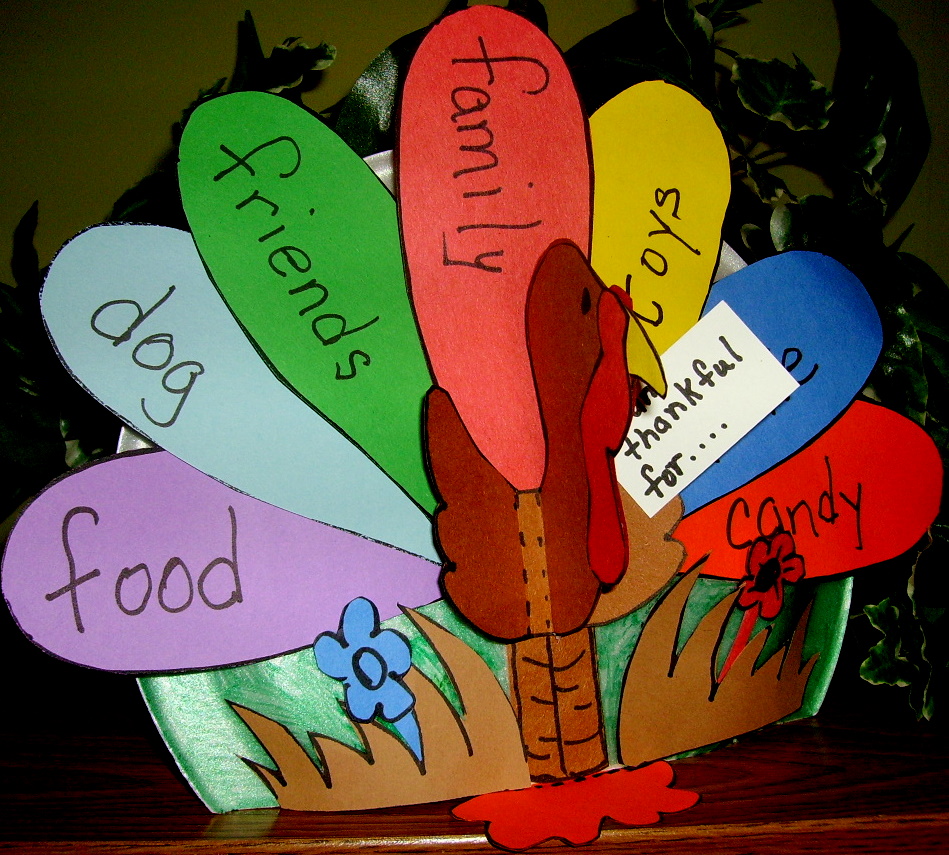
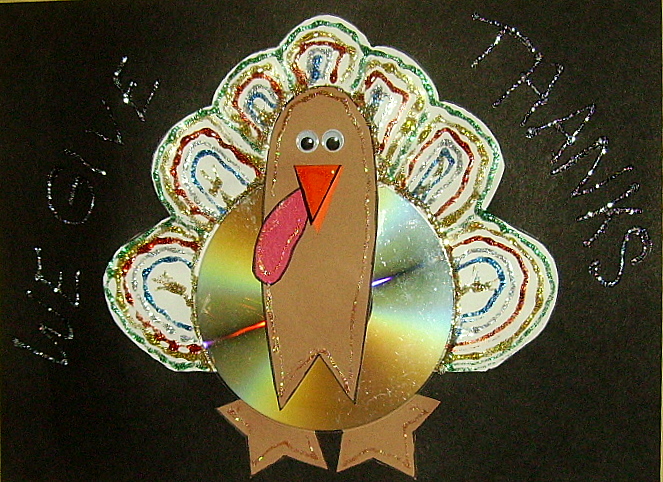
This project helps the kids think about the things they have been blessed with. Thanksgiving is a great holiday to celebrate with family. I guess it’s a bit of a stretch to think that a turkey would be thankful, after all he’s the main course.

Supplies: 
- Paper plate (paper or Styrofoam)
- Assorted colors of construction paper
- Turkey head, wings and legs (Pattern)
- Turkey feathers (Pattern)
- Turkey feet (Pattern)
- Turkey wattles (Pattern)
- Turkey beak (Pattern)
- Scissors
- Glue stick
- Black marker
- Colored markers
Directions:
- Measure in 2″ on one side of the paper plate and cut straight across the plate.
- From the piece cut off, cut a strip 1 ½” x 5 ¾”. Tape the strip to the inside of the plate, so the top of the strip starts where the flat part of the plate starts. The rest of the strip falls free. This forms a stand for the Thankful Turkey.
- If you want, color the back side of the plate with a colored marker.
- Cut out the turkey pieces. Fold up the back side of the feet, and glue them to the center of the flat, cut side of the plate—-the folded part should be turned up on the opposite side of the plate and glued.
- Glue the legs above the feet.
- Glue one feather above the legs and glue three more on each side of the first feather, making a fan shape.
- Fold at the dotted lines on the turkey head/wing pieces. Glue the head areas together, but don’t glue the folded areas or the wings. Glue the beaks on each side of the head following the guide marks. Glue the wattles to each side head following the guide marks. Draw in eyes on each side with the black marker
- Glue the narrow folds on the back of the head/wing and glue above and overlapping the legs.
- Write what you are thankful for on the feathers with the black marker. On a scrap piece of white paper, write “I am thankful for” and glue the paper to one of the wings
- If time permits, cut grass and flowers out of colored scraps and glue on both side of the legs.
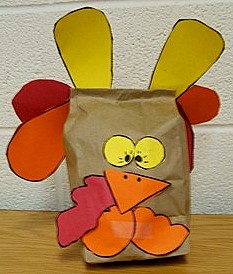
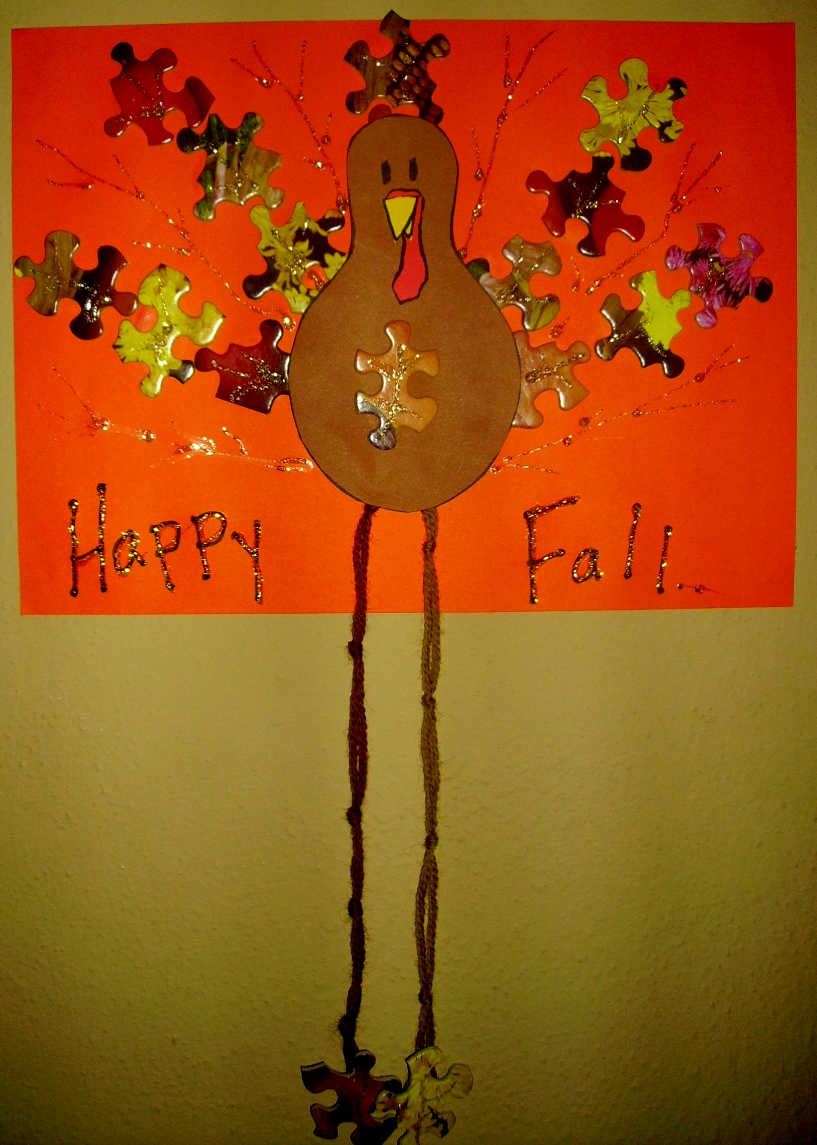
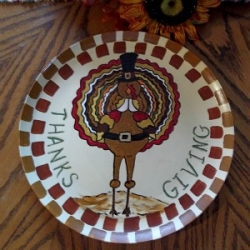
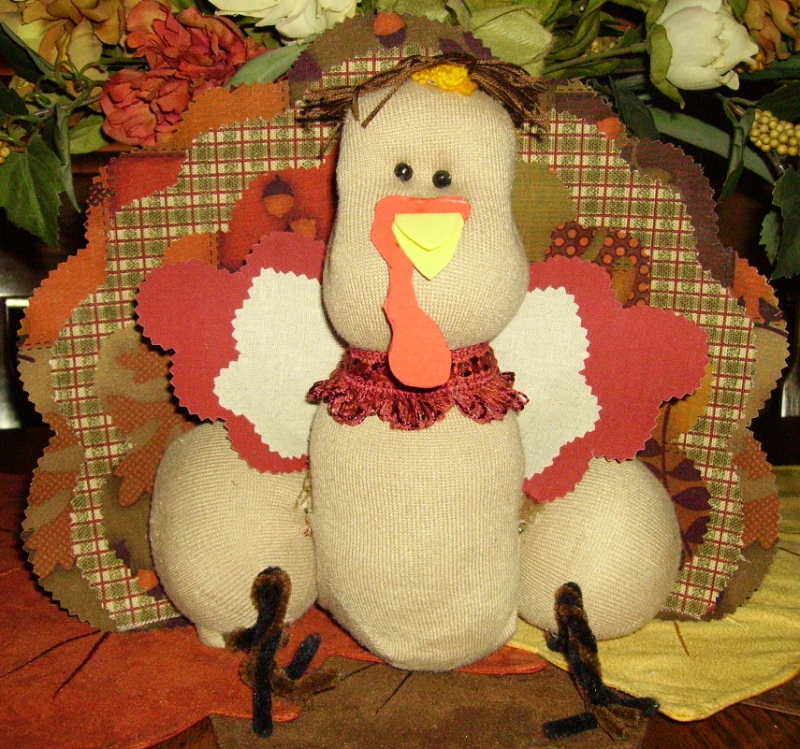
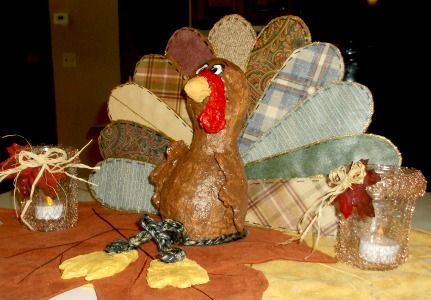
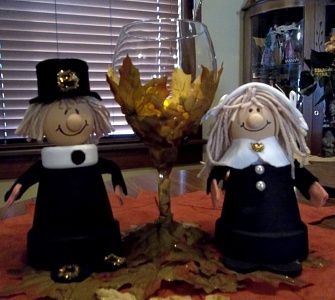
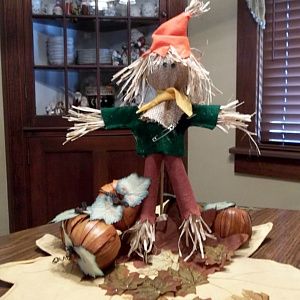
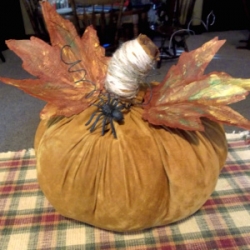
Thanksgiving Projects Gallery:


Â
