You know that feeling you get after eating Thanksgiving dinner? Here’s what we think the turkey feels like.
 Supplies:
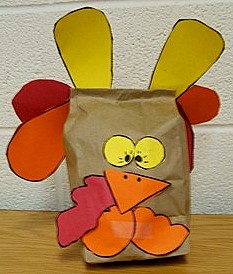
- Brown lunch bag
- Two dbl. sheets of newspaper
- Assorted colors of construction paper
- Two 1 1/4″ x 12″ strips of tan paper
- One 4″ x 4″ square of scrap paper
- Feather (any color or size)
- Puzzle pieces or buttons
- Turkey feet (Pattern)
- Turkey wings (Pattern)
- Turkey beak (Pattern)
- Turkey head and wattle (Pattern)
- Turkey feathers (Pattern)

- Turkey hat (Pattern)
- Scissors
- Colors
- Glue sticks or glue dots
- Stapler
- Black Sharpie

Directions:
- Stuff the brown lunch bag with crumpled up newspaper and turn the top down two times. Staple
- Color the hat in whatever colors you desire.
- Carefully cut out all the turkey pieces.
- Glue the two head pieces together down to the side marks. Glue the bottom of the head, one side on each side of the turned down top. Staple if you wish.
- Lay the feathers in a fan shape over the 4″ x 4″ square of paper and glue them down. Let this dry for a bit.
- Glue the wings to the bag.
- Accordian pleat the 12″ strips, and glue them to the front, bottom of the lunch bag. Glue the feet onto the ends of the strips.
- Glue the feather arrangement to the back of the paper bag.
- Glue the beak and wattle to the face. With scraps of white paper, draw (with the Sharpie) eyes and cut them out and glue to the face. Glue on the hat.
- Glue a feather to your turkey. Add puzzle pieces or buttons to front of turkey body.


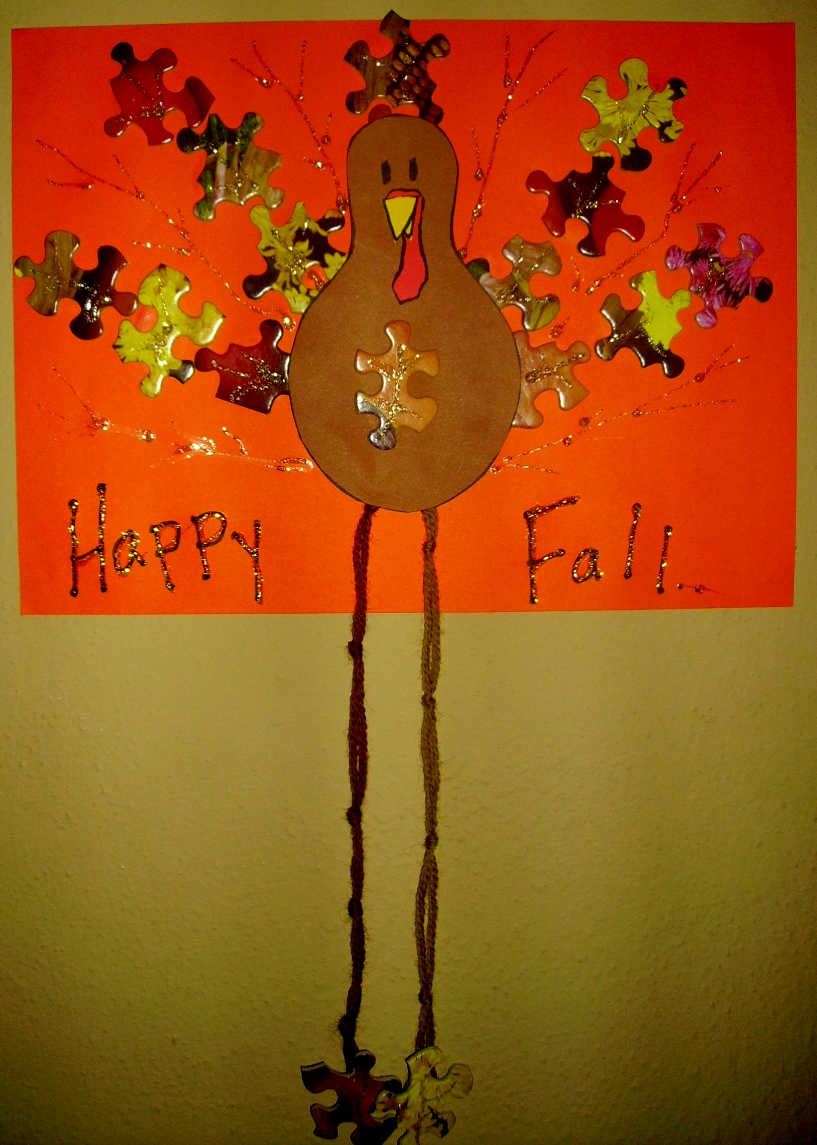
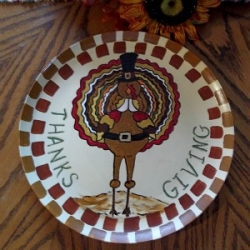
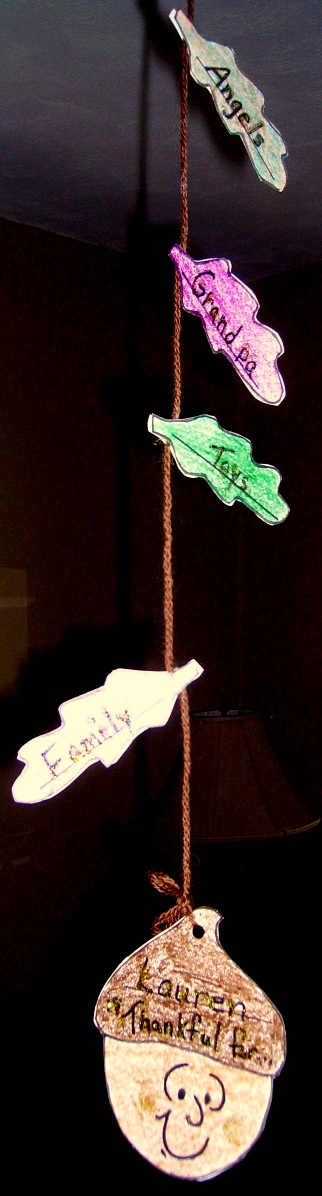
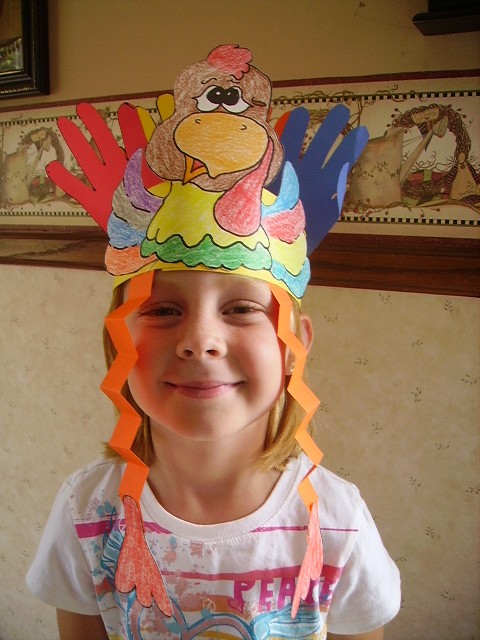
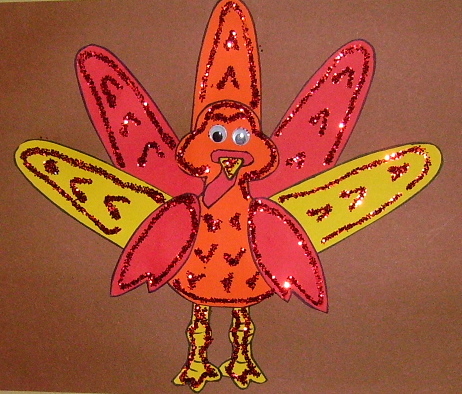
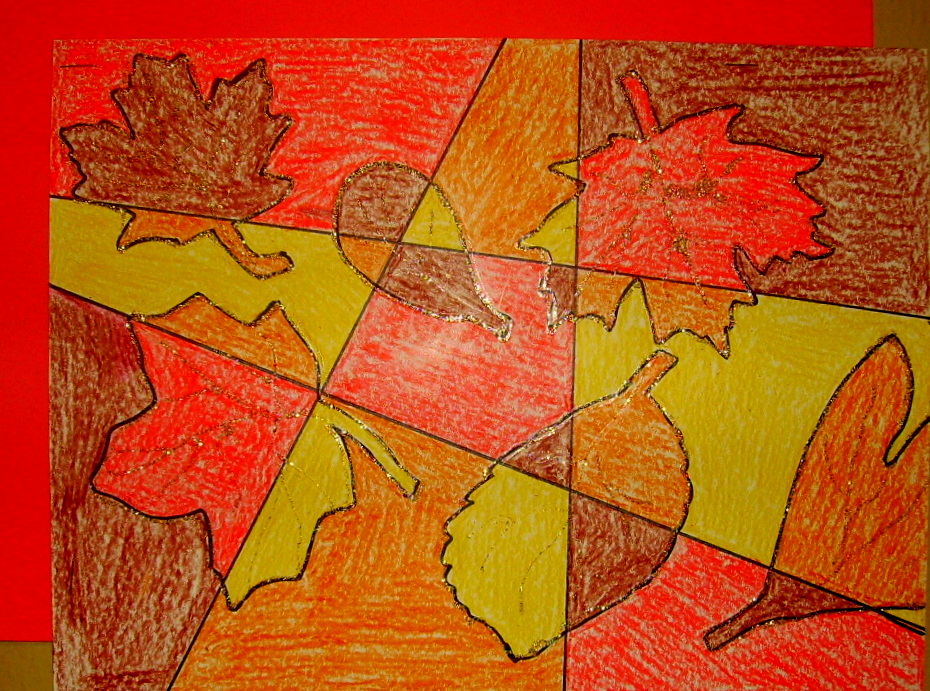
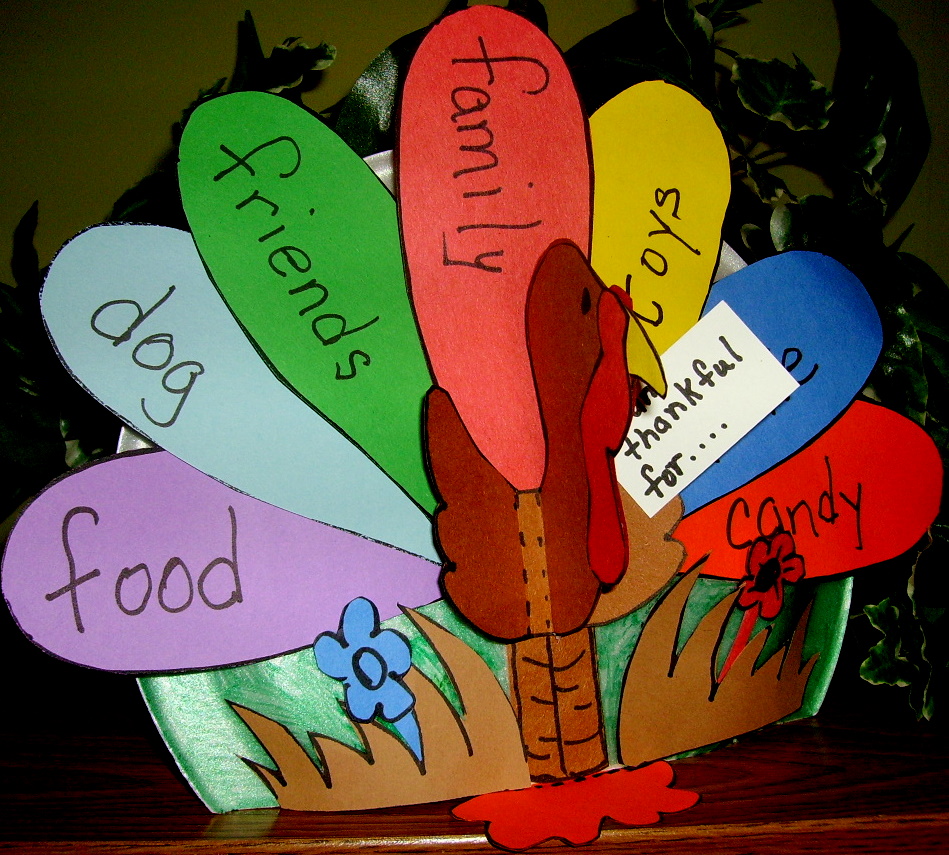
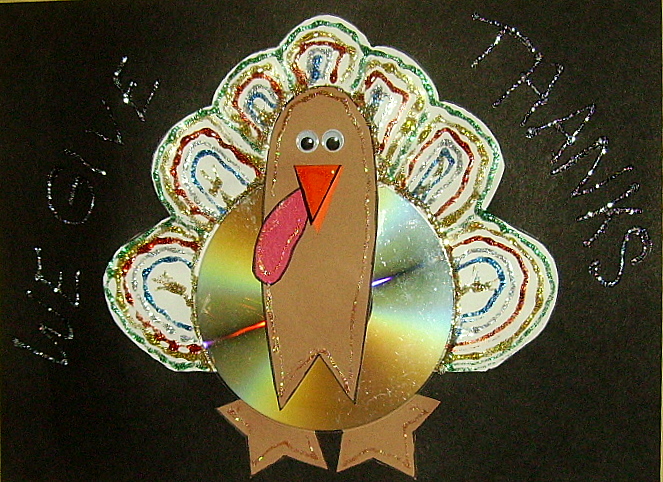
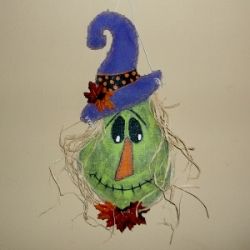
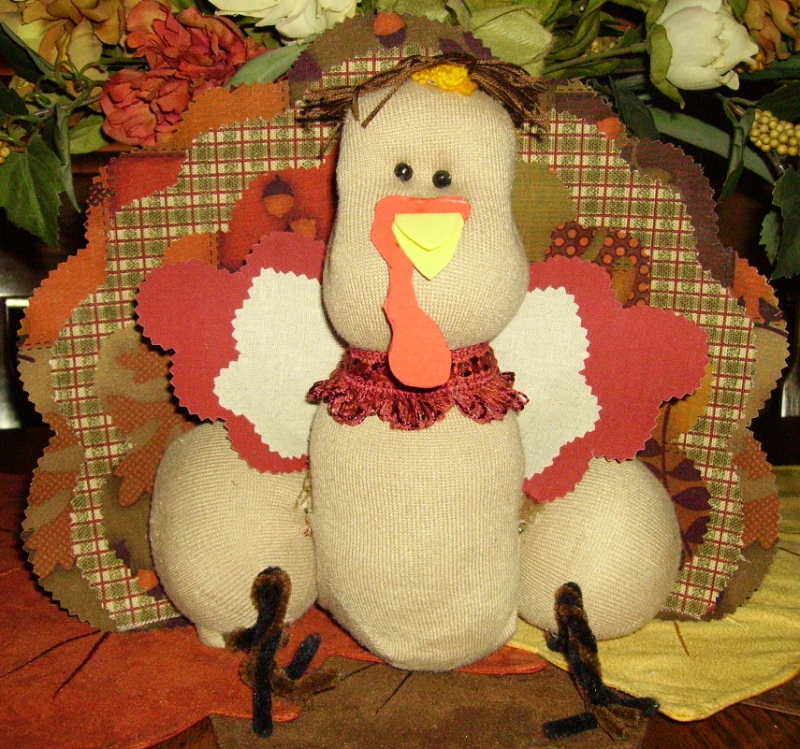
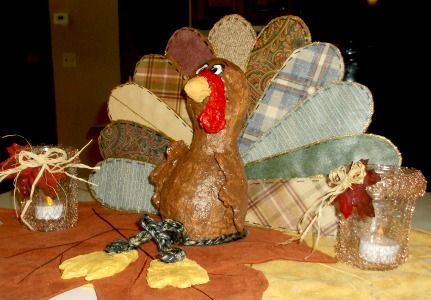
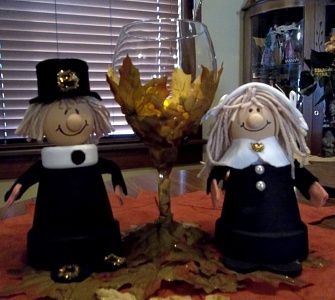
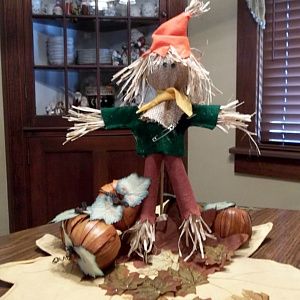
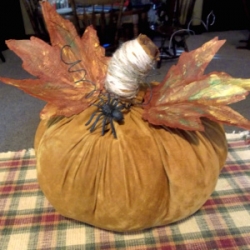
Thanksgiving Projects Gallery: