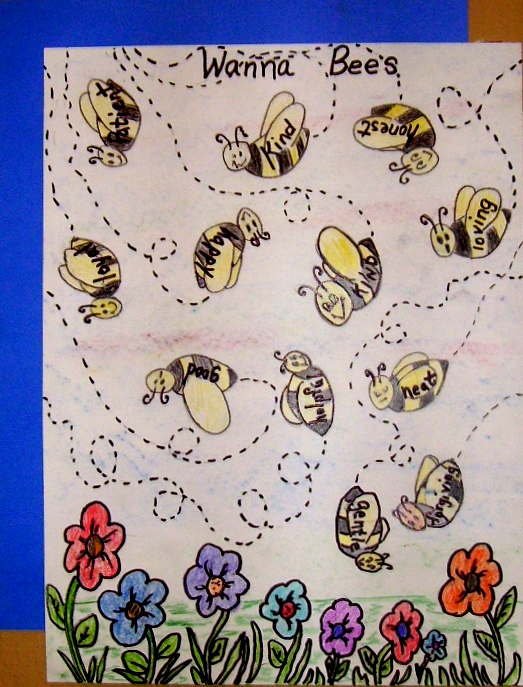
As parents and teachers we strive to promote strong character traits in children. The poem, “Children Learn What They Live,” by Dorothy Law Nolte (you can see a copy of her poem at http://www.empowermentresources.com/info2/childrenlearn.html) is the inspiration for this project. I call it Wanna Bees, as in, “I wanna be happy, or I wanna be loyal or I wanna be honest.” To be a positive role model, I have to “wanna be” too.
Some suggestions for words for the bees: Calm, patient, trusting, neat, creative, gentle, respectful, helpful, friends, curious, loyal, forgiving, active, kind, happy, loving, honest, good, caring, aware, courteous.

Supplies:
- White construction or drawing paper
- Card stock
- Bee bodies stencil (Pattern)
- Pencil and eraser
- Colored pencils
- Black Sharpie
- Colored chalk
- Kleenex
Directions:
- Make a bee body stencil for each student on card stock.
- Trace 10 or 12 bee bodies on the white paper, changing the direction and tilt of the bodies. Stress using “whisper strength” pressure while drawing. It makes erasing and covering with color easier.
- On the round end of each body draw a head, antennae, eyes and mouth. Add round ended wings and stripes to the body. Erase overlap lines where necessary.
- Make short dash marks from the back of the bee to off the page, adding loops where desired.
- Draw a line of flowers, stems, leaves and grass across the bottom of the picture.
- Write, “Wanna Bees” somewhere near the top of the page or wherever it will fit.
- With colored pencils, color the flowers, leaves and grass. Outline with the black Sharpie.
- Working with one bee at a time, color the bee with colored pencils, outline the bee and its flight with a fine black marker. With the black Sharpie write one of the character traits inside the bee body or wing.
- When all the bees are colored, lightly stroke the side of a piece of colored chalk over the complete picture. More than one color can be used, but be sure to stroke lightly.
- Gently wipe over the picture with the Kleenex.
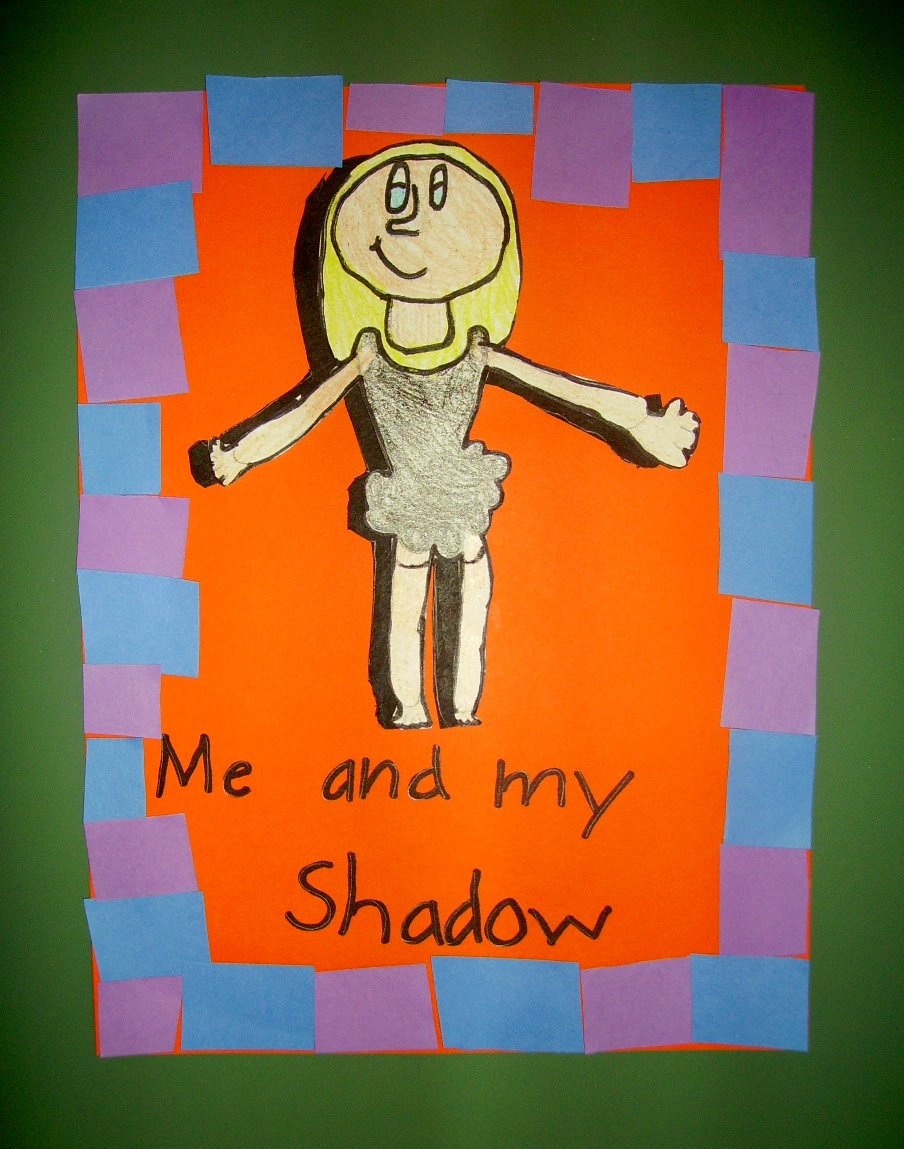
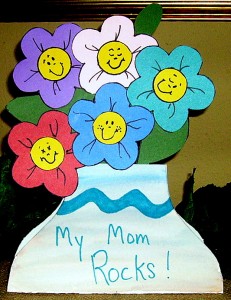
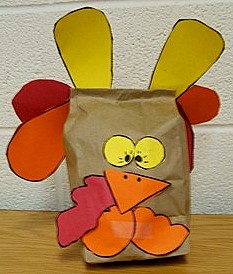
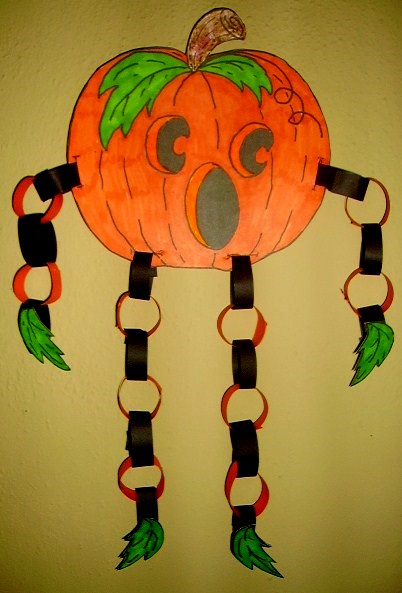
2nd Grade Projects Gallery: