
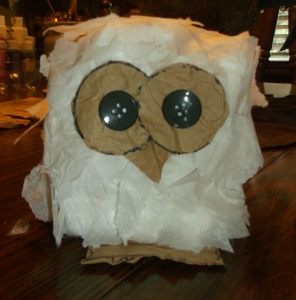
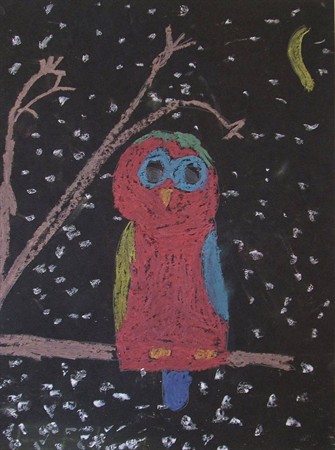
 I realize that most schools are closed for the summer, but I’m hoping to get a few new art projects onto this blog as the summer goes on. I’d like to share with you a cute little owl that is easy, fun and inexpensive to make. Â
It doesn’t have to be precise, so even the little kids will be able to make a cute owl that they’ll love to display. The base of the owl is an empty soap bar box so it’ll be something you have on hand.Â
If you want to do this as a classroom project, just be sure to let parents know you’d like them to start saving the boxes.
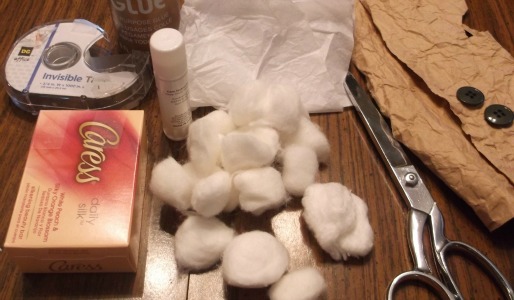
Supplies:
- Empty bar soap box
- Cotton balls (about 48 per owl)
- Tissue paper
- Brown bag paper
- Buttons (two per owl)
- Tape
- White glue
- Glue stick
- Black Sharpie
Directions:
- Tape the opening of the soap box shut.
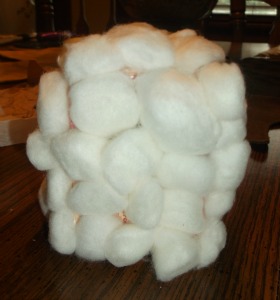
- Apply glue to the front of the box and fill in the area with cotton balls. Then do the same with the sides, back and top of the box. The front and back take 12 cotton balls, each side and the top takes 6 cotton balls.
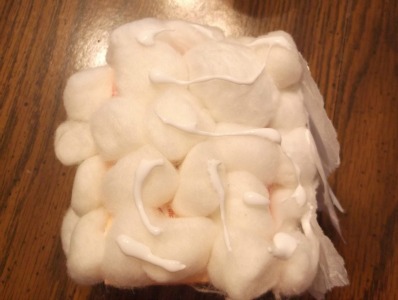
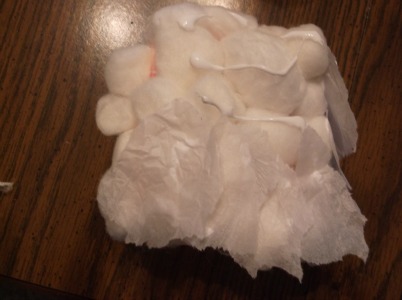
3. Spread lines of white glue over the cotton balls on the front
4. Tear tissue paper into pieces that are approximately 1 1/2″ x 1 1/2″. Starting at the bottom of the box front and working up, place the tissue pieces over the glue. Continue around all sides and the top of the box.
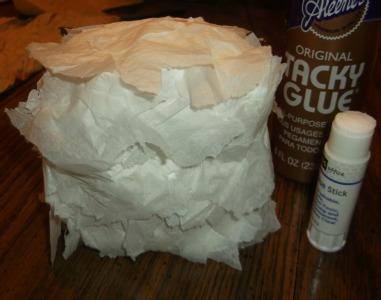
5. Take the glue stick and run a line of glue over half of an extra piece of tissue (to keep the look of feathers) and add them wherever you think the owl needs extra feathers.
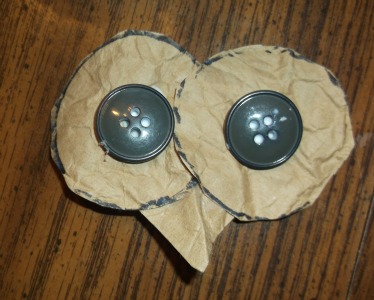 6. With a black Sharpie, draw two 1 1/2″ diameter circles on a piece of brown grocery bag paper. Overlap and glue the two circles together. Glue buttons to the center of the circles.
7. Draw and cut out a triangle (draw a line 2″ long, make a mark at the center of the line, measure up 1″ from that mark, and then draw lines down from that dot to the ends of the 2″ line). Make a fold down the center of the beak. Glue the beak to the back of the eyes, keeping a slight fold in the beak.
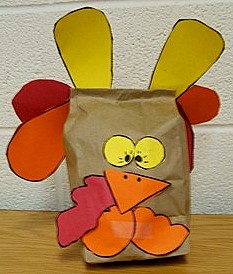
8. Glue the eyes to the owl body as shown in the photo to the left.
9. Cut a square of brown grocery bag to measure 2 1/2″ x 2 1/2″. On one side of the square, draw two owl feet that have three toes on each foot. Cut the toe shapes, and then glue the piece under the owl with about an inch of the toes showing.
Use other colors of tissue paper for different looks.

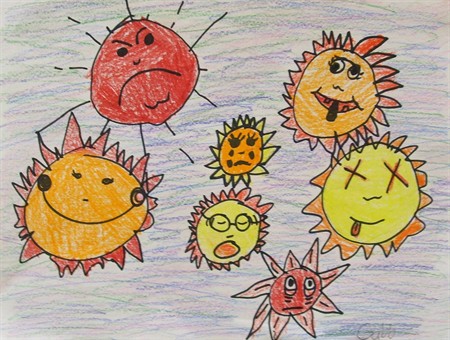
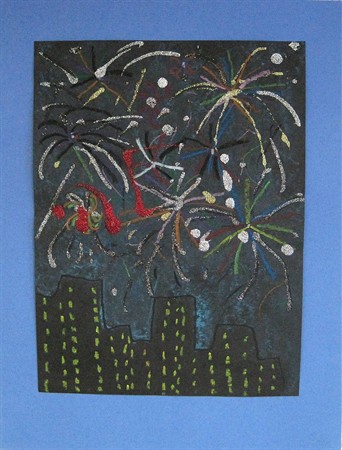
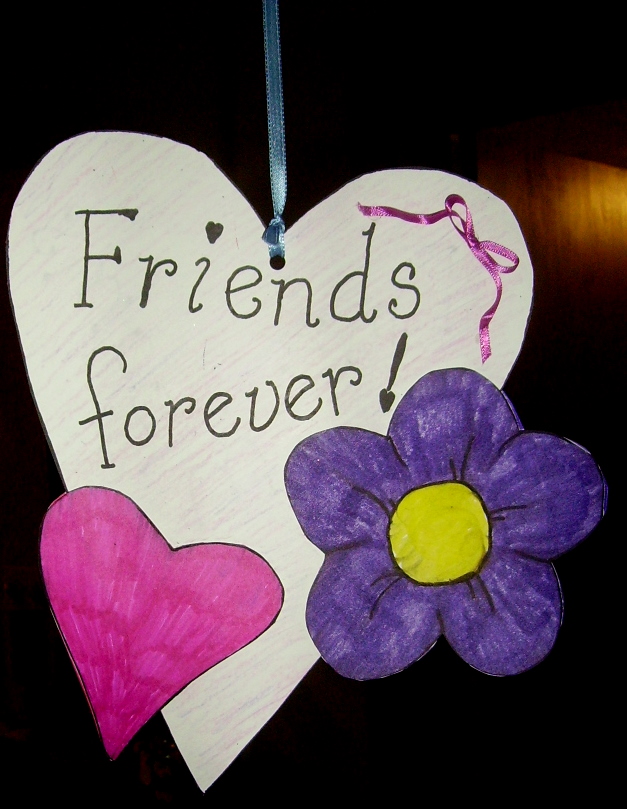
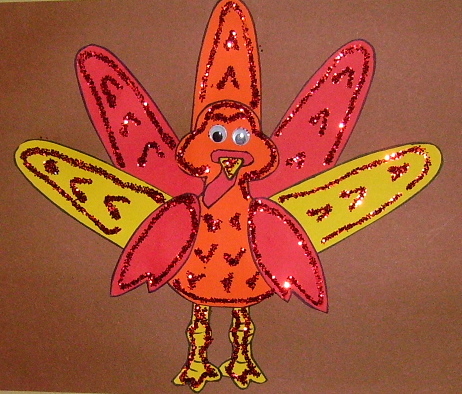
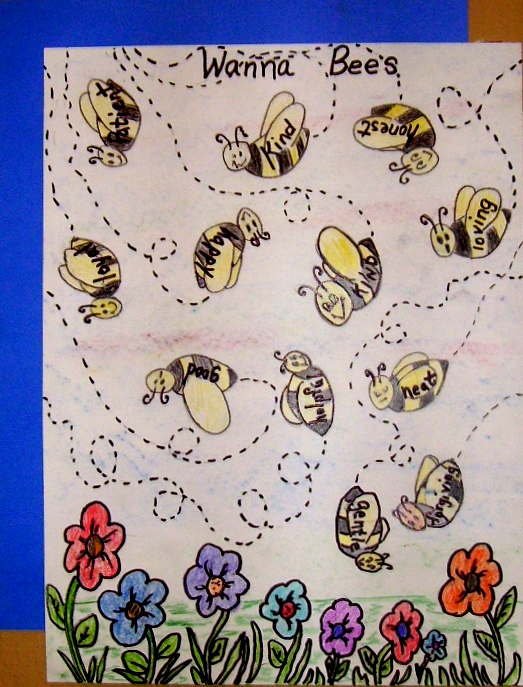
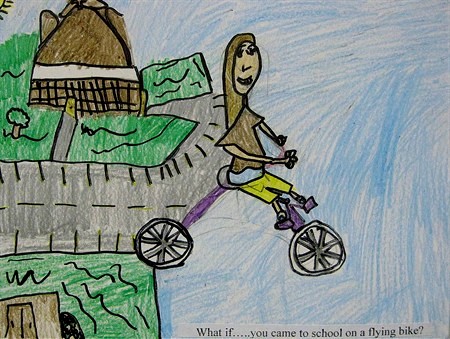
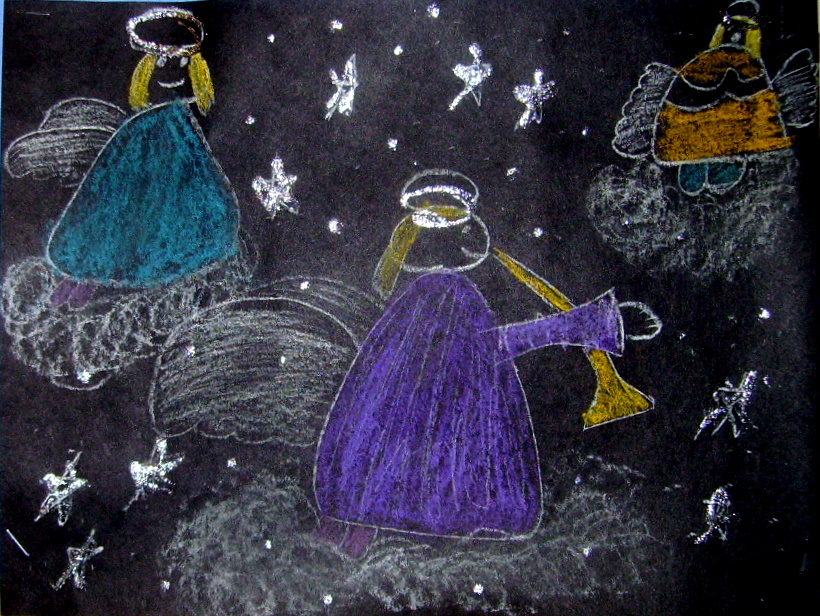
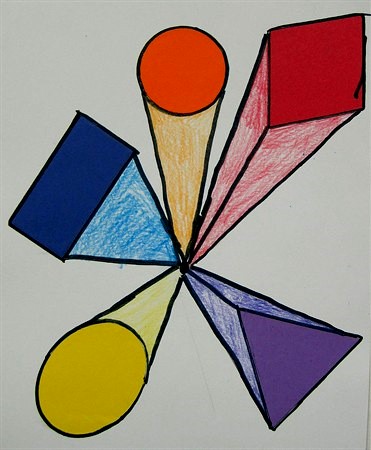
 2nd Grade Projects Gallery:


Thank you, Dianne, for the nice comment. Check out Best Crafts For Seniors for other easy and fun projects.
This is the cutest little hoot ever… It is not just for kids, I am going to incorporate it into my ladies group at Church. I am always looking for fun, fast and easy crafts, some of our ladies hands don’t work well with age but this is one craft all us old hooters will love to make!! Thanks.