
This project takes a bit of time, but it is one that you can keep for years. The older it gets, the more you will value it. It could become a Christmas keepsake and tradition.

Supplies:
- 2 sheets of 22″ x 28″ brown poster board
- Brown construction paper
- White cardstock
- Crayons and/or colored pencils
- Paper clips
- Glue stick
- Scissors
- Gold glitter or glitter glue
- Black marker
- Roof (Pattern 1) (Pattern 2) (Pattern 3)
- Right Scenery  (Pattern)
- Left Scenery (Pattern)
- Background (Pattern 1) (Pattern 2)
- Stable Sides (Pattern)
- Stable Back Manger (Pattern 1) (Pattern 2)
- Holy Family, shephard boy w/sheep, camel, lamb (Pattern)
- Two Kings (Pattern)
- One King, two shephards (Pattern)
- Angels (Pattern)
- Animals and Star (Pattern)
- Stands for the figures (Pattern)
Directions for the stable and manger:
-
- Cut one sheet of poster board in half (11″ x 28″). Set aside.

- 2. On the full sheet of poster board, from both the right and left sides, measure and make a dot at 5″ and 11″ up from the bottom. Measure 3″ toward the center at the 5″ mark, and 7″ toward the center at the 11″ mark. Draw a solid line from the side of the poster board to the 3″ mark, and one from the side and the 7″ mark. Measure 1″ and draw a dotted line between the inside ends of the 7″ and 3″ solid lines.
3. Make a dot 7″ from the outside edge at the top of the poster board. Draw a dotted line from the top to the dotted line on the bottom.
4.  Cut along the solid lines and fold at the dotted lines. Run a stylus along the dotted lines to make the folds sharper.

5. The top of the poster board folds up, the 11″ sides fold forward, and the 1″ pieces fit behind the 11″ sides. Later we will use a paper clip to hold the sides in place.
 6. Print out the roof pattern, butt the three pieces together at the sides, and tape. Cut along the sides and straw front of the roof. This can then be used as a pattern on the ½ sheet of poster board. Use a stylus on the dotted lines to help make sharp folds.With the black marker, draw straw lines on the roof.
7. Make copies of the scenery and animal patterns on cardstock, color, and cut to size.
8. On brown construction paper, make copies of the stable sides and back patterns. Cut and glue over the scenery pictures. Then glue these to the back side of the stable.
9.Fit and glue the animals behind the manger, letting the colt’s head show on the inside of the boards.
 10. Set the roof on top of the back and sides, with the folded straw front to the front edge of the sides of the stable.
11. Paper clip the top side seams to the top edge of the stable sides–behind the straw.
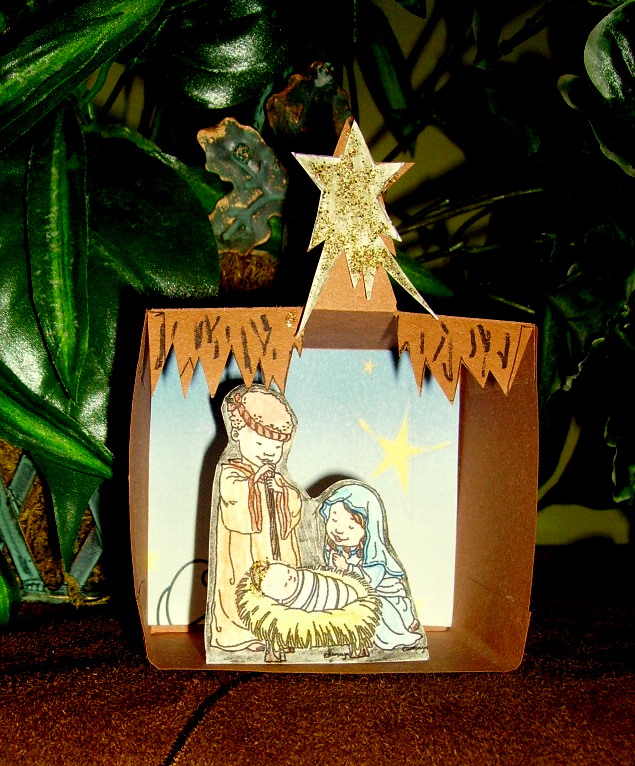
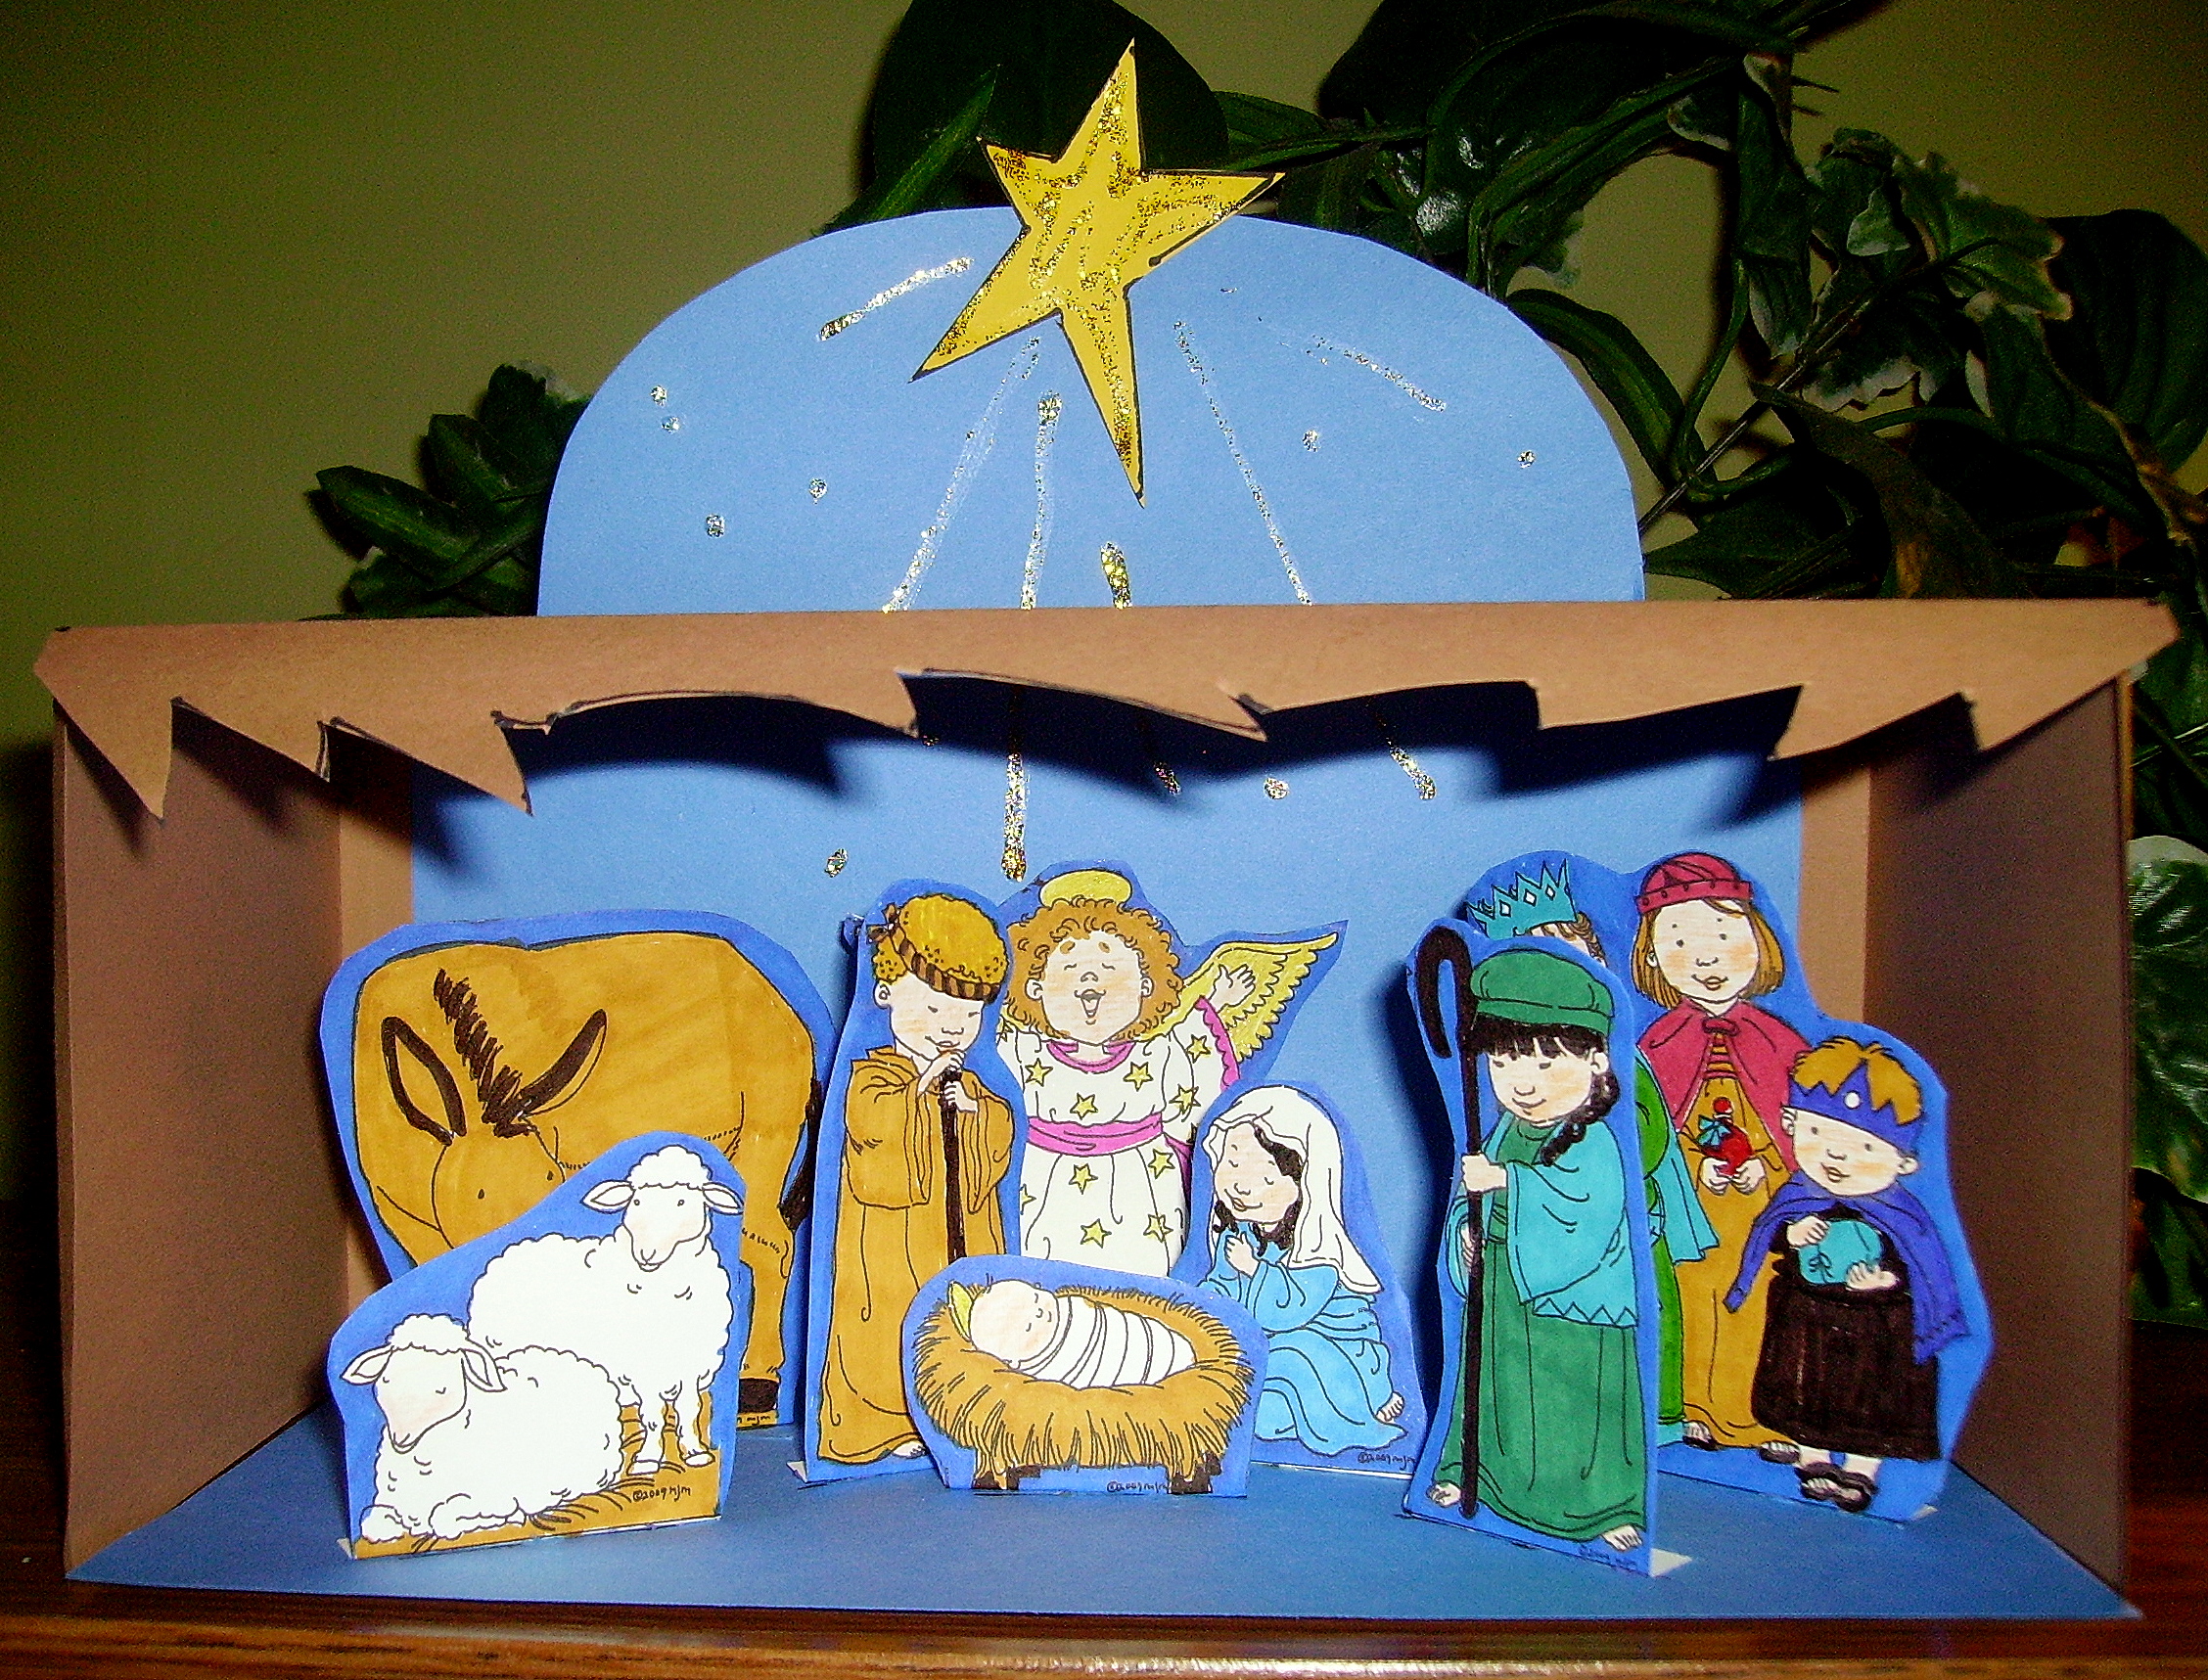
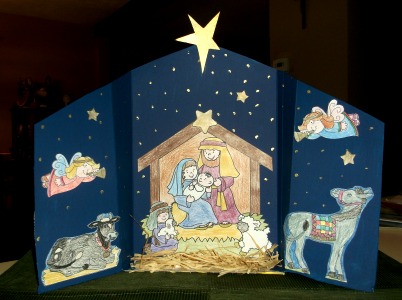
Assemble the Nativity Scene:
- With the back (scenery picture) tipped up and inside the 1″ flaps on the base, paper clip the flap and back on each side.
- Fit the roof piece on top of the stable and paper clip the roof flaps to the top of the stable.
Directions for the figures and star:
- Print out the Nativity figures and star patterns on white cardstock. There is a small border around all of the figures to keep any tiny pieces from bending or tearing off. These borders should be colored dark or navy blue. Color or use colored pencils to color the figures and the star. Use gold glitter glue or glue and glitter to add sparkle to the star.
- Cut slits where indicated on the bottom of each figure.
- Print out the stands for the figures. Color both the front and back sides of the stands and cut them out. Cut the slits at the top of the stands.
- Slide the slit of the Nativity figures over the slits in the stands. The bottom of the stand and the figure should be even. This will hold the figures upright.
- Glue the star in the center front of the stable. Glue the angels on each corner of the roof.
We used paper clips so the Nativity Scene can be folded flat to store. If you have a box big enough to store it in, the flaps could be glued.
Figures originally published in 1977 Pack-O-Fun Seasonal and Holiday Patterns. Copyright Amos Press, Inc. http://www.pack-o-fun.com
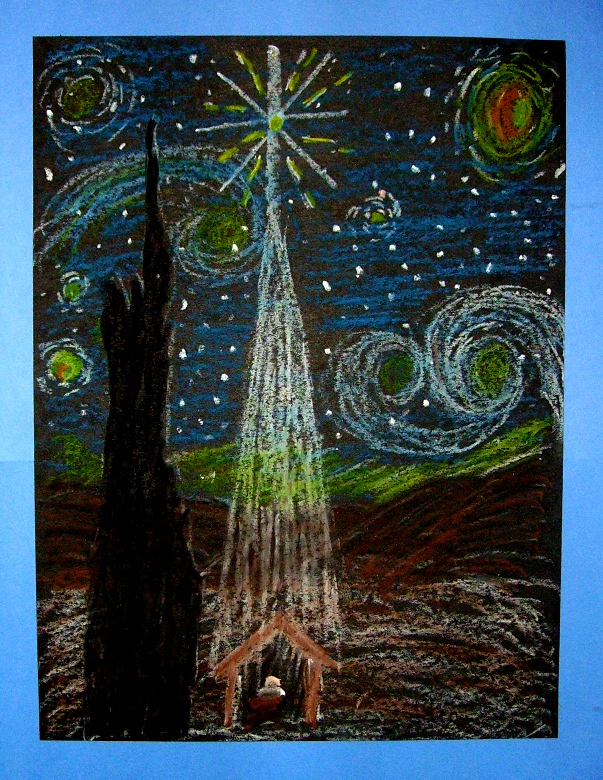
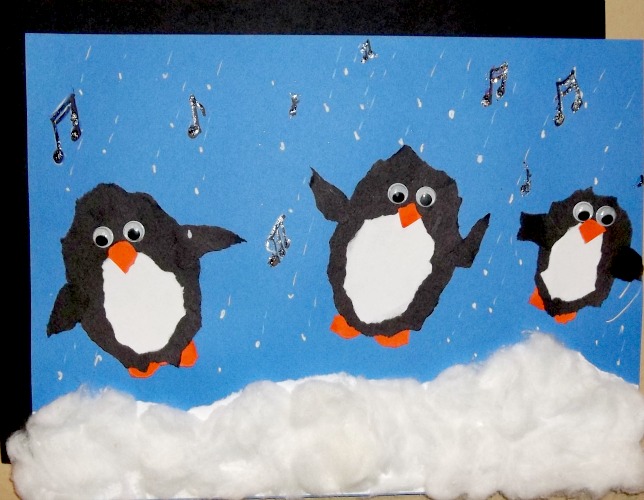
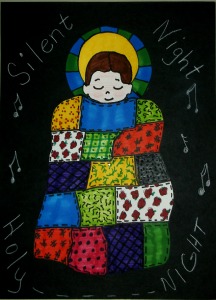
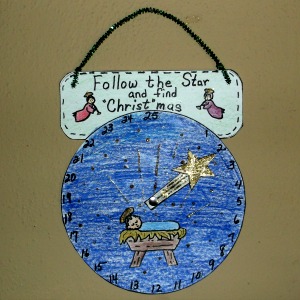
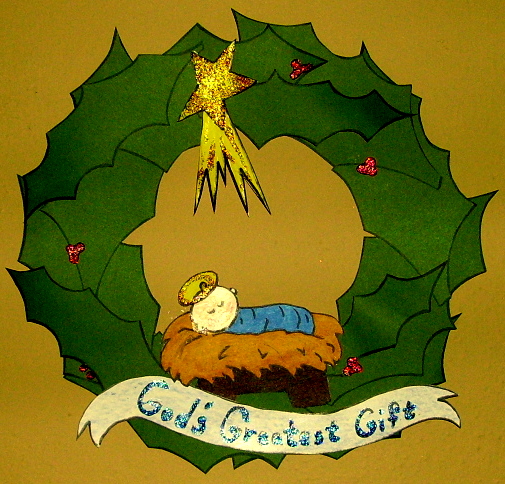
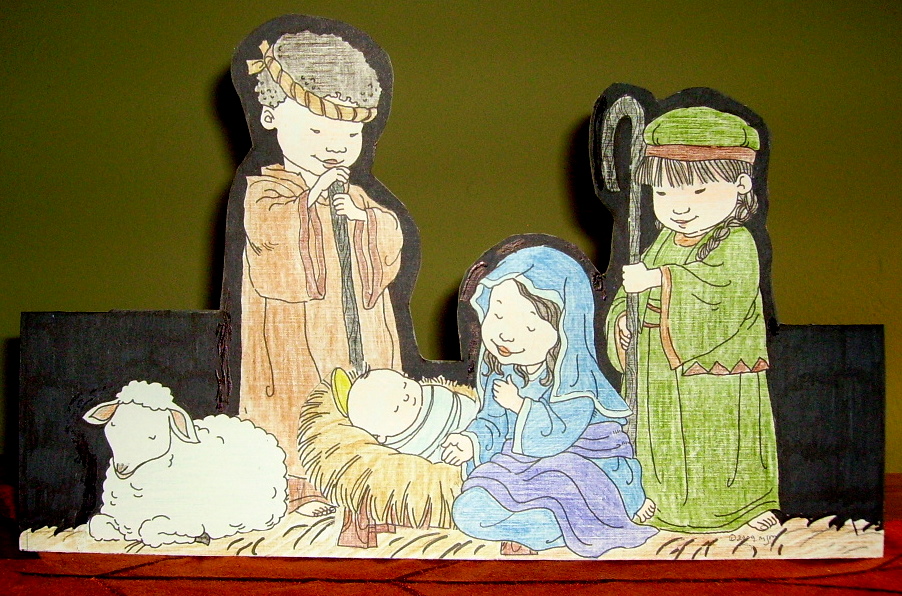
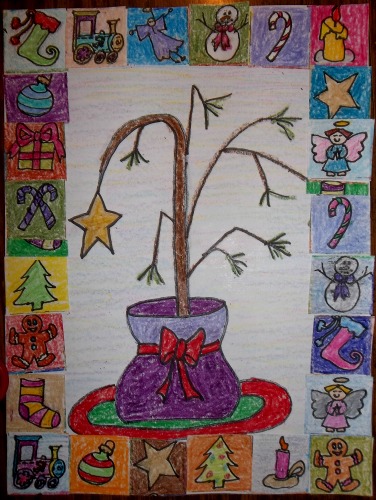
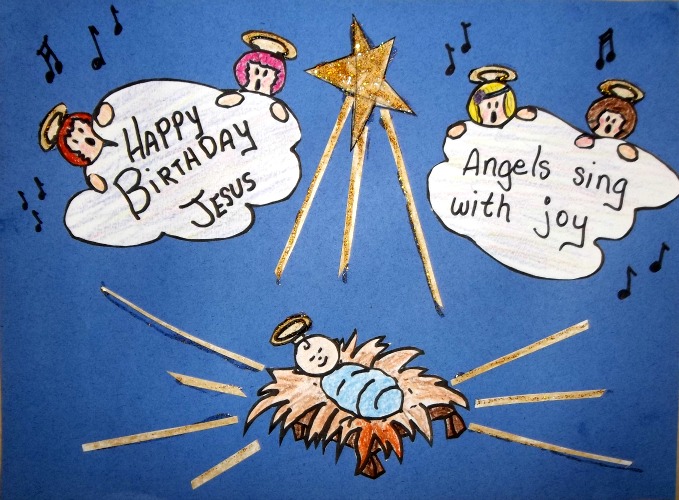
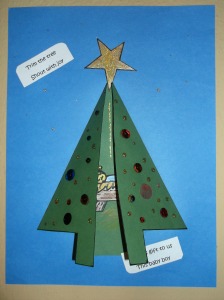
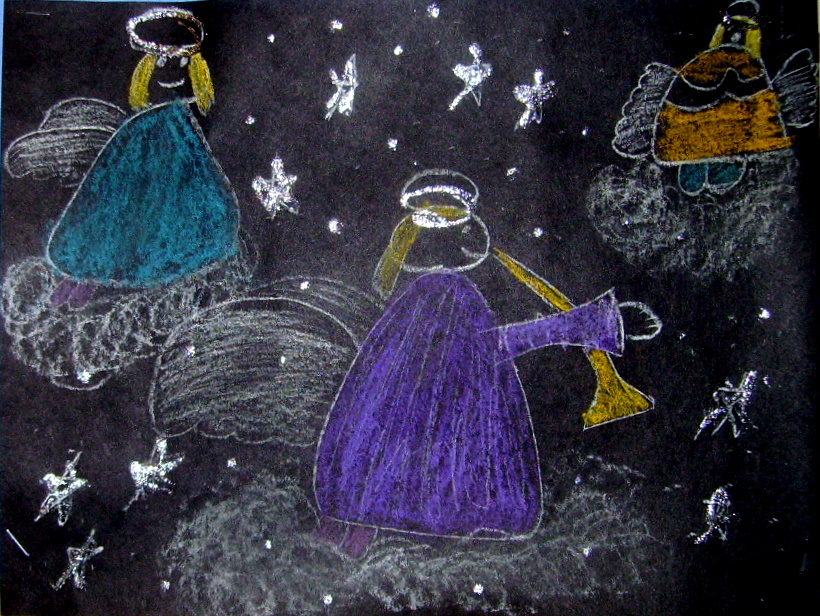
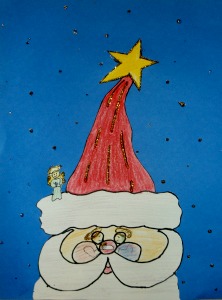
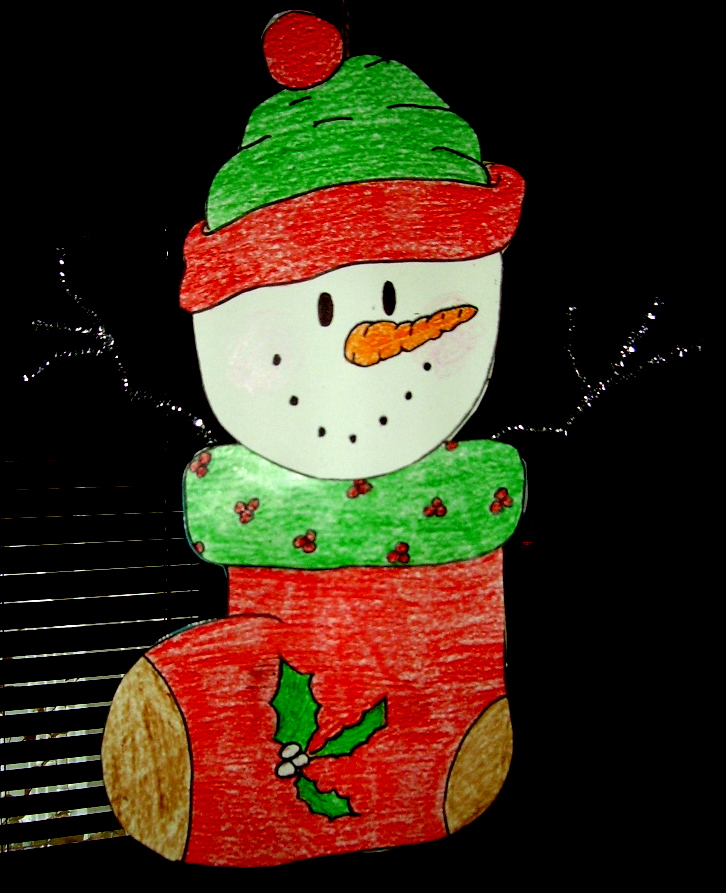
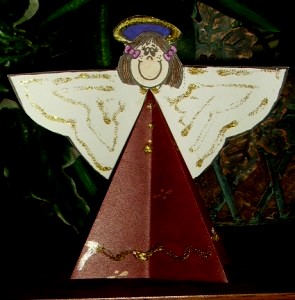
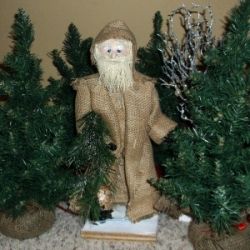
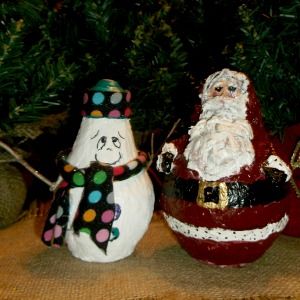
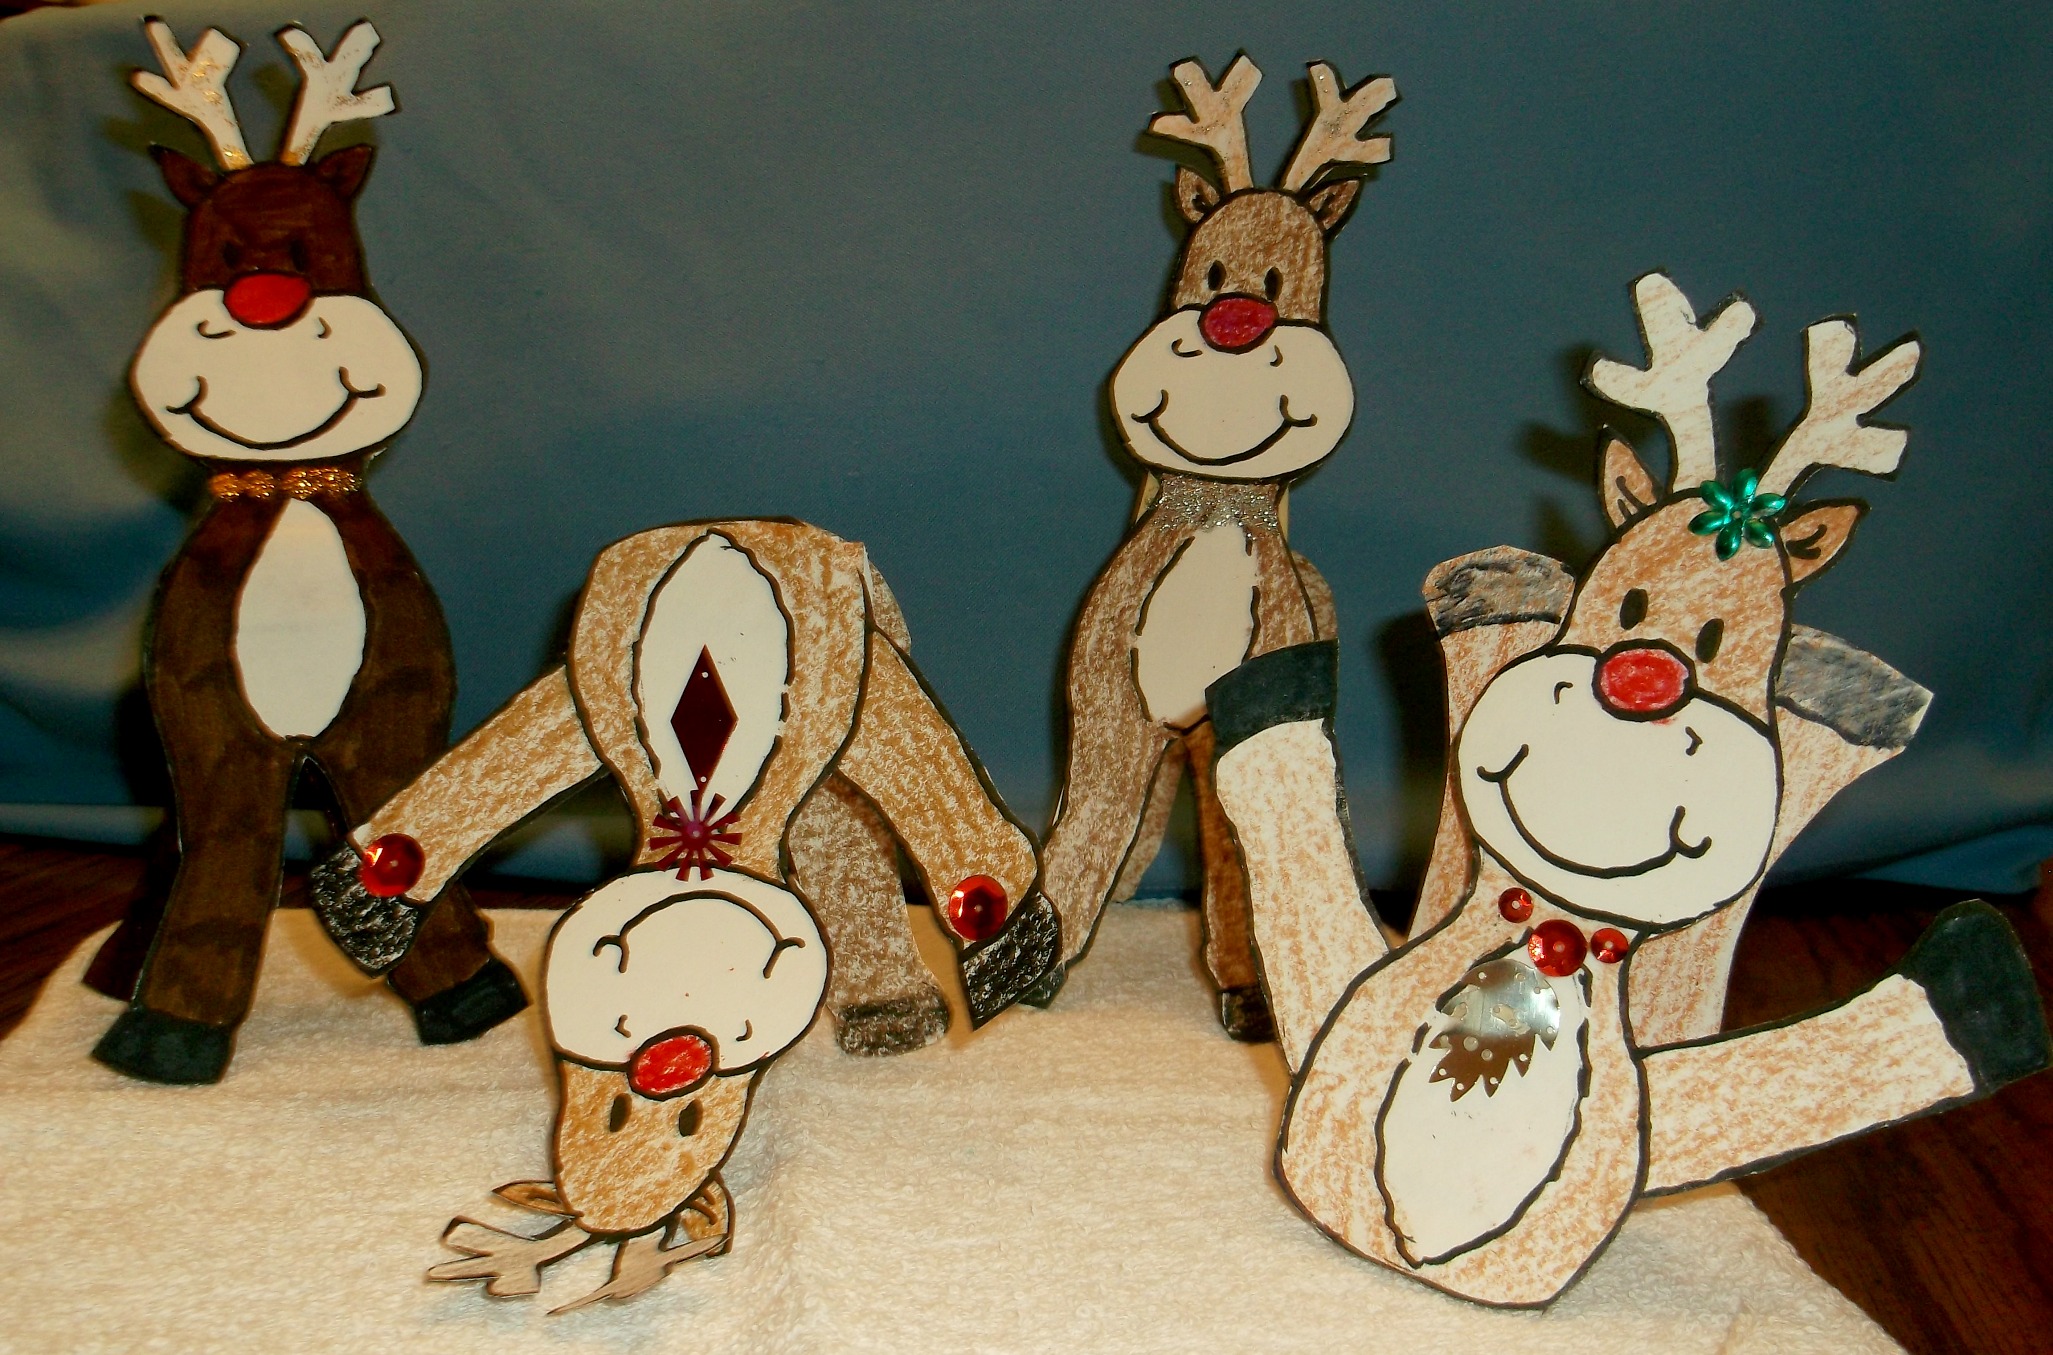
Christmas Projects Gallery:


Â

Pingback: Christmas ~ Crafts (Nativity) | Paper Gifts for Estefany
Pingback: Paper Nativity « Commotion from the Ocean of Life
Pingback: Holiday Themes Around The World « Home School Year
Thanks, Rachel, for the heads up. I didn’t realize that those patterns were missing. I’m sorry to everyone that missed those pieces. Thanks again, Rachel, and please let me know if you find anything else that I may have missed. Loraine
I love this. But there doesn’t seem to be the patterns for the angels, the star, or the animals in the background.