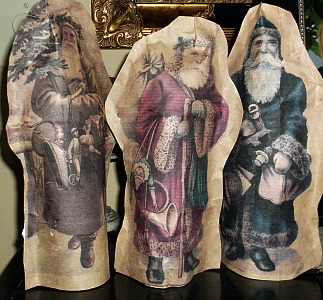
 I love these vintage Santas. I’m a Santa collector so I’m always looking for unique Santas.
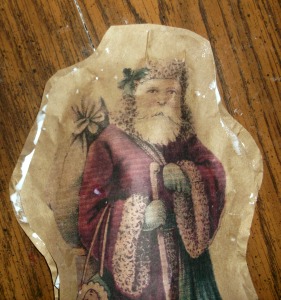
These are easy to make vintage Santas made by printing the Santa image onto brown grocery bag paper.
At the end of this project, you can see what the Santas look like if you choose to spray them with sealer.
Supplies:
- Brown grocery bag
- Santa Images (red) (blue) (ivory)
- Paper roll, like tp roll or cut that size
- Kleenex or tissue paper
- Masking tape
- Tacky glue
- Spray sealer
 Directions:
1. Cut two pieces of brown grocery bag to 8 ½†x 11â€.
2. Copy and paste a Santa image and make the image to fill the page. Print the image onto one of the cut brown bag sheets.
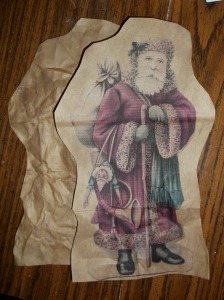
3. Holding both sheets of brown paper together, cut around the image leaving about an inch margin around the image.
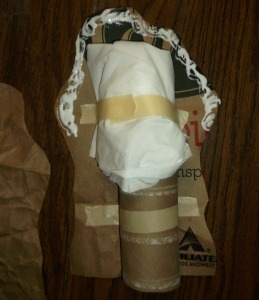
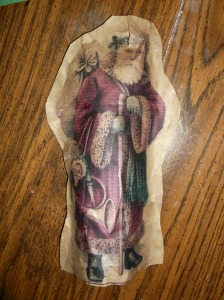
4. Slightly flatten one end of a tp roll. Place and tape the rounded end of the tp roll to the center bottom, and the backside of the Santa image sheet.Â
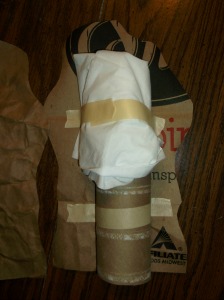
5. Slightly wad up four Kleenex and place them above and around the tp roll. Loosely tape in place.
6. Run a line of glue around the back, top half of the Santa imaged sheet. Lay the sheet over the blank sheet of brown paper.Â
 7. Slide the glued side so that about ½†of the back sheet can be seen. This makes the back sheet smaller than the imaged side. When the top side starts to stick, apply glue to the bottom half of the imaged paper, again sliding the top paper so that ½†of the back paper can be seen, and glue down.
8. Trim the extra paper on the back sheet so it’s even with the Santa imaged side. Trim the bottom edges of the brown bag sheets to make the Santa stand on its own.
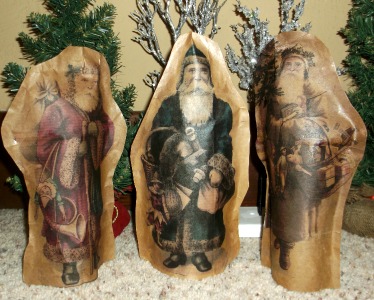
 9. Optional: Spray with sealer.
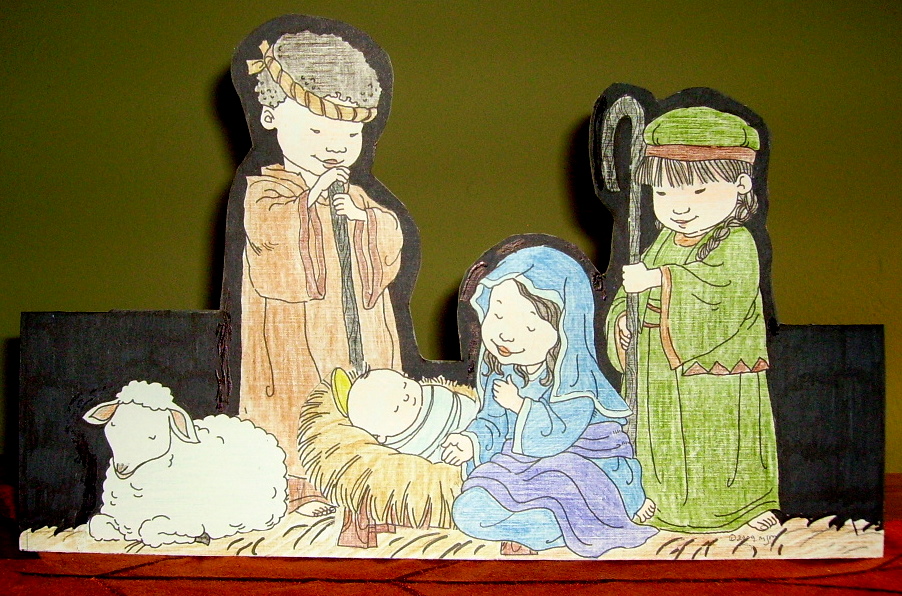
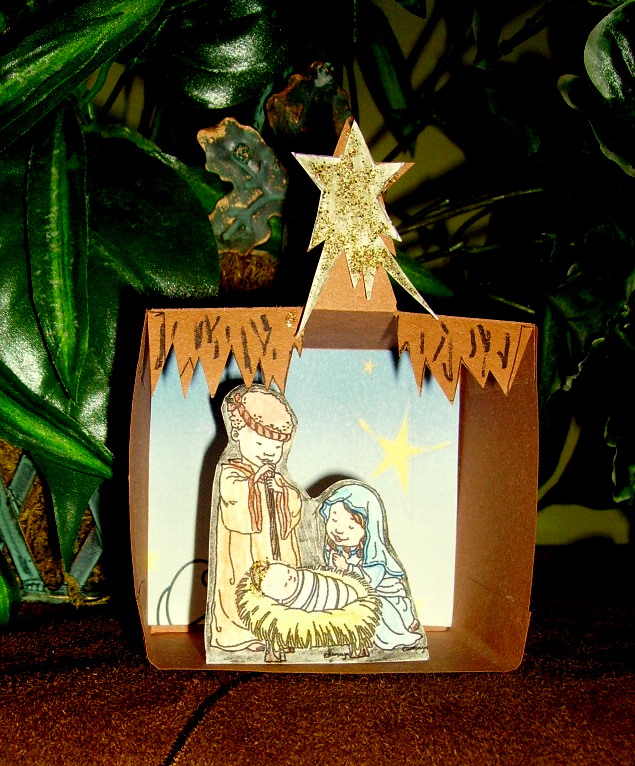
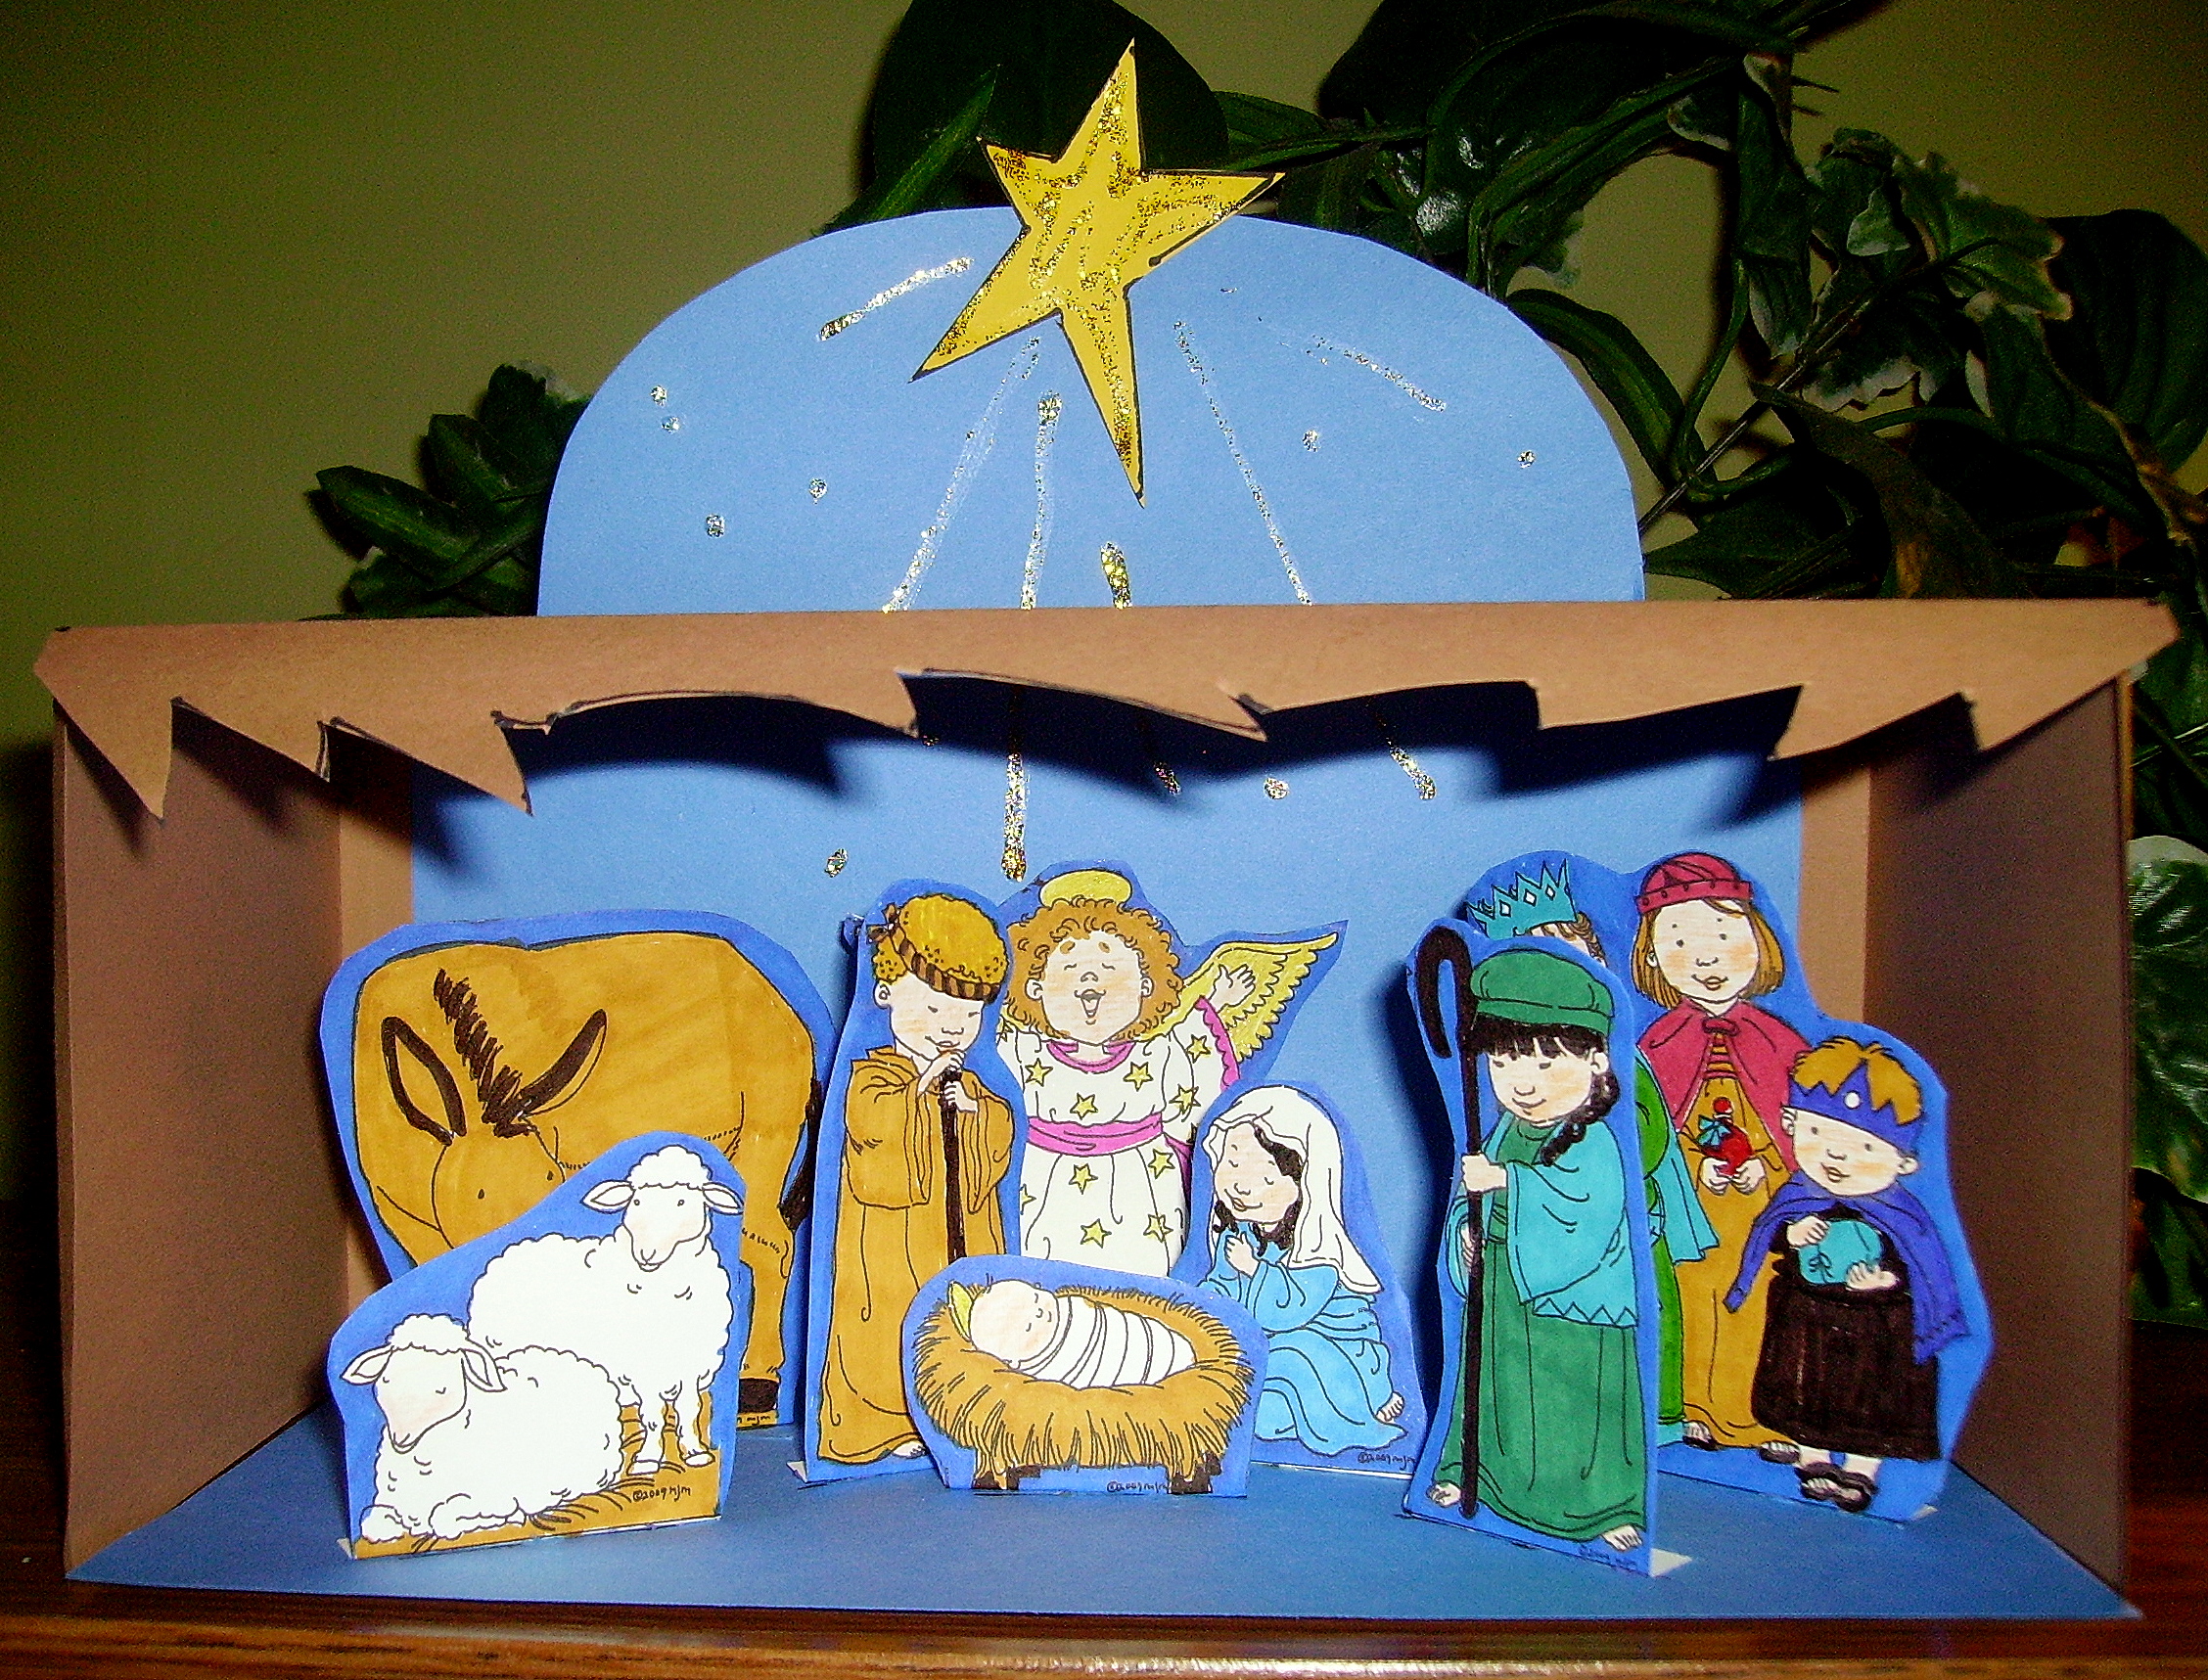
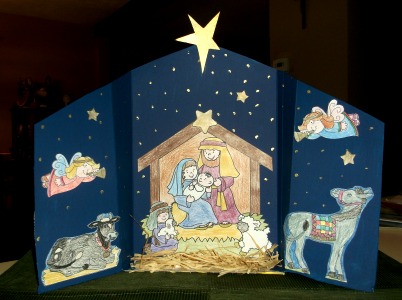
Christmas Projects Gallery: