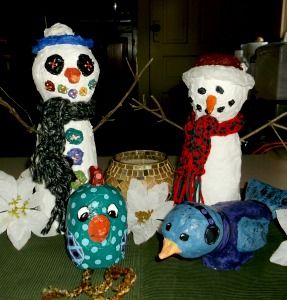
Last summer I bought a snowman plaque at a garage sale with the idea that I could use it as an example for the 6th grade to try to duplicate using cardboard instead of wood for the snowman base. I think the kids did a great job making their own version of the snowman. I had it in mind for them to make their own patterns for the hat and carrot nose, but class time didn’t allow that. So I made a pattern for them to trace onto the black felt and the orange felt. I have included the patterns in case you want to use them. I had wanted to use fleece for the scarves and hat bands, but I didn’t have enough scraps for that, so I used some type of jersey scraps. Any fabric that doesn’t ravel will work as long as it has a holiday look.

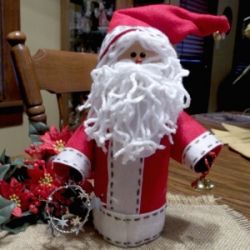
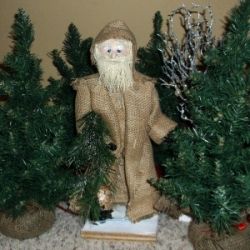
This is the one I bought
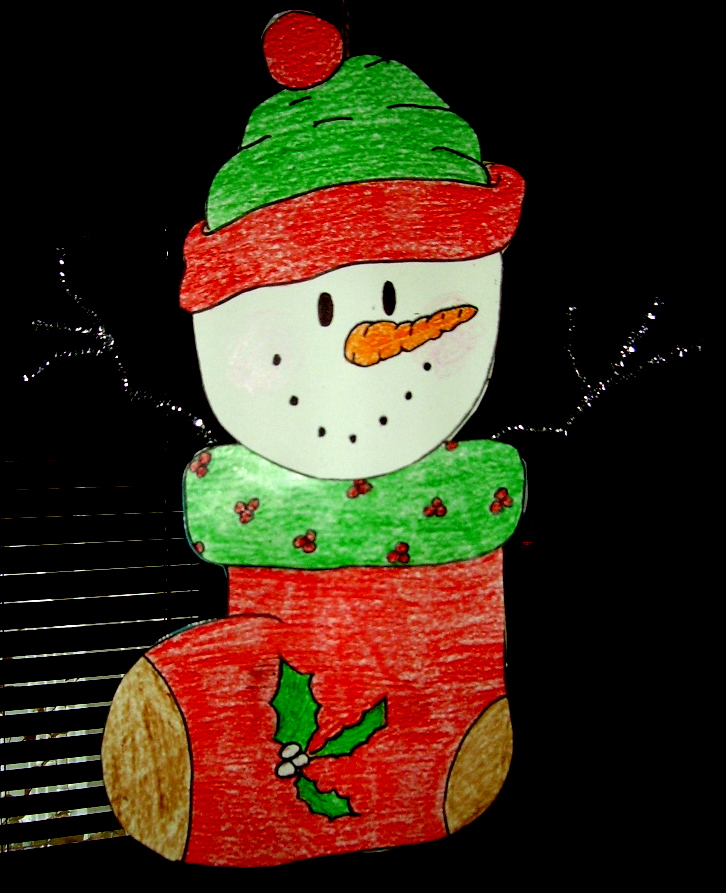
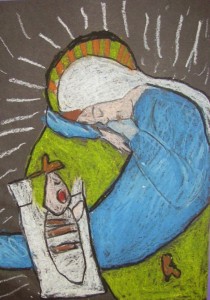
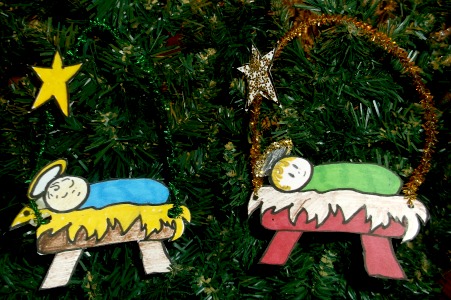
 Made by a student
Supplies:
- Cardboard or use old file folders
- 2 chenille strips
- Tape
- Kleenex
- Orange felt
- Black felt
- Hat and carrot nose (Pattern)
- Black buttons (or your choice)
- Feathers
- Large sequins, beads, etc.
- Fleece (1 ½” X 12″) for scarf
- Fleece (1 ½” X 6″) for hat band
Directions:
- Out of the cardboard or old file folders, have the students measure and cut out two blocks of each of these sizes. Two blocks measuring (5″ X 6″); two at (4″ X 5 ½”); and two at (4″ X 4 ¾”).
 Make a 2 ½” loop on the end of one chenille strip. This loop will be hidden behind the hat and will be used to hang the plaque.
- On the back side of one of the smallest (4″ X 4 ¾”) cardboard pieces, tape the looped end of the chenille strip above the center top of the piece and tape the straight part of the strip down the back. If the end wants to extend below the cardboard, fold the end up and tape.
- Using the second chenille strip, tape one end to the center bottom of the same cardboard, leave about an inch between it and the middle sized cardboard and tape it onto the second piece. Then leave another inch between the middle and largest cardboard pieces and tape the chenille strip to that cardboard. There shouldn’t be any chenille strip extending below the bottom block of cardboard.
 Glue the matching second pieces of cardboard over the first ones, sandwiching and hiding the chenille strips between them.
 Tear sheets of Kleenex into about 2″ square pieces, wad the piece up. Apply glue to the bottom cardboard block, a section at a time, and adhere the tissue wads. Push the wads close together so none of the cardboard shows. Continue gluing wads of tissue on all three of the cardboard blocks.
- Cut the hat and carrot from the black and orange felt. Glue in place. Tie the scarf around the neck, and glue feathers to the ends of the scarf. Glue the hat band in place.
- Glue buttons on for the snowman eyes.
- Use beads or sequins as buttons down the front of the snowman.


Note: If you wanted to hang the snowmen in the classroom, both sides of the snowman could be finished.


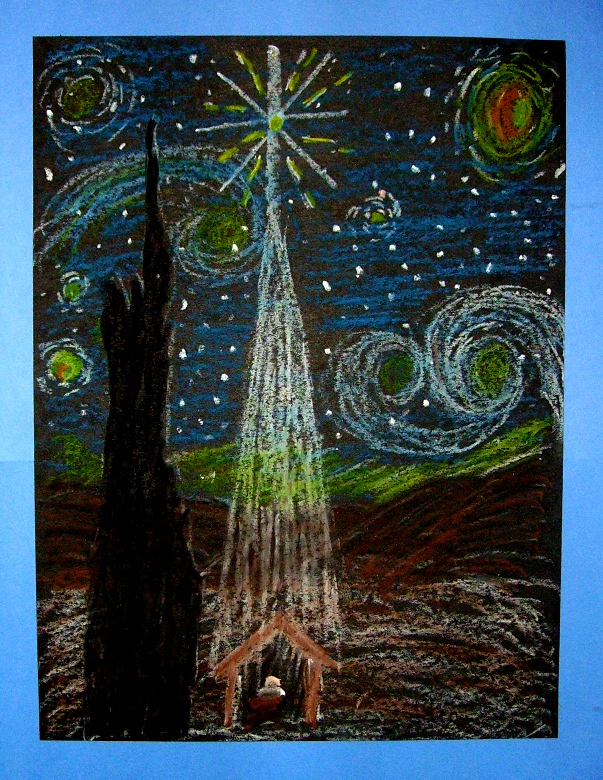
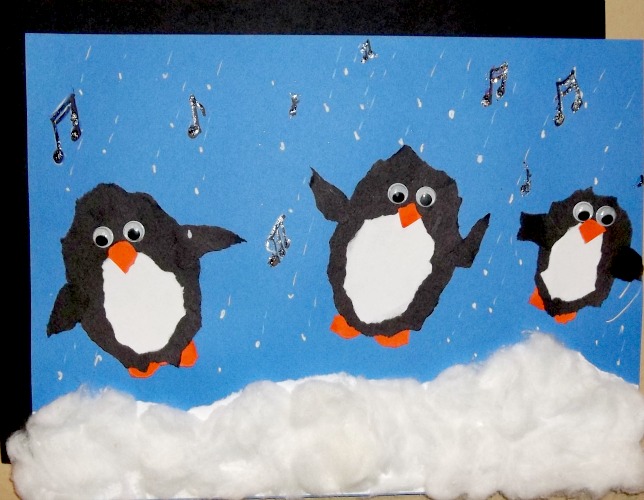
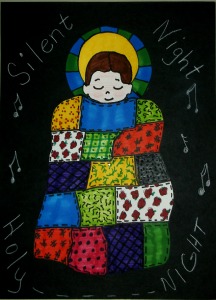
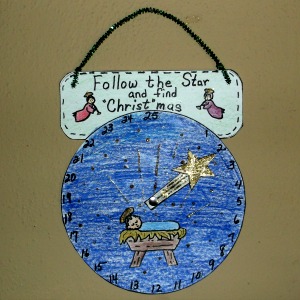
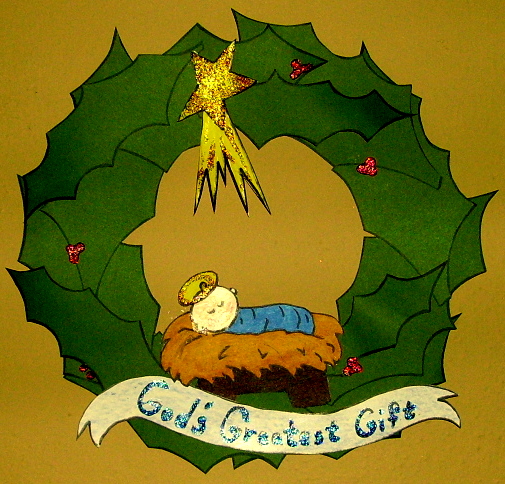
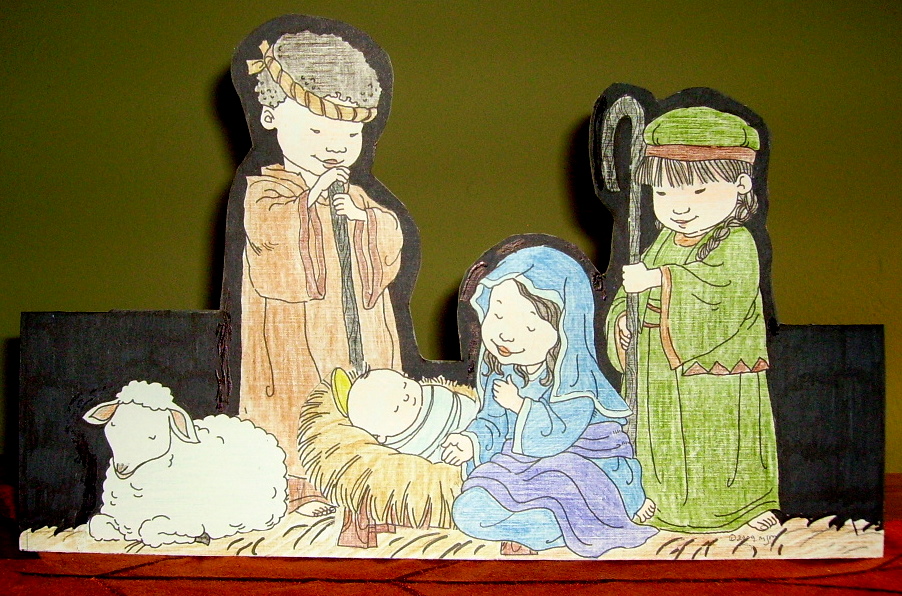
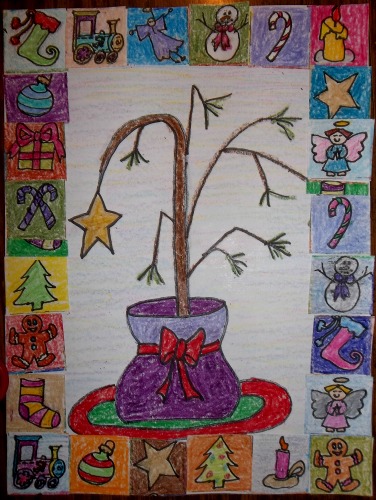
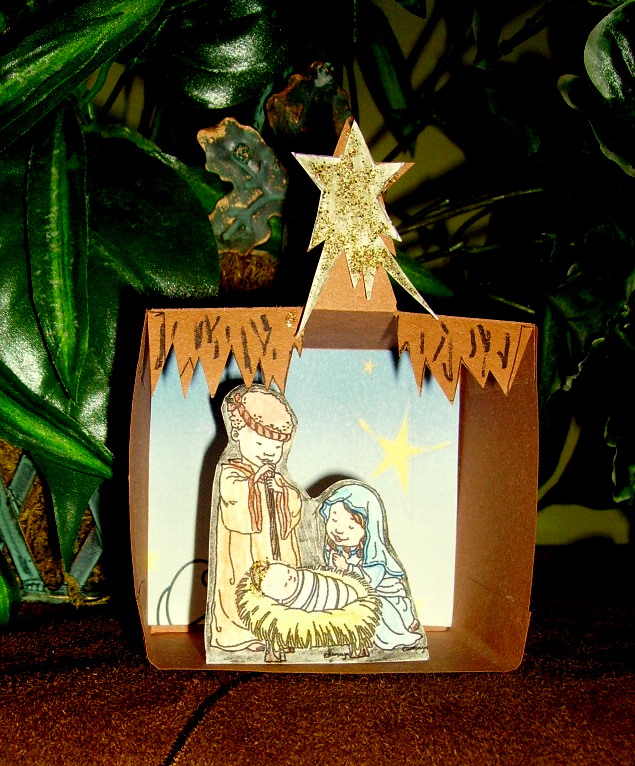
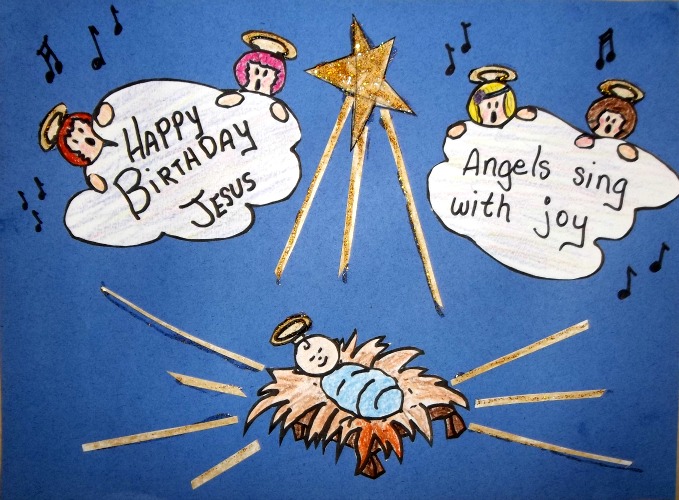
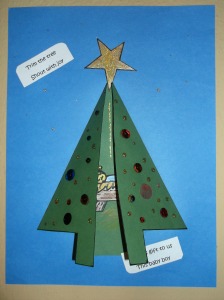
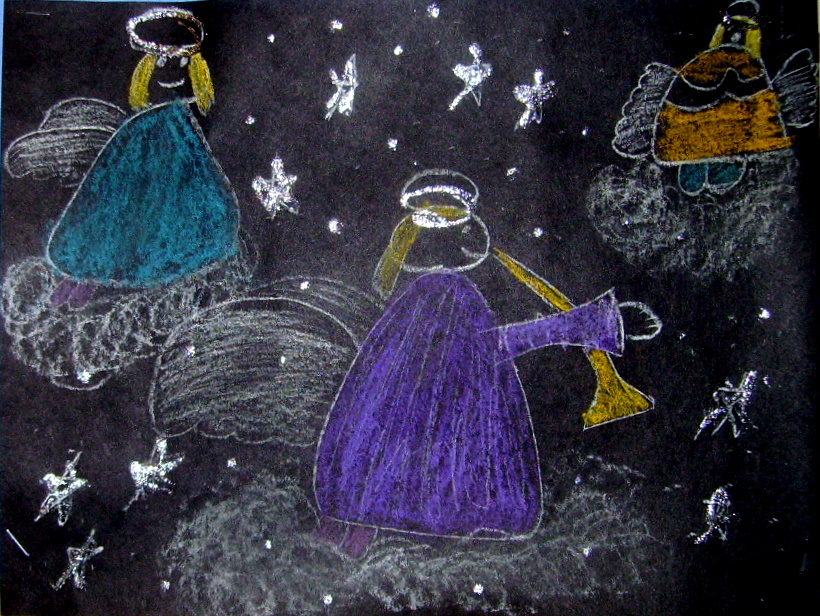
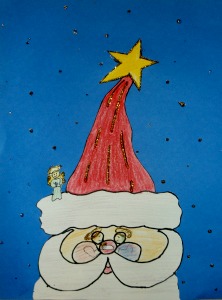
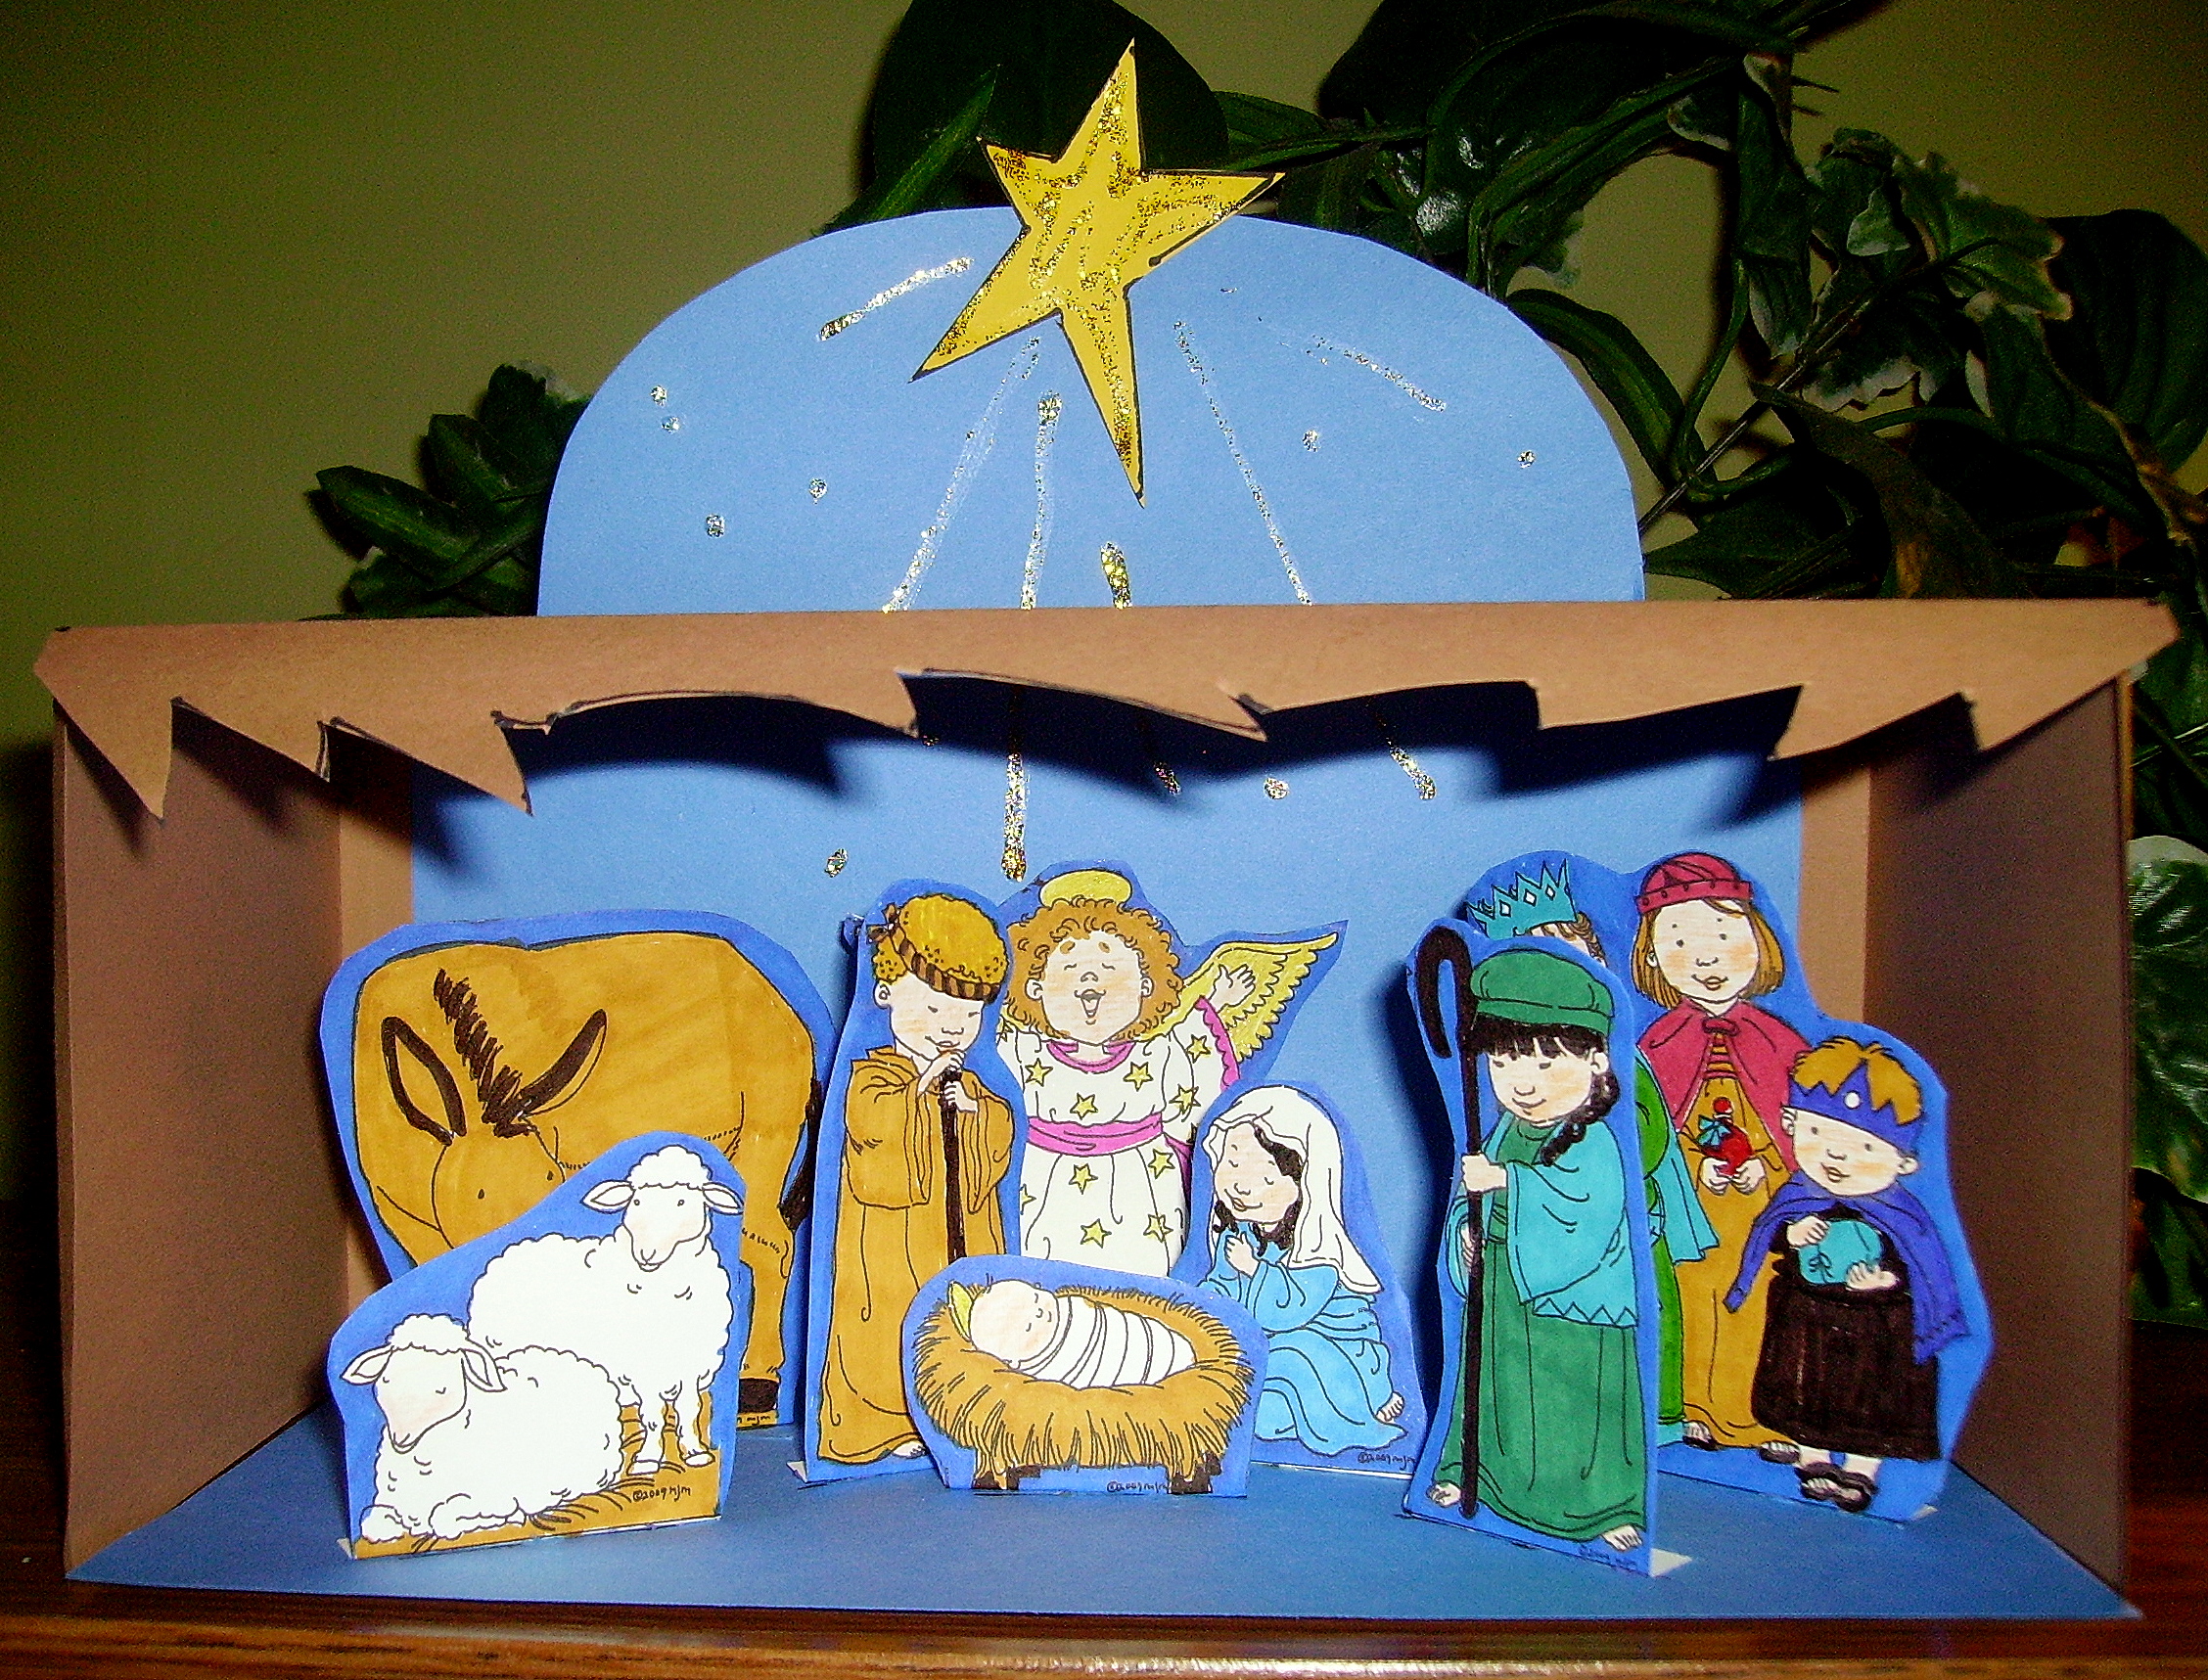
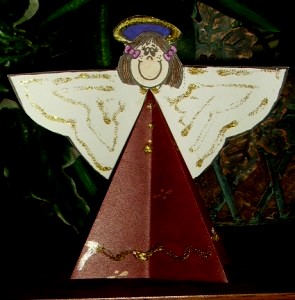
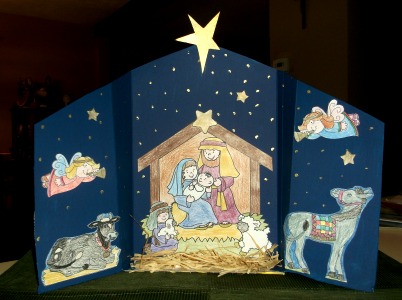
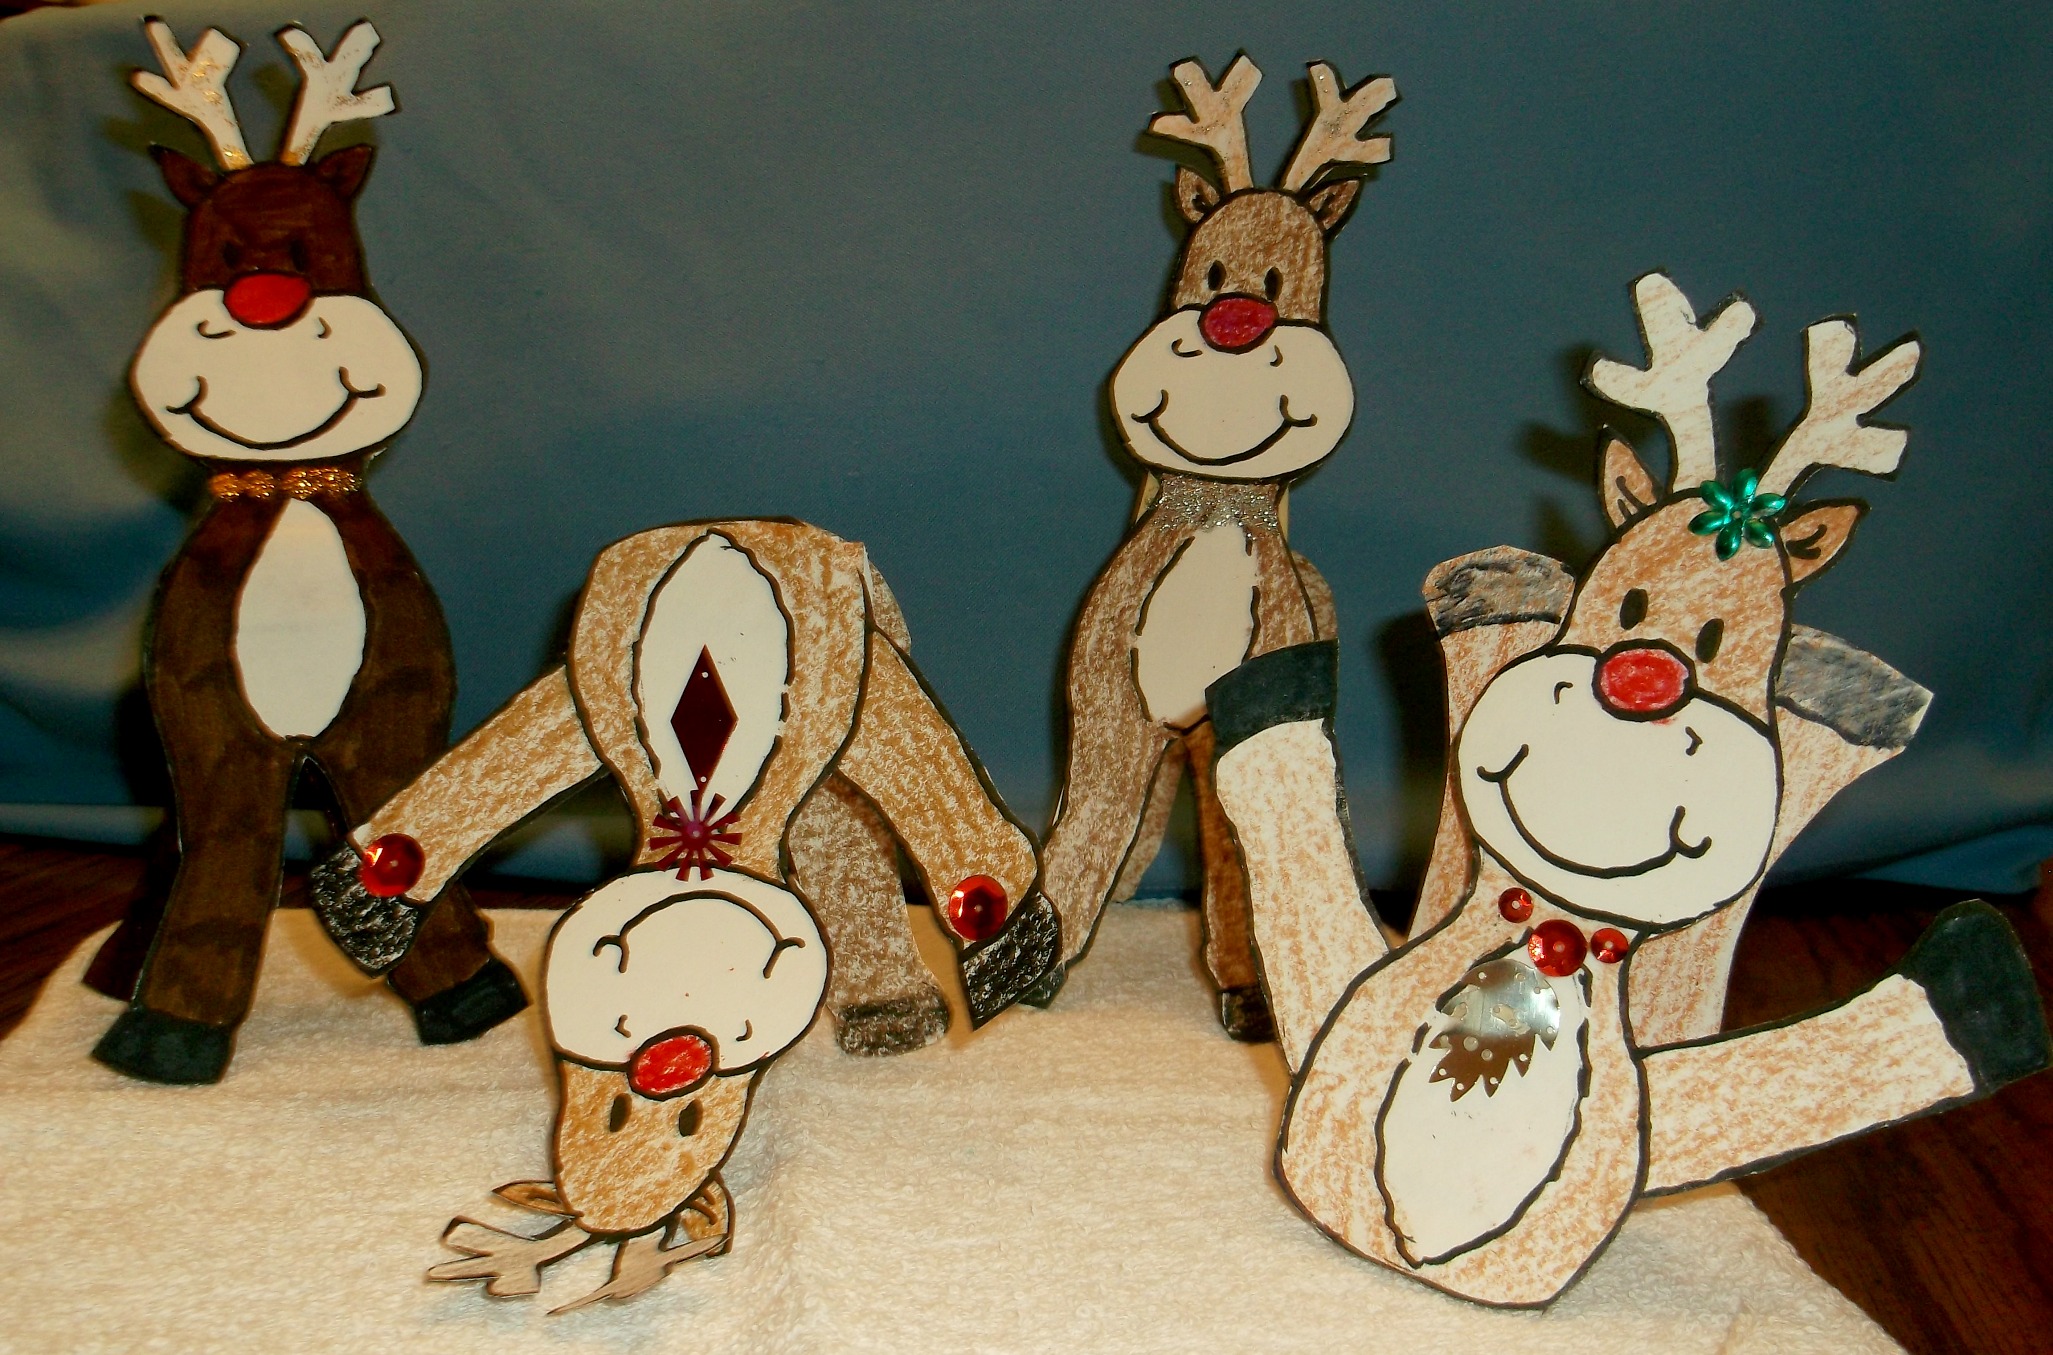
Christmas Projects Gallery: