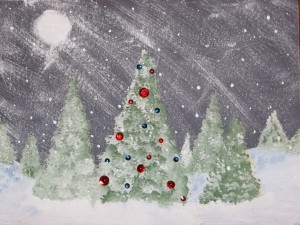
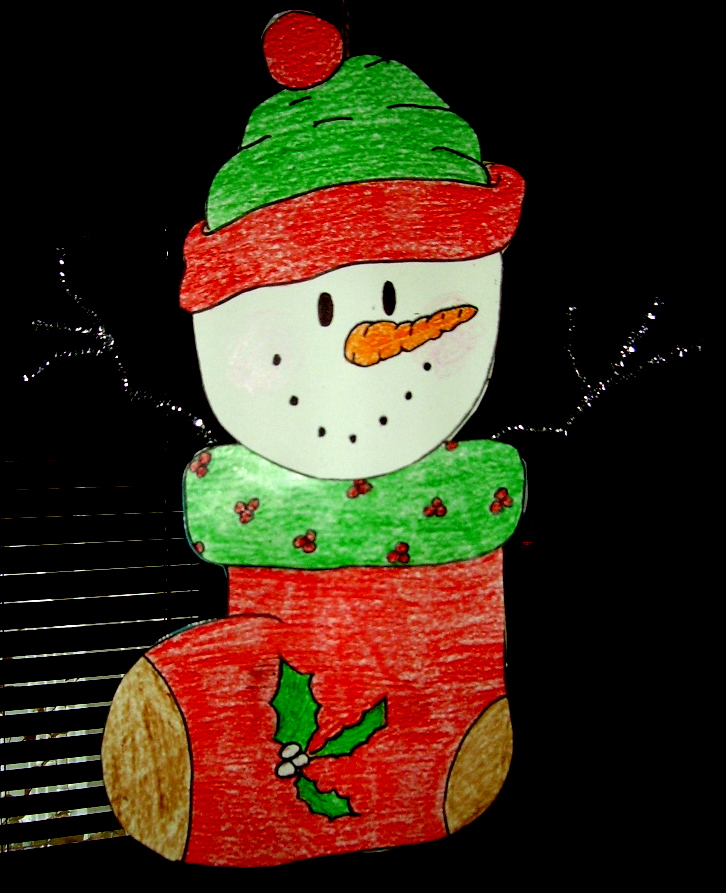
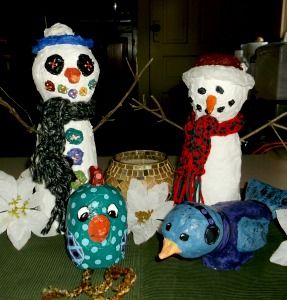
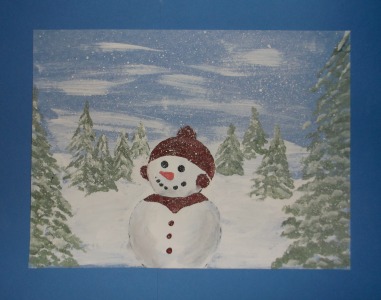
You can almost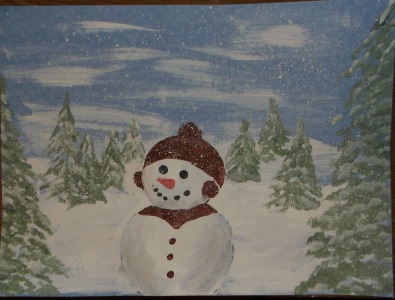 feel the cold depicted in this blustery winter scene. The wispy clouds continue to spread their snowflakes, even as they appear to be slowly moving away. At first, it appears the picture is of a distant field, until you look at the snowman who has been bundled up with a stocking cap and a scarf, and you realize someone, close-by in a nice toasty warm home, has built the snowman.Â
Supplies:
- Blue construction paper
- 12″ x 18″ background colored construction paper
- Craft paints; White, black, blue (Blue Plum) two shades of green (Wedgewood Green and Mossy Green), Â red (Tuscan Red) and orange (Pumpkin Orange).
- Artist brushes:  5/8†flat, script liner, deerfoot, old toothbrush
- White chalk
- Kleenex
Directions:
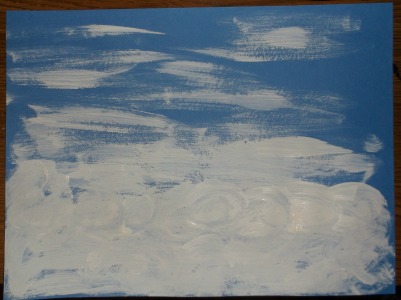 1. Using the flat brush and white paint, randomly brush across the top half of the horizontal blue paper. On the bottom half of the paper, use a swirling motion to apply the white paint.
2. Using the flat brush and green paint, paint where you want the trees to be located. The farther back a tree is, it’s location will be smaller and closer to the top of the page. When adding the branches, be sure to paint the most distant trees first, then the closer ones will overlap them somewhat.
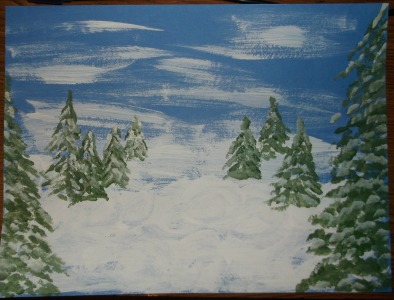
3. Using two shades of green paint and a flat brush, make short pouncing strokes, starting at the top of the tree and working downwards and outwards toward the bottom. Don’t worry if the tree looks too solid color, just use the same method, but use white paint to add snow to the branches. Have fun….this is art, so differences are good. Let the paint dry.

4. When the paint is dry, cover the whole picture with white chalk. Use the side of the chalk for wider swats of white chalk.
5. Use a sheet of Kleenex to gently wipe the chalk off the picture.  Enough chalk will stay on the picture to give it a foggy look.
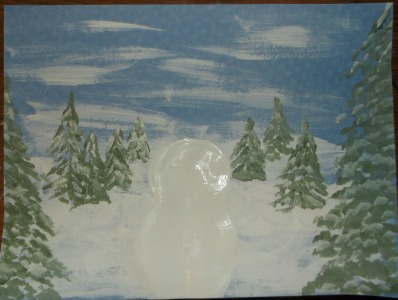
6. With the flat brush and white paint, use a circular motion to paint first the bottom ball of the snowman and then the top ball. Have the bottom of the snowman near or on the bottom edge of the picture.
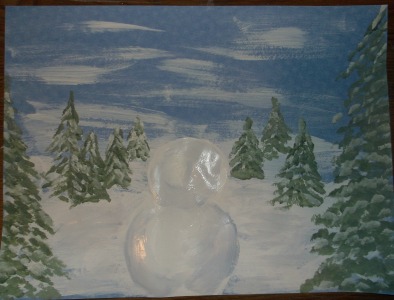
7. With the flat brush, mix a bit of blue paint with white and add a shading around the outsides of the balls.
8. Also make a few dry brush strokes, using the mixture of blue and white paint, on the snow around the snowman.
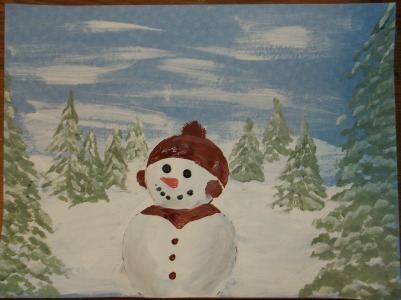
9. Using red paint and a flat brush, add a stocking cap and a scarf to the snowman. Use a deerfoot brush to make the earmuffs and the pom pom on top of the cap. If you don’t have a deerfoot brush, use a Q-tip and a pouncing method of applying the paint.
10. With red paint and a Q-tip, paint on the buttons. Use black paint and a Q-tip to paint the eyes and mouth of the snowman. Use orange paint and a liner brush to paint the carrot nose.11. Use thinned white paint and an old tooth brush to spatter paint your art. This makes it look like it’s snowing. Cool!
12. To display your winter art, glue or tape the picture onto a large colored sheet of construction paper.
Tip: For variety, have the kids chose different colors for the stocking caps and scarves. Also change the display background color.
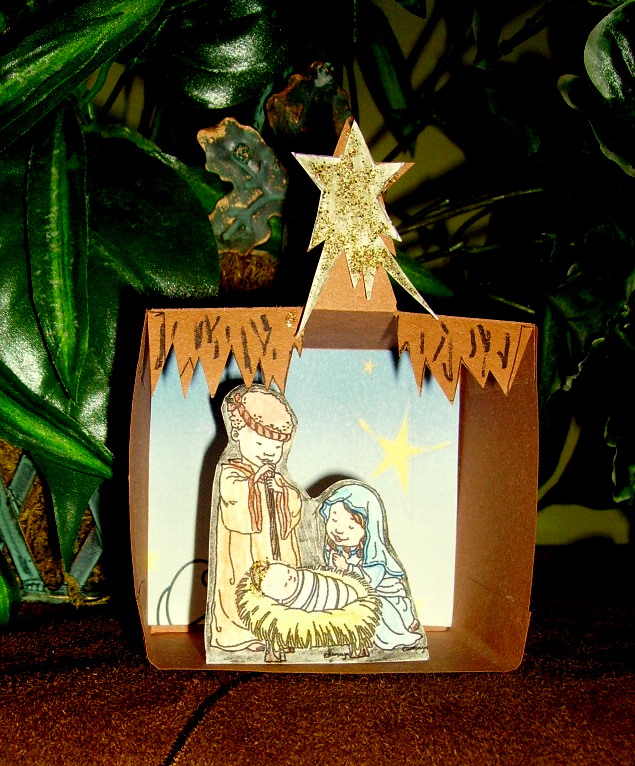
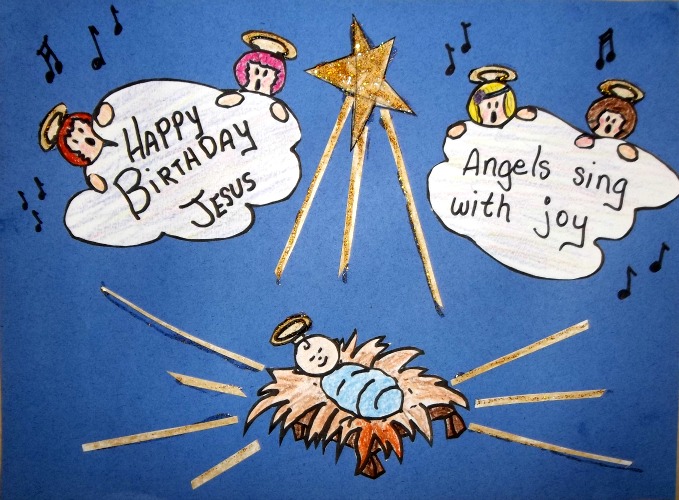
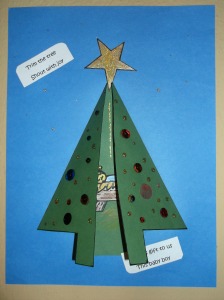
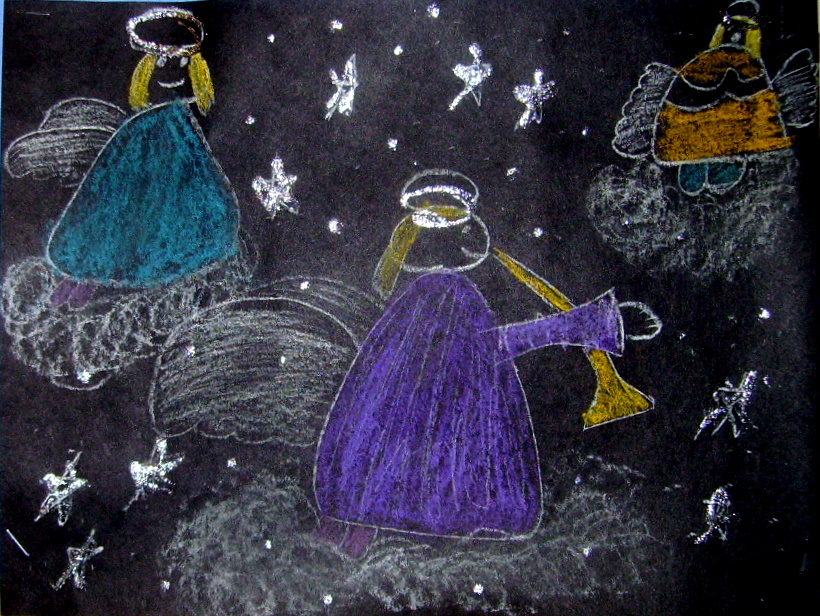
Click on any of the above photos for a closer look.
Christmas Projects Gallery: