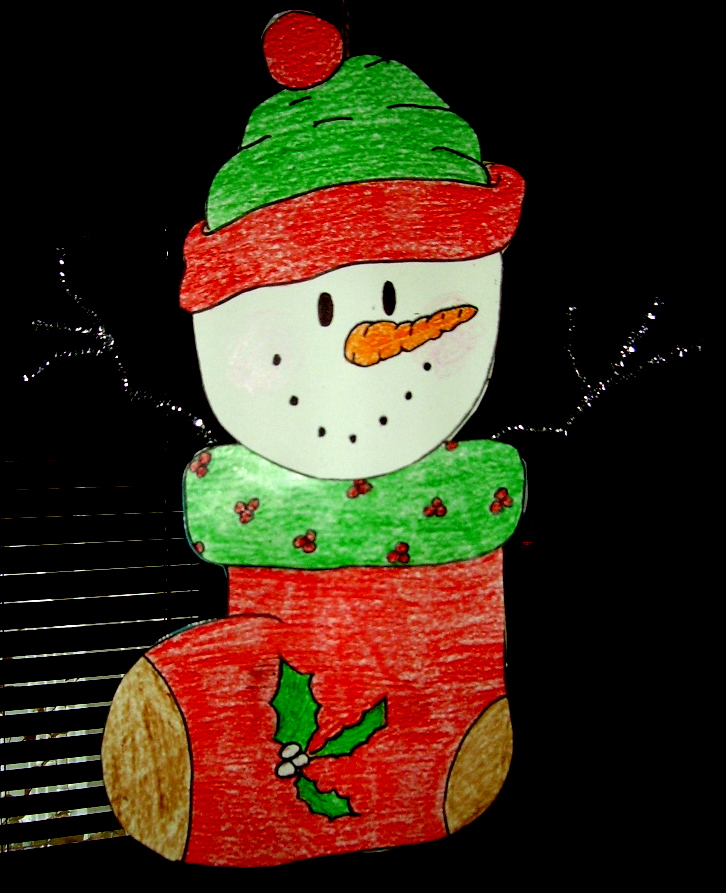
Snowmen are a winter project that we can use before Christmas, during the Christmas season and even for a time after Christmas. So if you are very limited in time, snowmen are the way to go. The pattern for this can be printed on white paper and then just colored if you want to make a short project of it. Or there are also patterns for the vest, hat and pockets that can be printed on colored papers and used instead. The body pattern is in two pieces that need to be printed, overlapped where they match, taped and then copied. This snowman is finished on both sides. Vary the colors on each side. This project is easy enough for any grade to do. Finished length is 16 1/2″.
Supplies: 
- White construction paper
- Assorted colors of construction paper
- Twigs (4″ to 5″ pieces for arms)
- Six inch piece of ribbon or cord, folded in half
- Snowman bodies (Pattern) (Pattern)
- Snowman vest (Pattern)
- Vest pockets (Pattern)
- Snowman hats (Pattern)
- Snowman noses (Pattern)
- Scissors
- Tape
- Glue stick
- Sequins, beads, tiny buttons (optional)
- White glue
- Iridescent glitter
Directions:
- Print out snowman body patterns, overlap to match and tape. Print all patterns and copy on white or colored paper.
- If coloring the snowman, do that now.
- Tape the twigs on the backside of one body piece, about a quarter or half inch from the shoulders. Tape the loop of cord to the top of the head. Glue the front and back sides together.
- Match the vest to the side it belongs on and glue it down. Glue the other vest to the snowman. Do the same to the hats. Glue the noses on
- Glue the pockets to the vest. Add sequins, buttons or beads for buttons on the vest.
- Spread white glue over the snow areas—head and body—and cover with glitter. Add a little glitter to the hat.
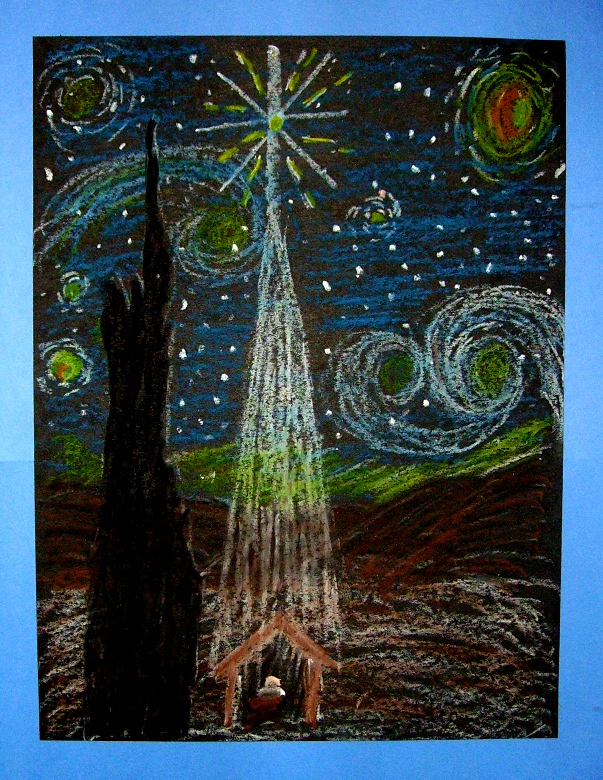
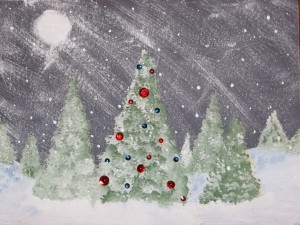
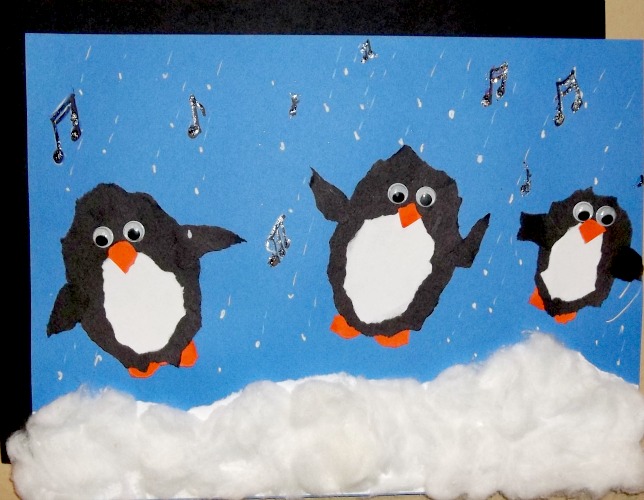
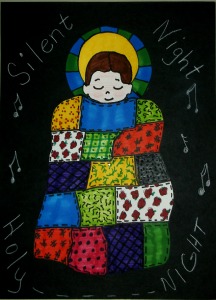
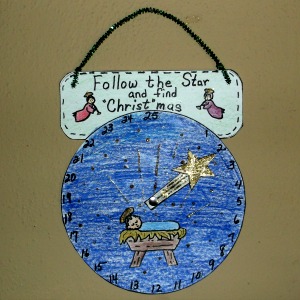
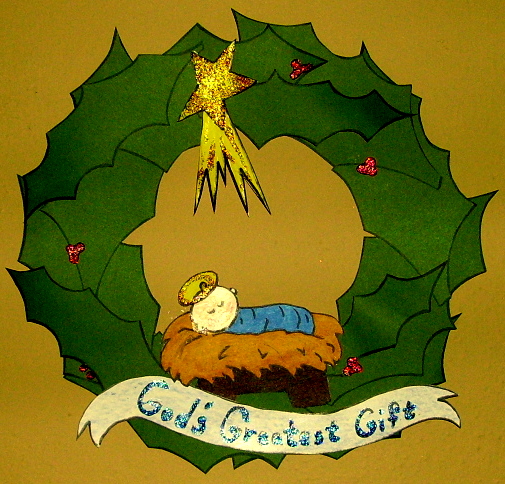
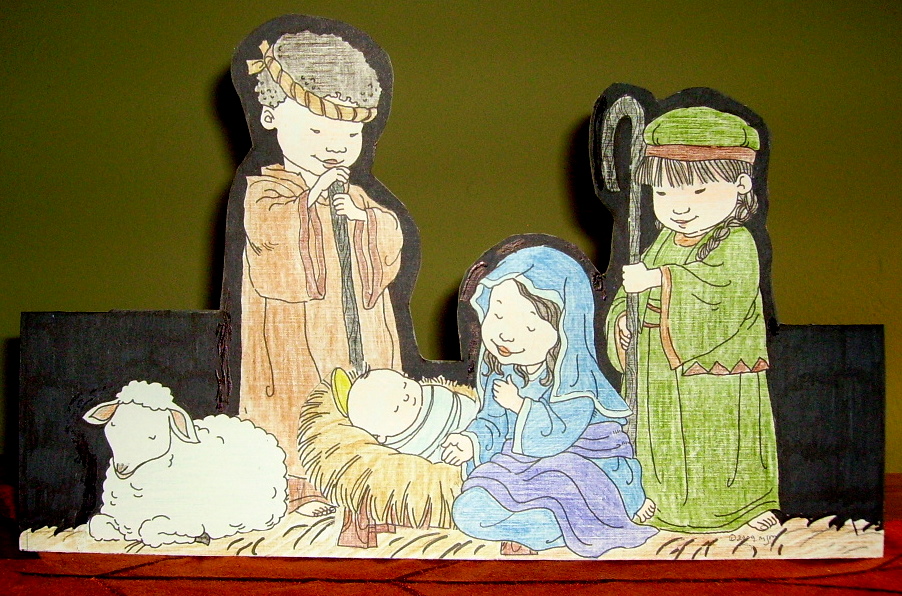
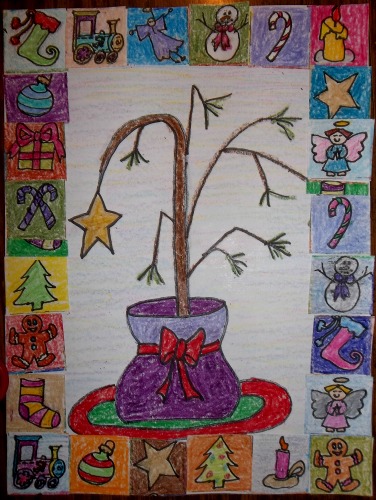
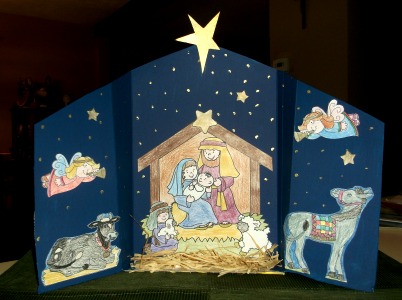
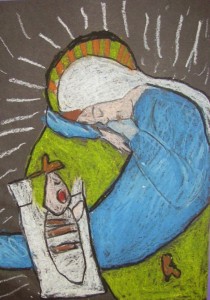
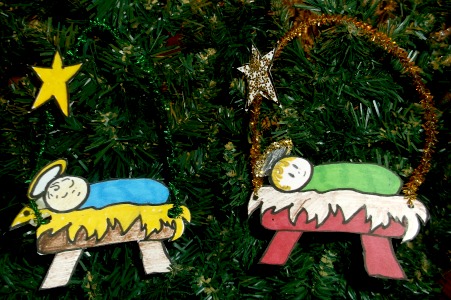
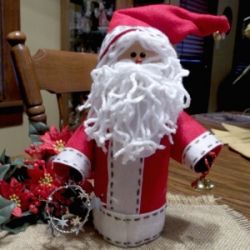
Christmas Projects Gallery: