
 Working with mirrored silhouette, we create a beautiful frozen winter scene.
Supplies:
- One 9†x 12†white construction paper
- One 12†x 18†black construction paper
- Scraps of paper: black, orange, assorted colors
- Chalk, white and blue
- Glue stick
- Scissors
- Black Sharpie
- Paper punch
- Kleenex
 Draw a simple winter scene on the white sheet of construction paper, making sure that some of the lines go off the paper. This bare trees and snowman can be a starting off example for the students. Click on the image to the left for a closer look at the drawing.
 Start cutting out background areas of the drawn picture, lay the piece onto the top of the black construction paper and glue the piece down. The image to the left shows how to lay the drawn-on-sheet above the black paper to help know where the next cut piece is to be placed and glued. Continue cutting and gluing, but be sure to cut snowflakes out of the background, with the paper punch, before gluing.

Make snowdrifts on the black construction paper, before gluing the white images to it, using white and blue chalk. Wipe over the chalk with a Kleenex to blend the colors.
Glue the white drawn images onto the paper, making sure the bottoms of the snowman and tree trunks match at the center of the black paper.
 Draw a hat for the snowman from a colored piece of scrap paper. Cut a black hat at the same time for the contrast image snowman. Cut brown and black twig arms for the snowmen. Glue the colored arms to the white snowman and the black to the contrast image. Cut an orange carrot nose for the white snowman and paper punch buttons for the front of the snowman. Glue the snowflakes on the paper. Black Sharpie eyes.


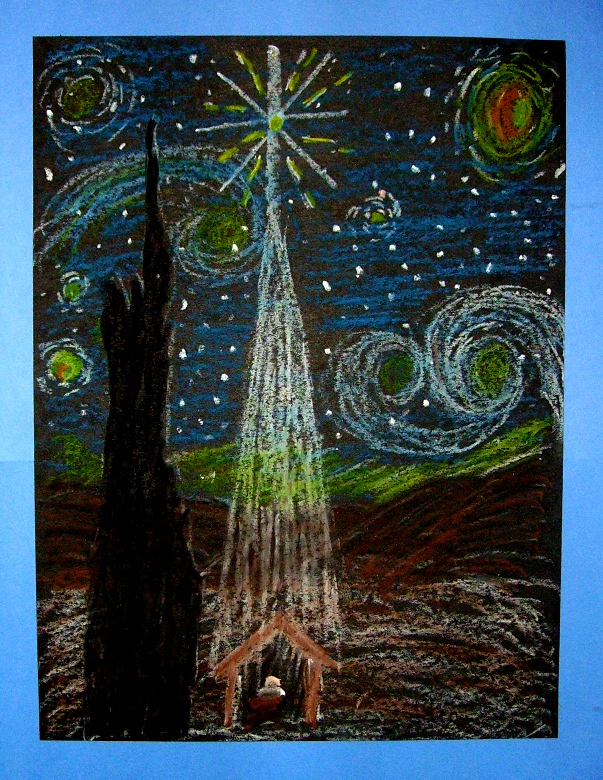
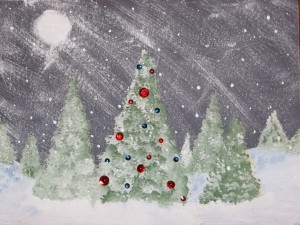
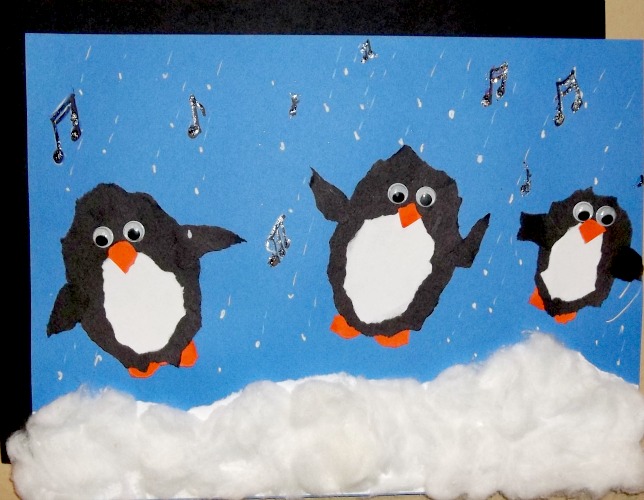
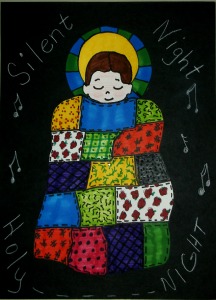
Christmas Projects Gallery:


Pingback: Winter Art Ideas – Irish Primary Teacher