Paper Mache project
Supplies:
- Plastic bottle (about 7″ tall—with shoulder’s) Dawn bottles used to be this shape.
- 2 ½” Round Styrofoam ball
- Rice, sand or something to weight down the bottle
- Newspaper
- Paper Mache paste (Recipe below)
- 2 Pipe Cleaners
- Paint (colors as you determine) and brushes
- Black Sharpie
- Sealer
Directions:

- Put rice in the bottle to weight it down so it doesn’t tip easily.
- Push the 2 ½” Styrofoam ball over the bottle opening—take it off, add glue and push it pack on the bottle.

3. For Santa’s sleeves, take ½ of a single sheet of newspaper; fold the ends twice to form a cuff.
4. Twist the 2 pipe cleaners together and fold up ½” on both ends (for hands)

5. Tape paper over the ends of the pipe cleaners to make Santa’s mittens.

6. Lay the twisted pipe cleaner on one end of the sleeve, the ends (hands) toward the cuffs. The pipe cleaner should stick slightly past the ends.
7. Fold the pipe cleaner into the paper to form Santa’s sleeves. The folded paper should measure about 1 ½” wide. Tape the long edges closed.

8. Tape the sleeves to the bottle at the shoulders with the taped edge down.

9. Smear paper mache paste all over the Styrofoam ball—this makes it easier for the strips of newspaper to stick.

10. Using torn strips of newspaper dipped in the paste, glue a few strips over the ball and down the neck and onto the bottle. Always smooth the strips well as you go along.
11. Continue dipping the strips in paste and covering the whole bottle. Go over and under the sleeves.

12. For Santa’s coat, tear an 8″ X 12″ piece of newspaper. On the 8″ sides, make a front trim by folding in twice. The trim should be about an inch wide.
13. Center the piece at the back of the bottle. Tear the paper at the sleeves and work the paper above and below the sleeve. You want the coat to reach to the bottom of the bottle. If you want to paint a gown inside the coat, leave a space at the front of the coat. The bottom ends of the coat can be made to flap out a bit if you wish. Smooth the coat with paste.

14. For the hood, tear a 9″ x 9″ piece of newspaper and fold as an off centered triangle. For the trim, make a fold up on the folded edge of the triangle. Center the triangle at the top (forehead) of Santa, smooth to the back and then shove the piece back to the front, forming a hood. Smooth ends down on the back of the head.


15. For the beard, scrunch up a 10″ x 10″ piece of newspaper into a beard shape. Cover with paste and form it to the face, overlapping the front of the coat.

16. Fold a small piece of paper and make a nose and paste it to the face.
17. Roll two small pieces for eyebrows and paste above where Santa’s eyes will be.
18. Let dry thoroughly. This can take a couple days or more.
19. Paint over the entire Santa with white gesso or poster paint. Let dry.
20. Paint as you wish. Use a flesh color for the face and white for the beard, eyebrows, and trims on the coat and hood. The eyes can be painted in, or use a Sharpie. Make white dots in the eyes, using the end of your paintbrush dipped in white paint.
21. Coat with a sealer. Let dry and add adornments.


Paper Mache Paste
This is the best home made paper mache paste that I’ve come across.
- Combine ½ cup flour and 2 cups of cold water.
- Add to 2 cups of boiling water
- Bring this back to a boil and then remove from the heat.
- Stir in 2 tablespoons of salt.
- Let cool.
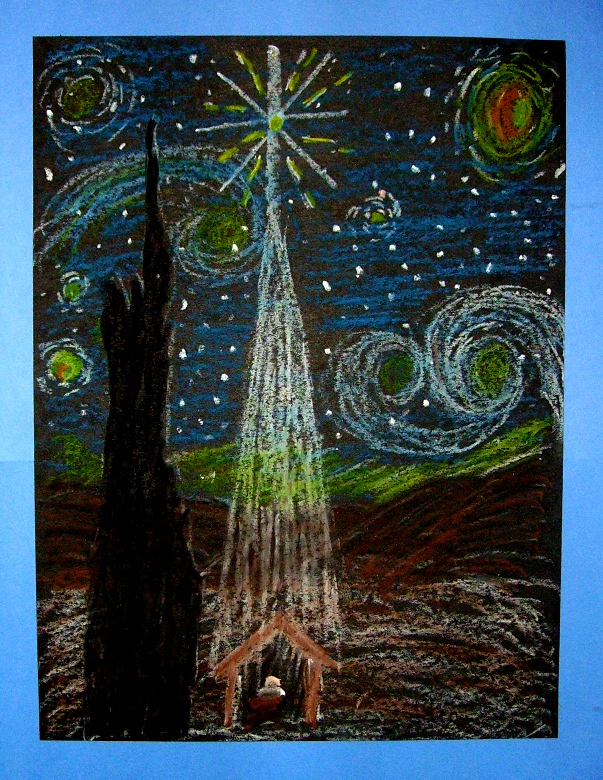
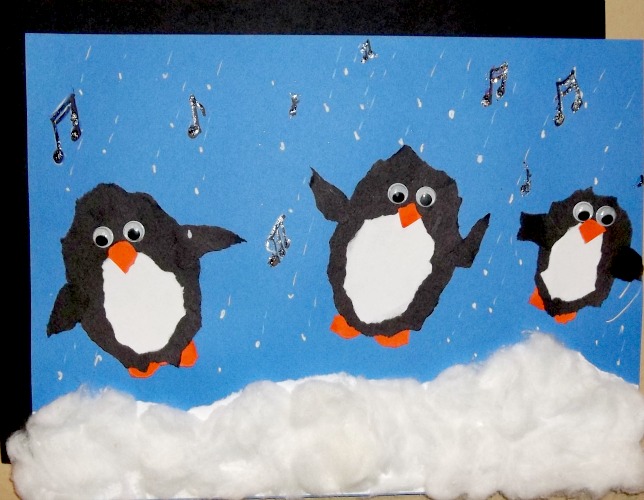
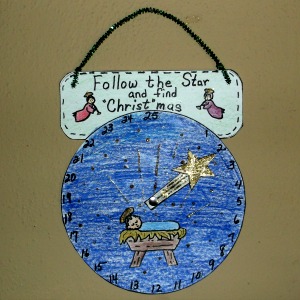
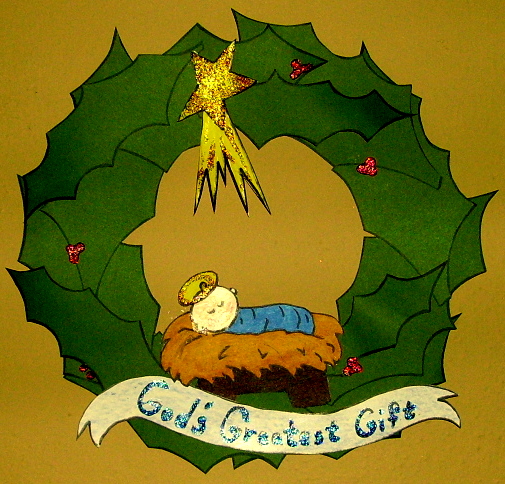
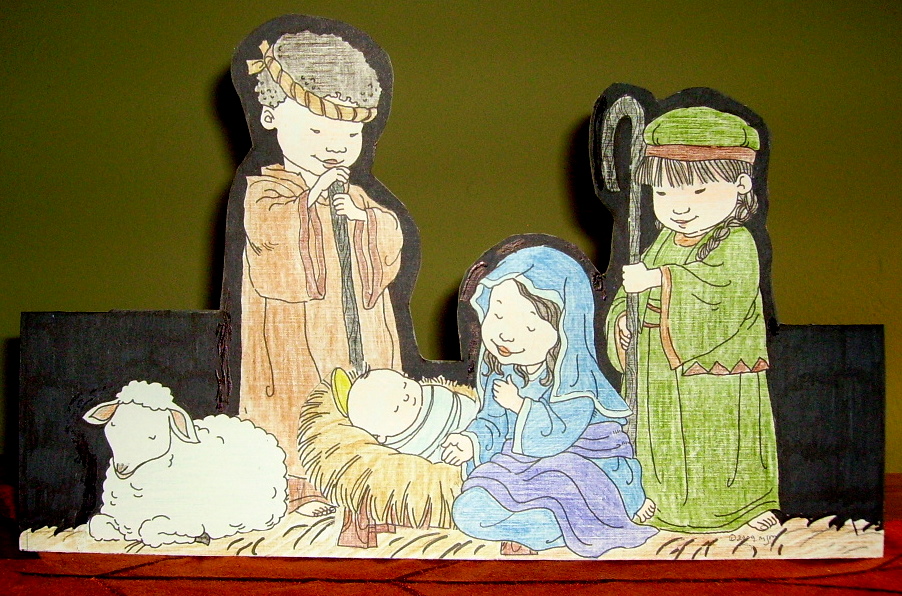
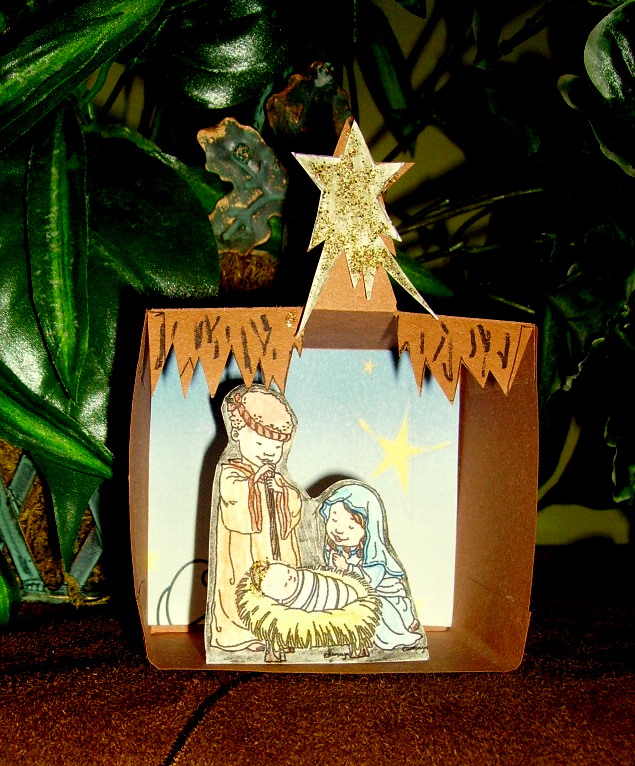
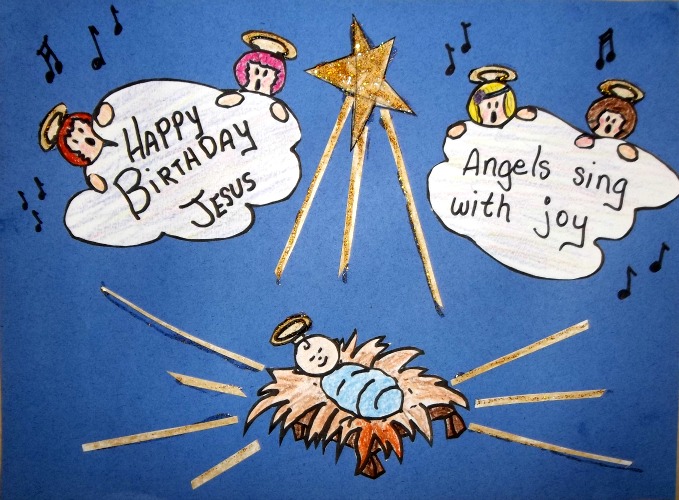
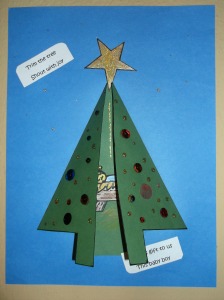
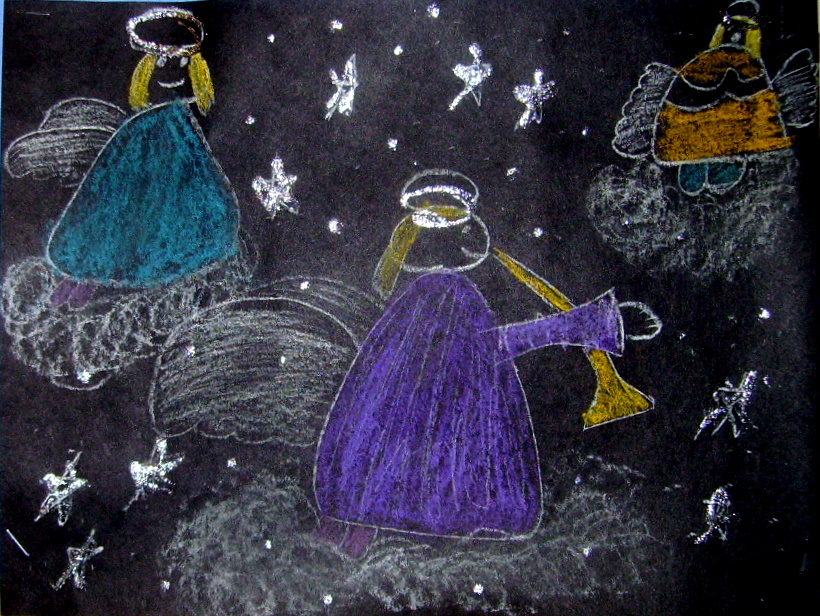
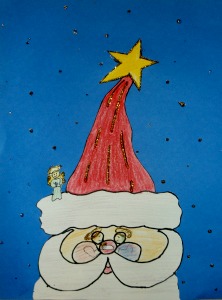
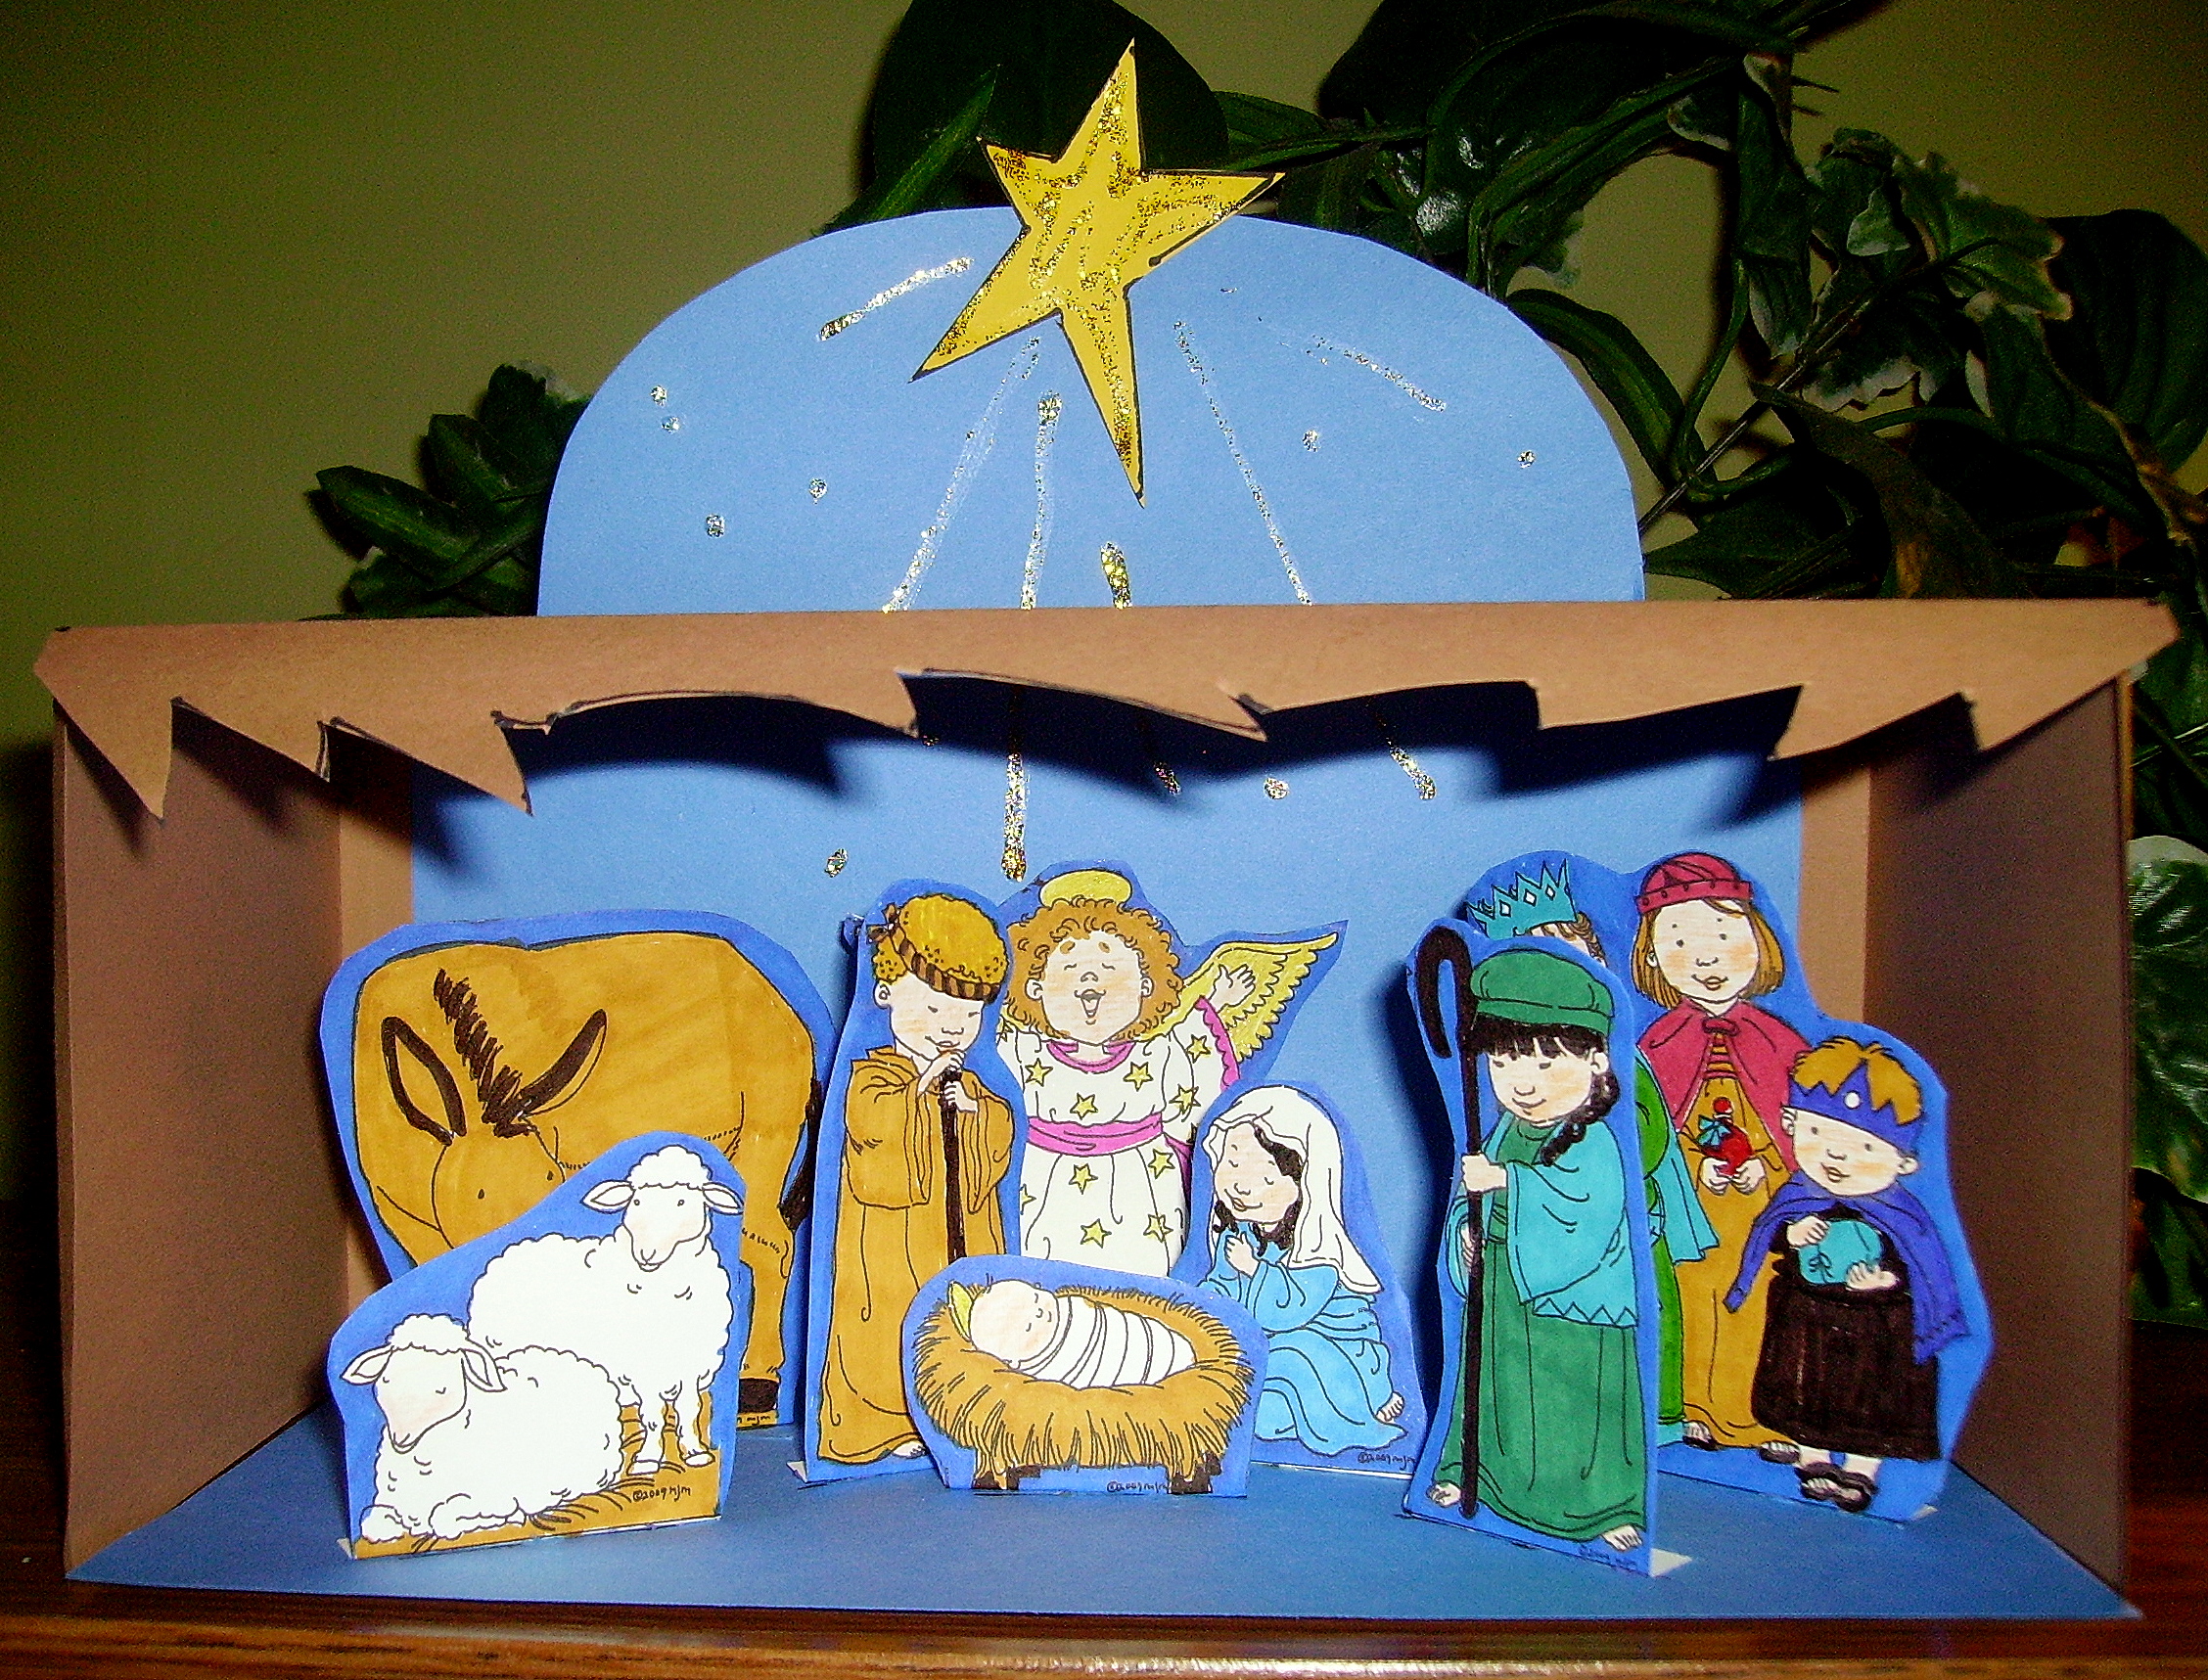
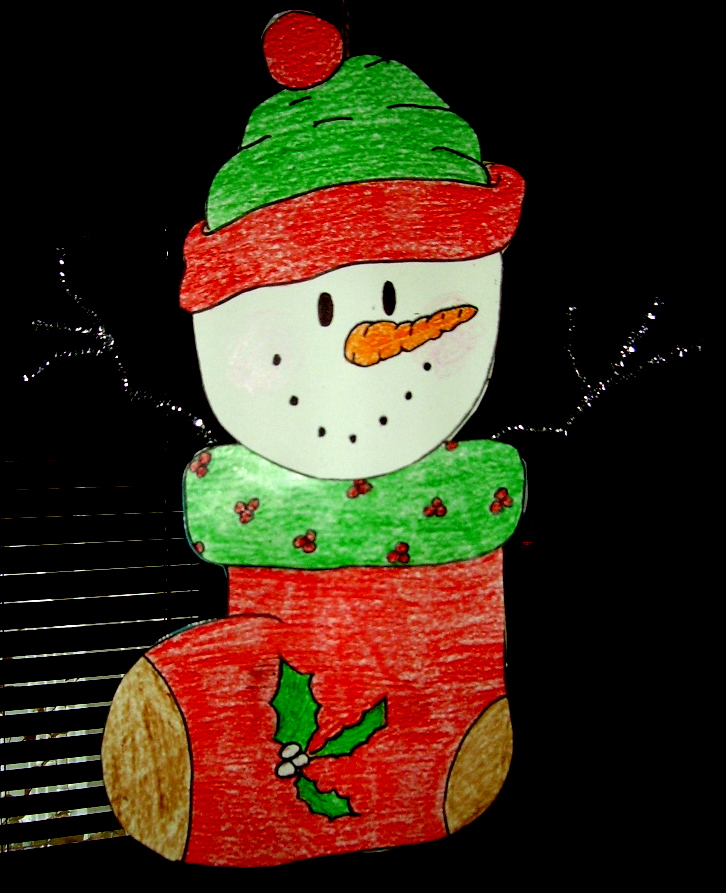
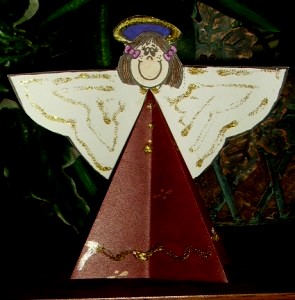
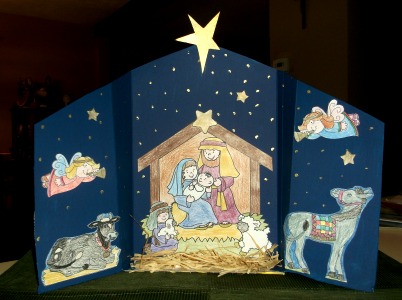
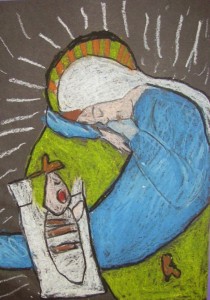
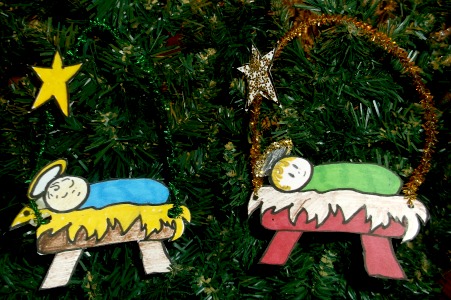
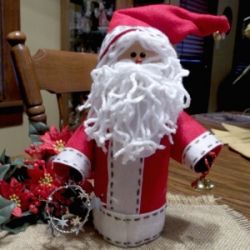
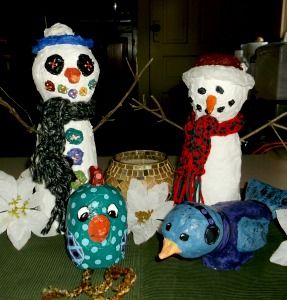
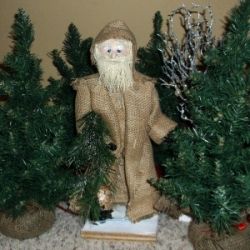
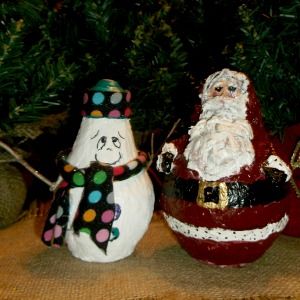
Christmas Projects Gallery: