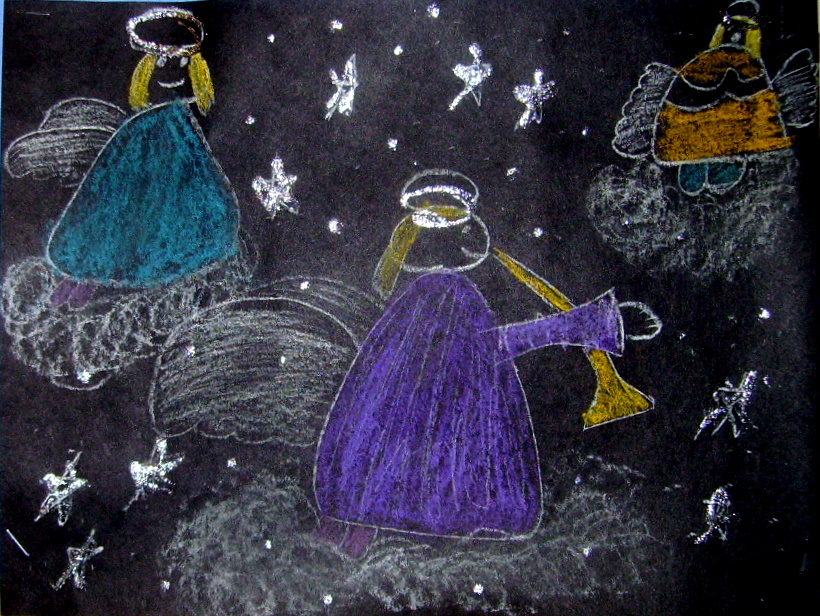
I saw this project on Artsonia a couple of years ago and thought it was beautiful. Made up it’s even more beautiful. With the Cricut and the program, Sure Cuts A Lot (Lot 2), we made the templates for this project. We laminated 12″ x 18″ construction paper and cut out a centered 8 ½” x 11 ½” oval. Keep both the solid center piece and the oval-cut-out outer frame. Make one set of templates per student.
NOTE:
Sure Cuts A Lot 2, or the newest version 3, is not compatible with the newer Cricut machines. So if you want to use the Sure Cuts A Lot 1 or 2, or the version 3, which is the newest version, you will need a cutting machine which will use the SCAL software. Please check my home page for more info.

Supplies:
- 12″ x 18″ black construction paper
- White chalk
- Colored chalk
- Hairspray
- White craft paint
- Water
- Old toothbrush
- Silver glitter spray
Directions:
- Tape the large outer frame template to the 12″ x 18″ black construction paper.
- With the white chalk, draw a simple winter scene inside the oval cut-out. ( Four or five fir trees and snow banks.)
- Take off the large template and carefully lay the solid oval template over the picture.
- Using colored chalk, color over the solid oval—-then with your finger spread the chalk out to the edges of the black paper.
- Lightly spray with hairspray to set the chalk.
- Using thinned white paint and the toothbrush, spatter paint the picture to look like snow.
- Using the silver glitter spray, sweep across the picture with the spray.
- Write your name on the back of the black paper.
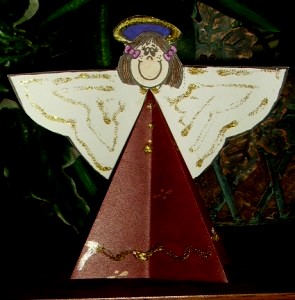
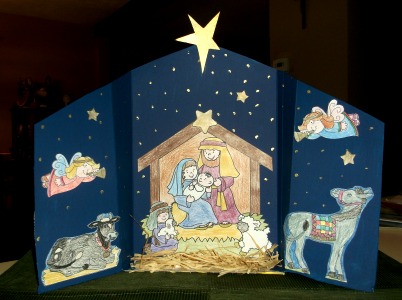
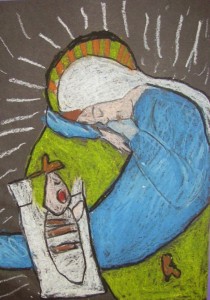
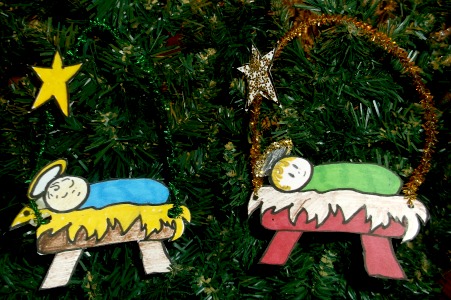
Christmas Projects Gallery: