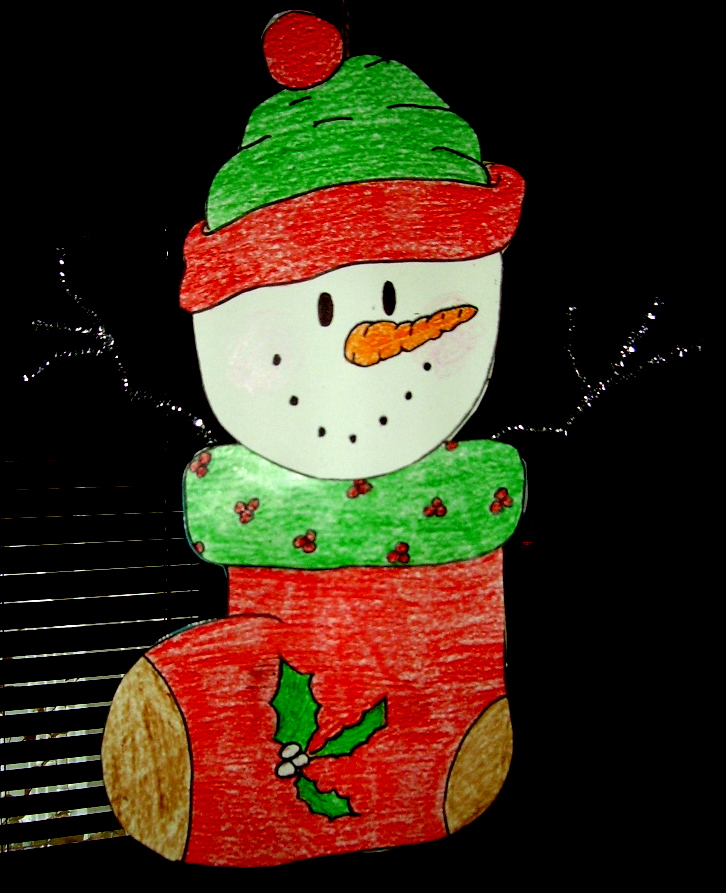
A stocking and a stocking cap for this snowman. I’ve left the faces, stockings and caps blank to give the kids lots of ways to make their project unique. I love his tinsel arms. Finish only one side and hang it to the wall or bulletin board, or add a piece of cord to hang.

Supplies: 
- White construction paper or cardstock
- Tinsel pipe cleaner (two pieces cut at 6″ and two pieces cut at 3″)
- Snowman head (Pattern) (Pattern)
- Stocking (Pattern) (Pattern)
- Pencil
- Crayons or colored markers
- 18″ piece of yarn or twine
- Tape
- Scissors
- Glue stick
Directions:
- With a pencil, lightly draw a face for your snowman. Draw decorations on the stocking and stocking cap. Color and cut out the snowman and stocking pieces.
- Twist the 3″ pieces of pipe cleaner, about 1 ½” from one end, to each of the 6″ pieces to look like twigs.
- On the back side of one of the stocking pieces, tape the 6″ pieces of pipe cleaner, above the cuff and to the side, to look like arms.
- Overlap the snowman head and the stocking cuff and glue.
- To Hang: Tape the piece of yarn or twine to the top of the stocking cap.
- Match edges and glue the second stocking over the taped stocking. Match snowman heads and glue.
Christmas Projects Gallery: