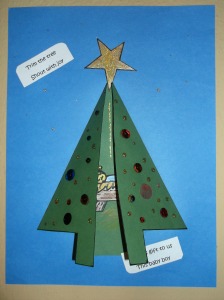
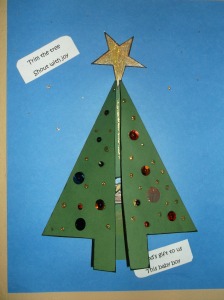
 After the students do this project, it can be used as a Christmas card or as a wall hanging. So many art classes are limited to an hour or less, so patterns and directions are welcomed by the busy classroom teacher. Although this is a very simple to make project, the results will make the kids proud of their efforts. If time permits, writing a message inside the tree or around the outside of the background paper would make this unique for each student.   Trimming the tree can be done by using sequins and glitter, or the decorations could be painted on the tree. Or use pieces of yarn and buttons for the trims.Â

Supplies:
- Green construction paper
- White construction paper
- Colored background paper
- Trim the tree—tree (Pattern)
- Trim the tree—Jesus and star (Pattern)
- Colored pencils
- Scissors
- Glue stick
- Gold glitter
- Trims such as sequins, beads, etc.
Directions:
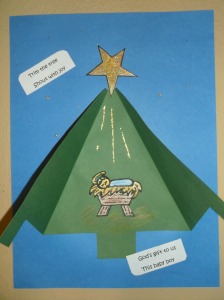
- Print out the tree pattern on green construction paper and Jesus and the star using white paper.
- Color the Baby Jesus and the star using colored pencils.
- Carefully cut out the tree, the baby and the star.
- Glue the tree to a colored background sheet of construction paper. Glue the Baby Jesus toward the bottom, but inside the tree. Glue the star to the top of the tree, having one point inside the tree.
- Trim the tree in whatever manner suits the supplies you have on hand.Â
Â
Trim the tree,
Shout with joy.
God’s gift to us,
This baby boy.
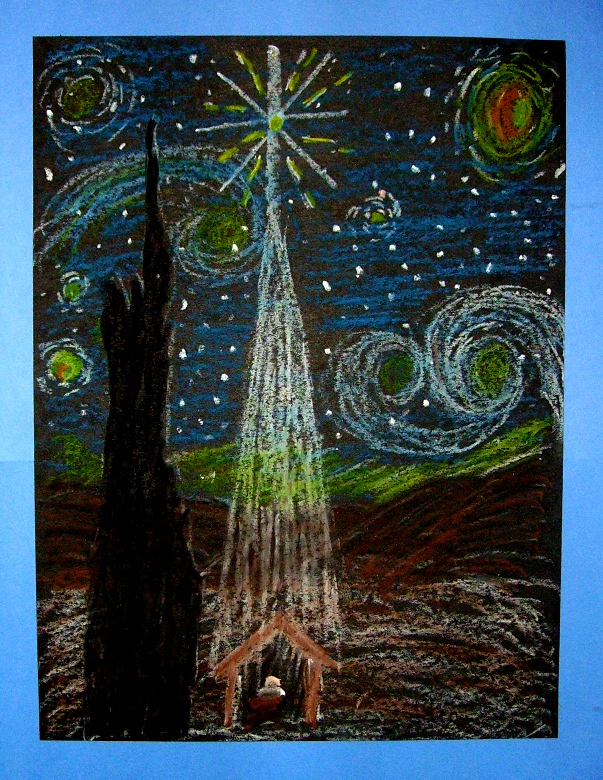
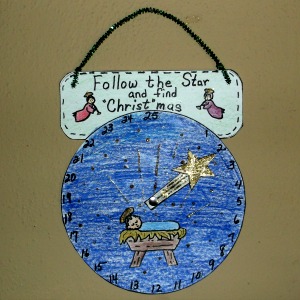
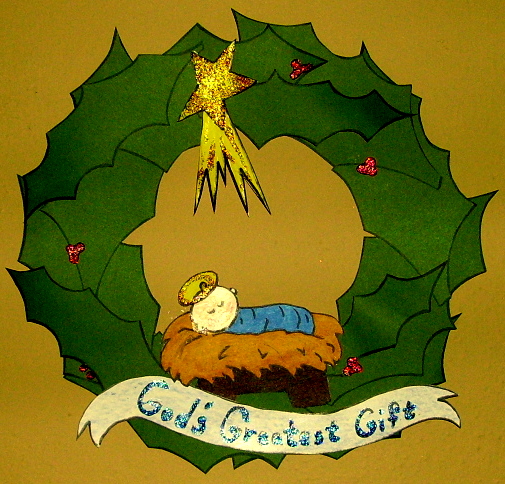
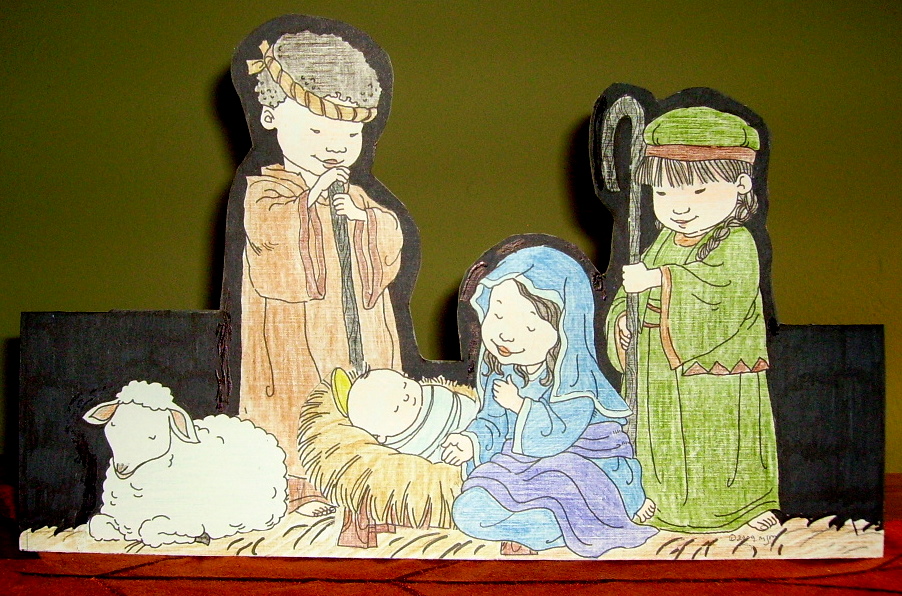
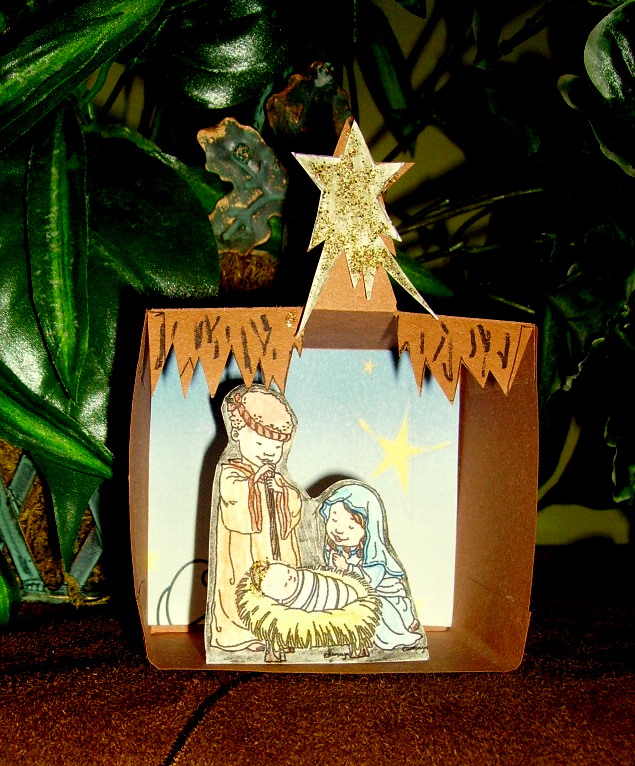
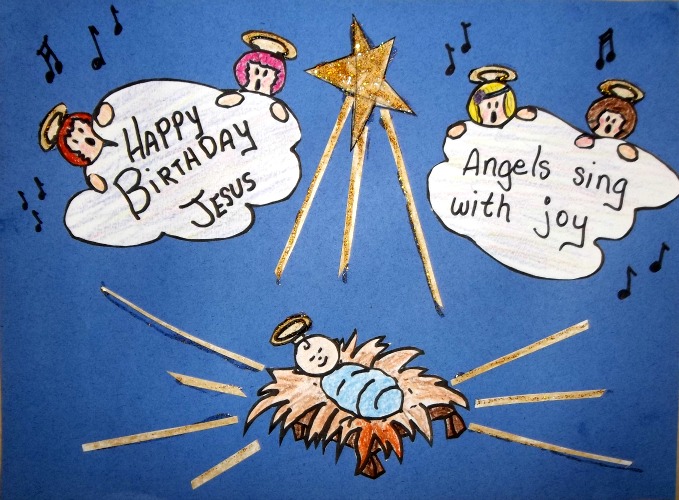
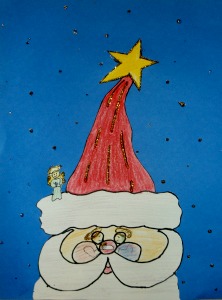
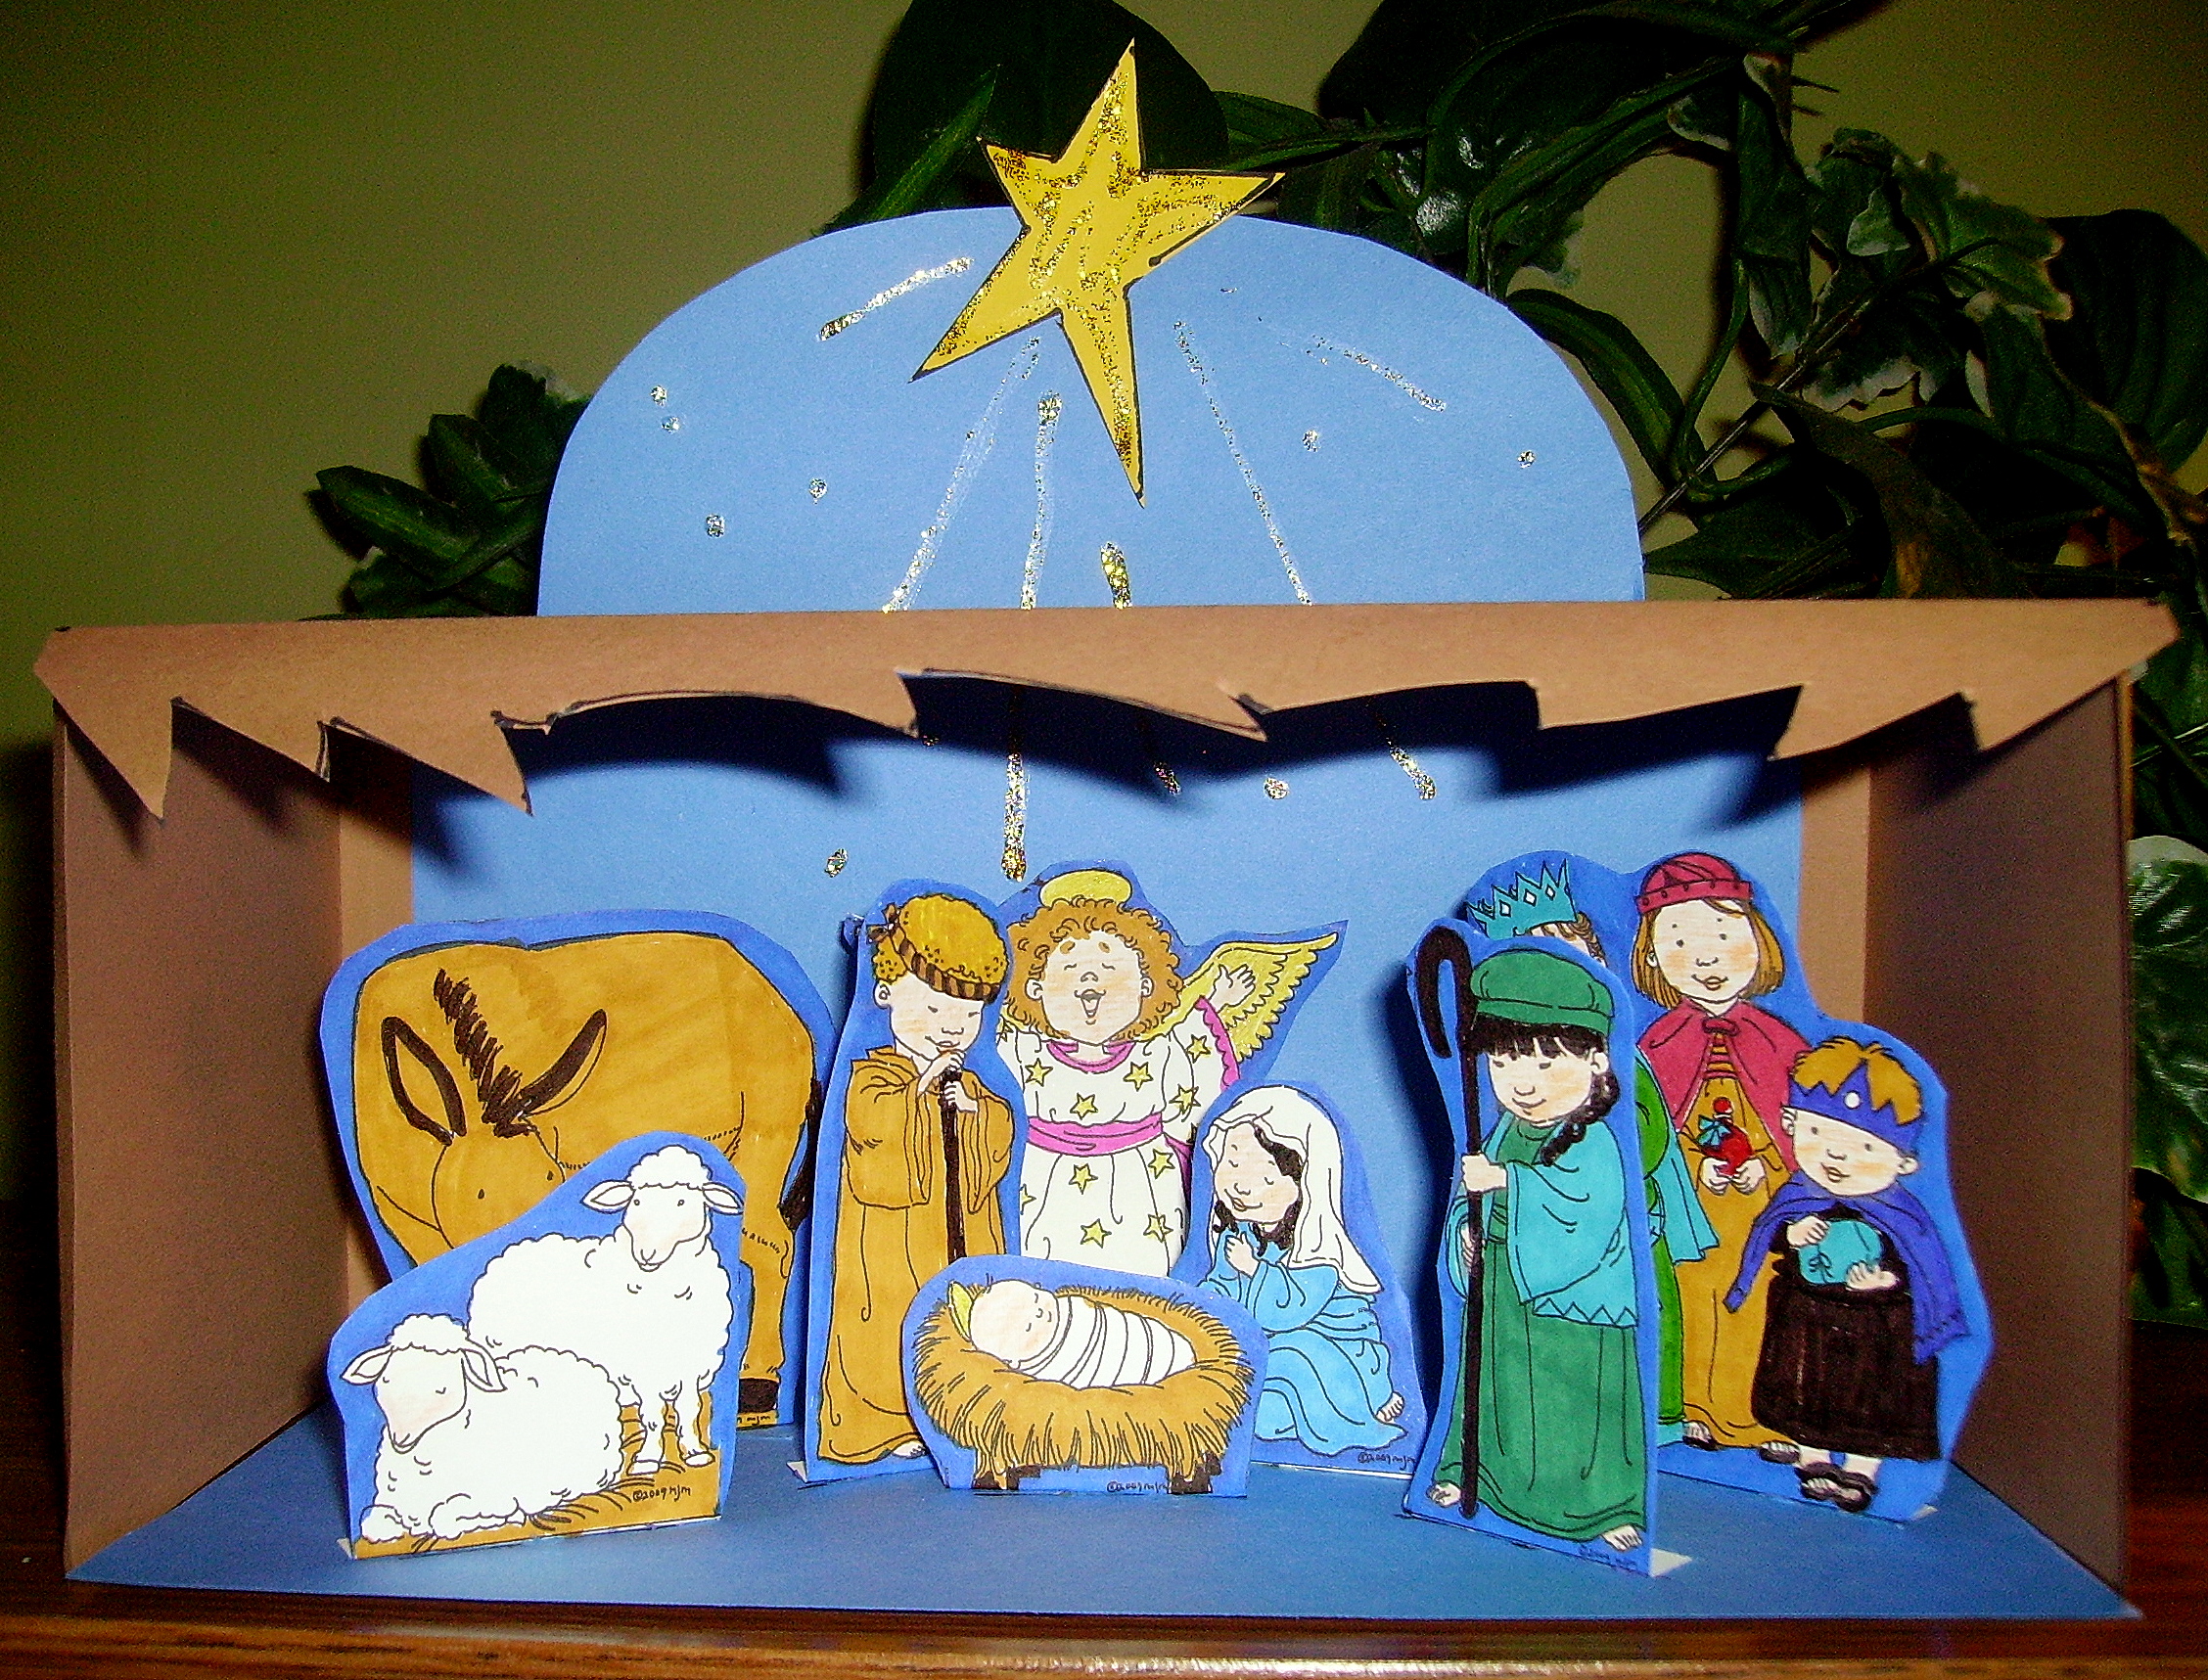
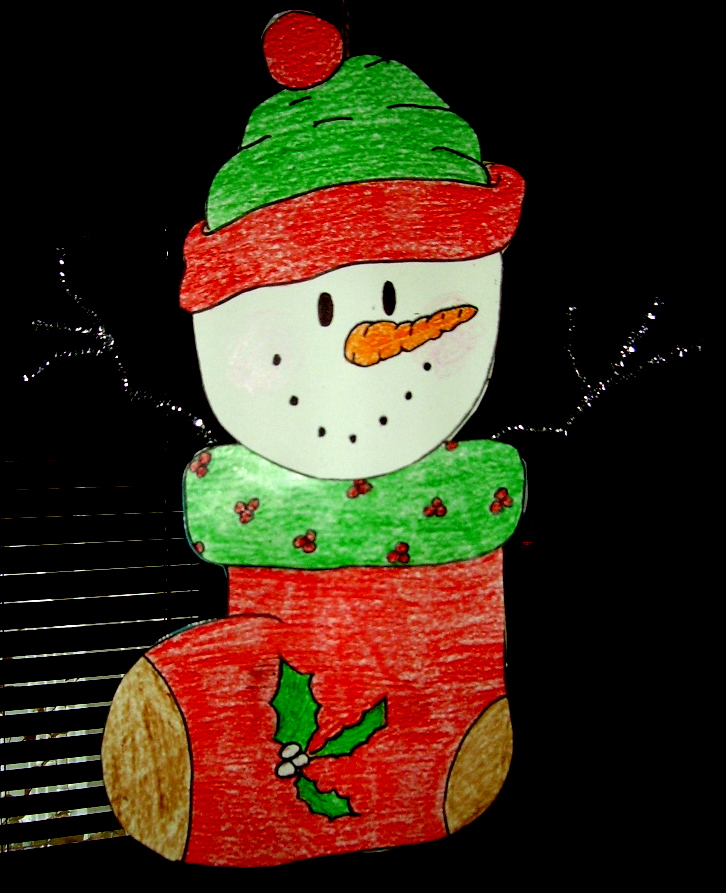
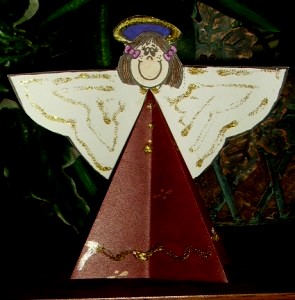
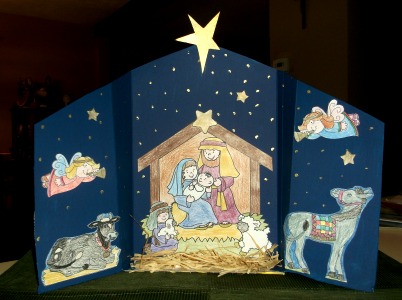
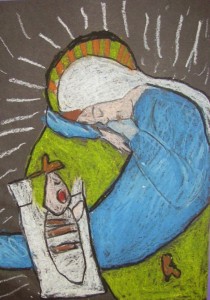
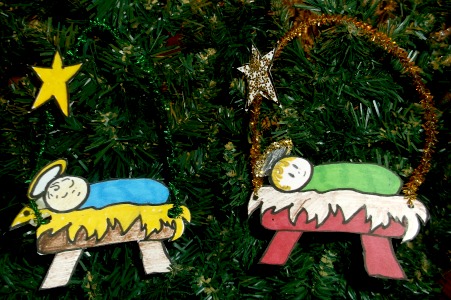
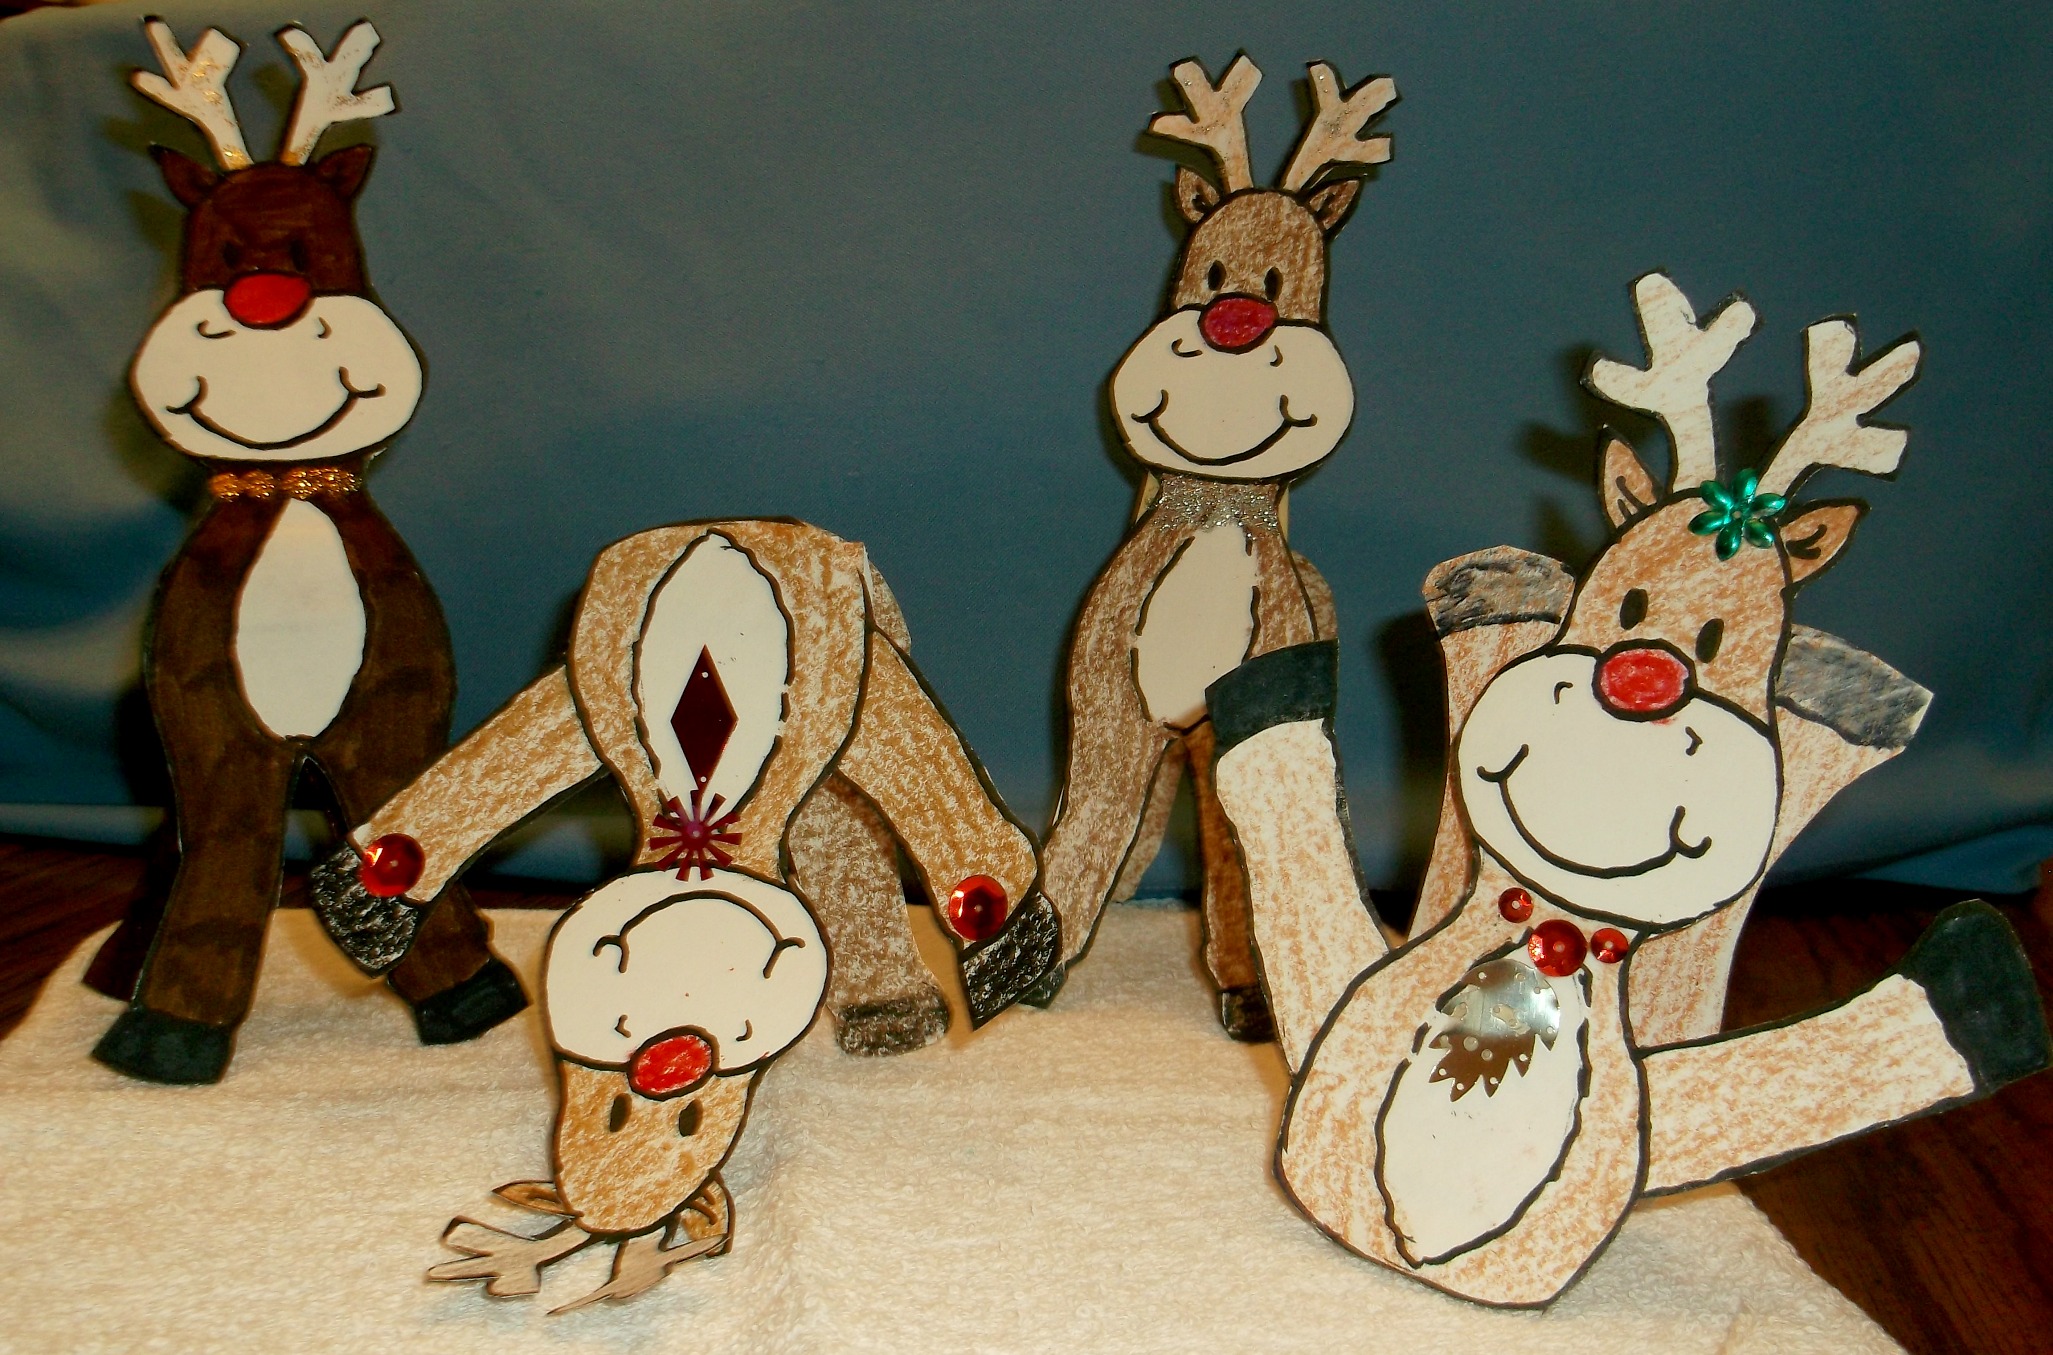
Christmas Projects Gallery: