 This is a lesson on learning to use a pattern. Make copies of the pattern on card stock and cut them. Make one set of pattern pieces per student.
Supplies:
- Blue construction paper for background
- ½ Sheet of brown construction paper
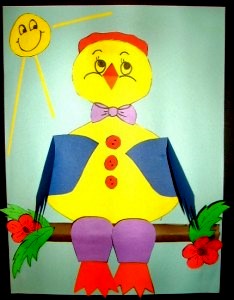
- Sittin Chicken pattern pieces (Pattern)
- Black Sharpie
- Assorted colors of construction paper scraps
- Scissors
- Glue Stick
- Tape
Directions:
- Tear ¼” from the short sides of the brown half sheet. Roll the paper into a branch shape and tape the back closed.
- Glue the branch to the background sheet, about 3 inches up from the bottom.
- Trace the pattern pieces onto the colored scrap paper. Note: Some of the pieces will have to be turned over and traced a second time.
- Cut out the chicken parts. The comb will be glued to the back of the head before the body is glued to the background, above the branch.
- Glue the wings on the chicken; glue the legs and feet to the front of the branch. Glue the beak on the face.
- With the black marker, draw eyes. Or cut them out of paper.
- On scrap paper, freehand draw leaves, flowers, a sun, grass, clouds, buttons, a hat, necktie, beads, or stars, whatever you want to make your project unique.
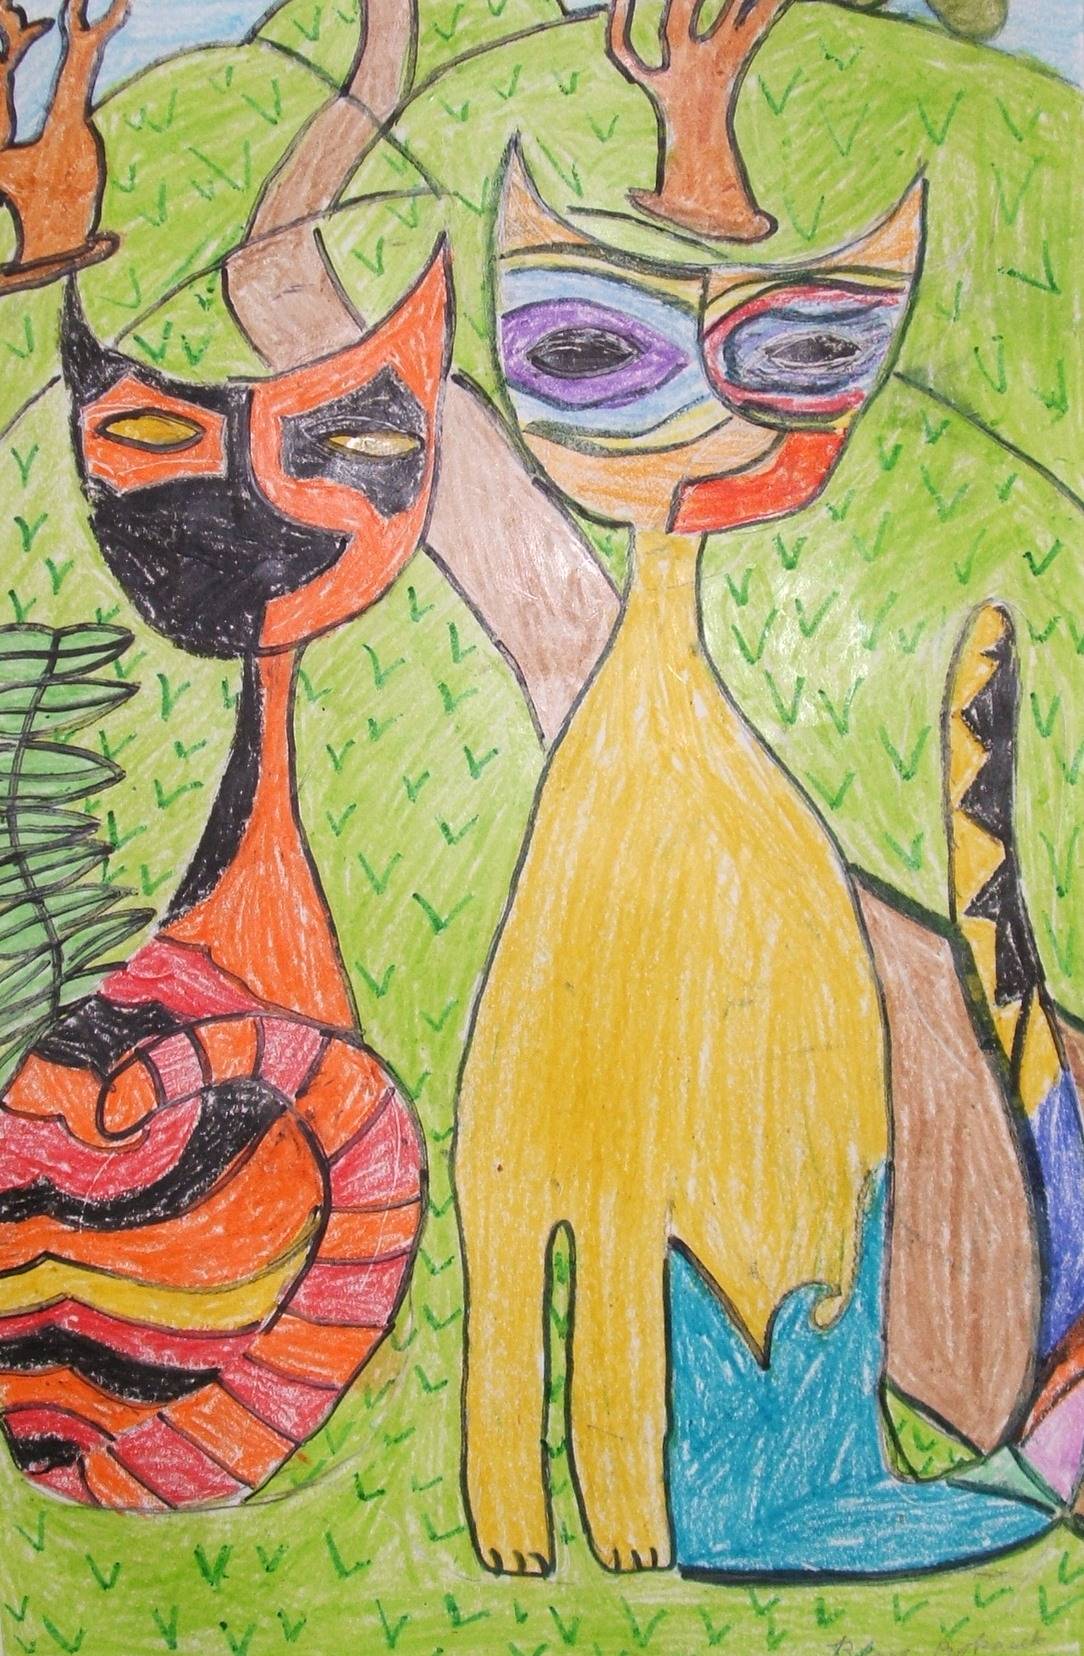
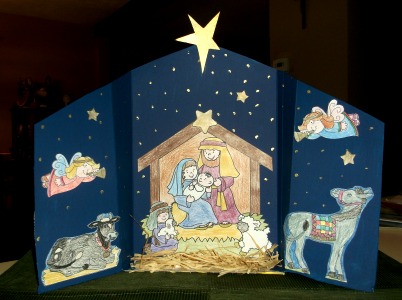
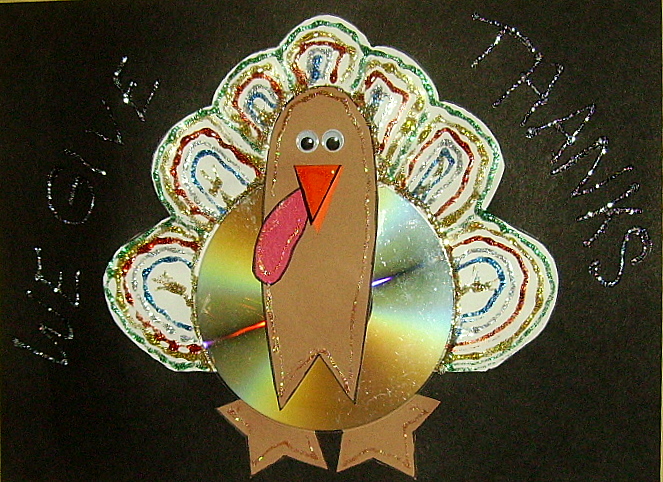
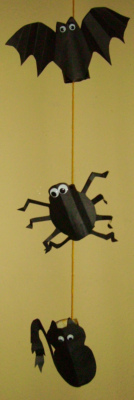
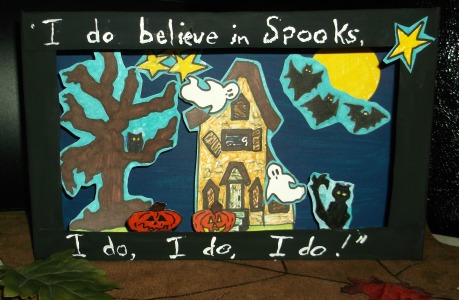
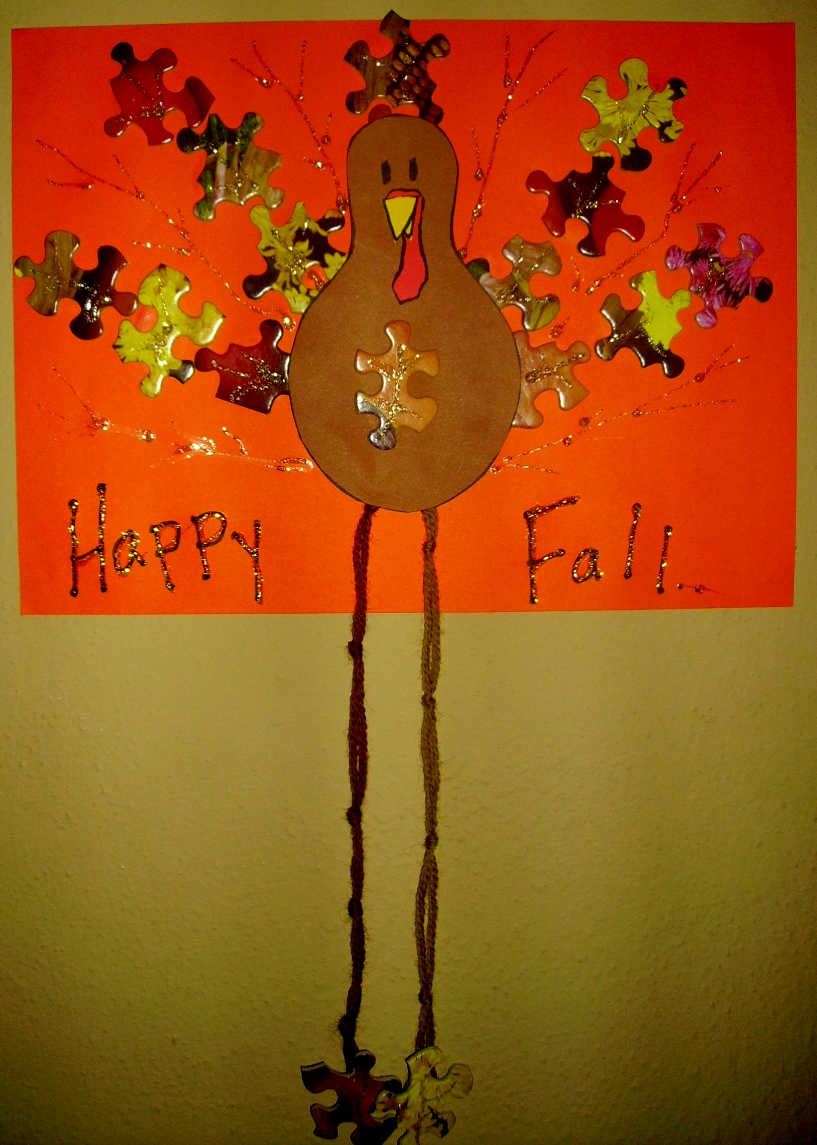
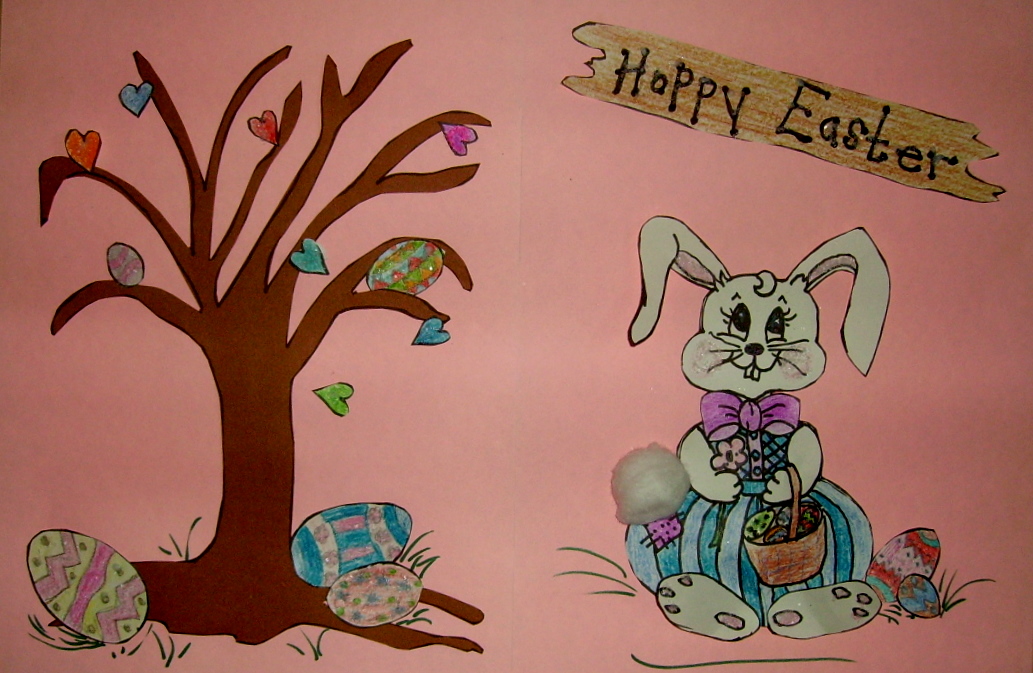
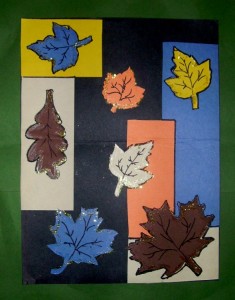
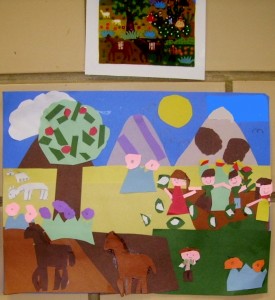
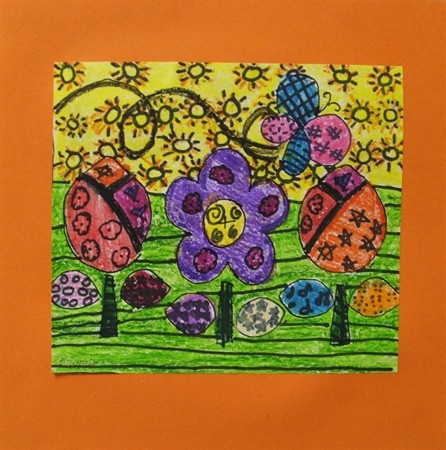
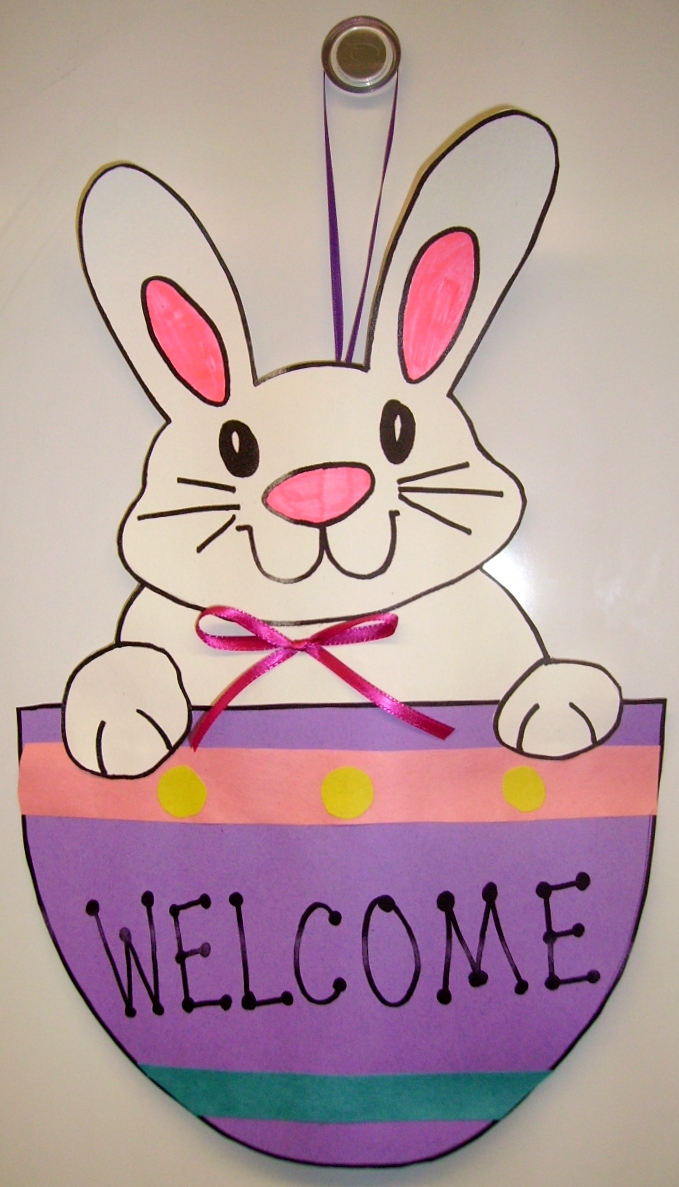
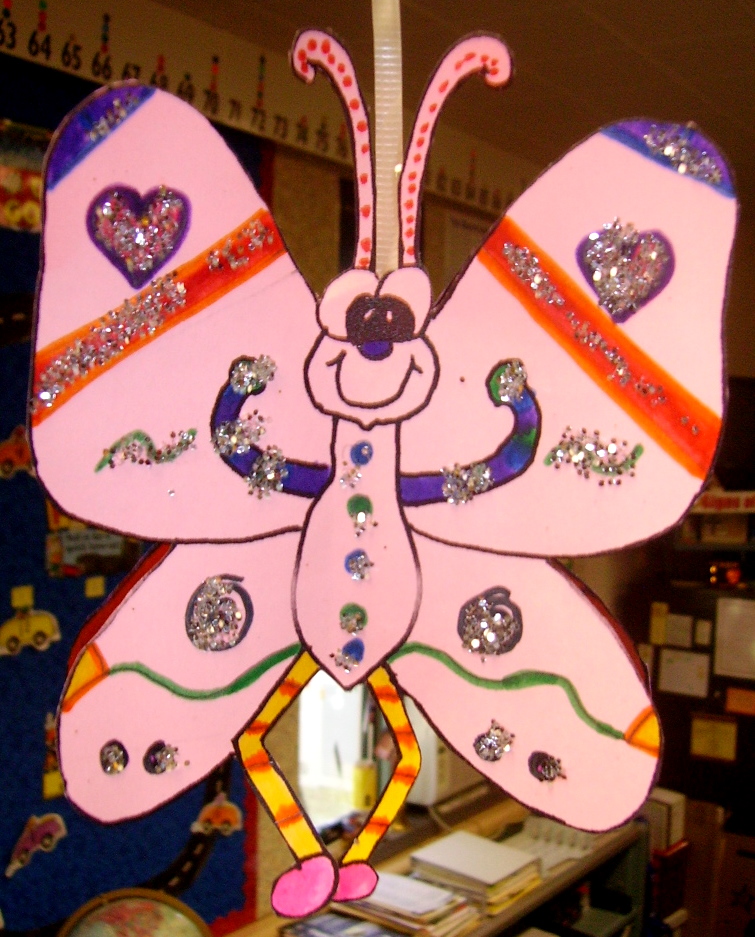
4th Grade Projects Gallery: