
Kokeshi dolls are characterized by their lack of arms and legs, as well as their brightly painted kimono in floral designs and geometric patterns. We prepared the background, and the paper the flowers were cut from, before coloring and cutting out the doll. The background paper was painted by using two inch squares of colored tissue paper (tissue painting). The paper for the flowers was painted with torn tissue paper. This project takes two —l hour—-sessions to complete.
Supplies: 
- 1 ½ sheets of white construction paper for the background
- White construction paper
- Optional: Colored paper for matting
- Kokeshi doll (Pattern)
- Green and yellow colors of tissue paper (cut into 2″ squares)
- Colored tissue (torn pieces for the flowers paper)
- Paper towels
- Water, container and paint brush
- Iron
- Colored pencils
- Scissors
- Glue stick
- Black Sharpie
Directions:
- Prepare the full sheet of white construction paper in this manner: Lay the paper on paper towels, place a square of tissue paper on the white paper and brush with water. Then pick up the wet square and continue placing a square, brushing with water and picking it off the background paper. Try not to get the paper overly wet. When the paper is completely covered with color: carry the painted paper, still on the paper towel, to the area where it will be pressed dry. Press on one side, turn it over and press on the other side. Do this a couple of times until it is dry and straight.
- Prepare the half sheet of white construction paper in the same manner as above, but use torn colored tissue paper instead. Press with the iron as above.
- With the colored pencils, color the Kokeshi doll using bright colors. Add flowers or shapes to the kimono. Cut out the doll.
- With the black Sharpie, draw four stems from the bottom to the top of the background paper. Draw two on the left side and two on the right side.
- Glue the Kokeshi doll at the bottom and center of the background.
- Draw flowers on the half sheet tissue-painted sheet and cut them out. With the black marker draw lines and a center to the flowers. Cut out the flowers.
- Place the flowers on or along the stem lines drawn on the background.
- Optional: Glue the finished art on a colored paper that accents the art.


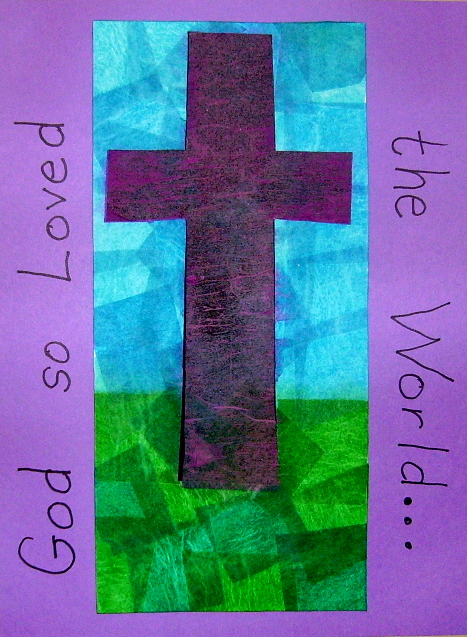
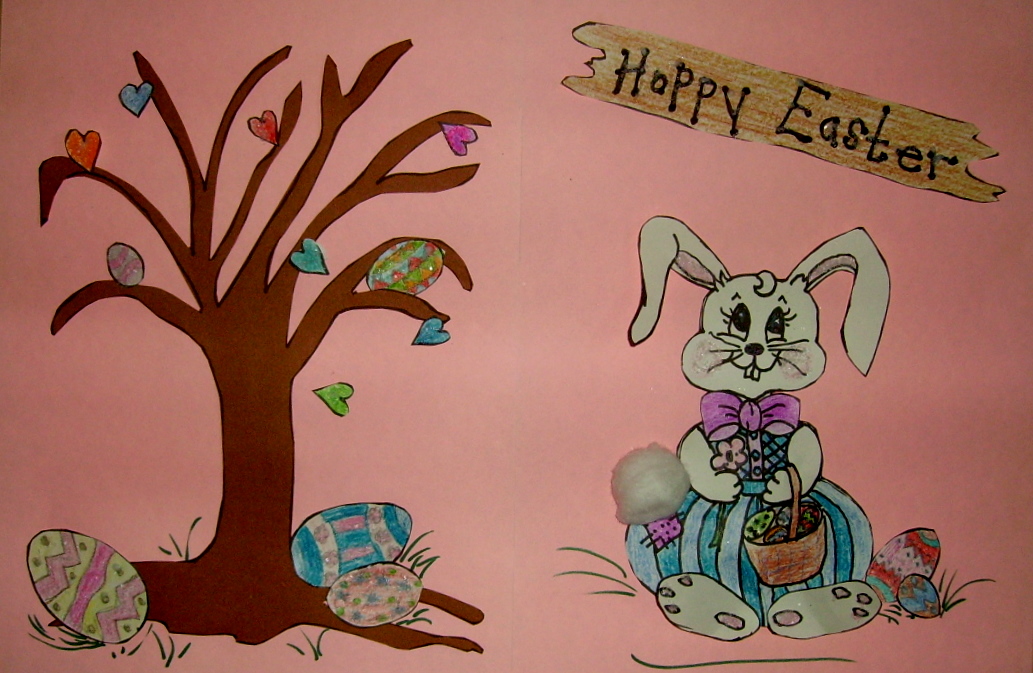
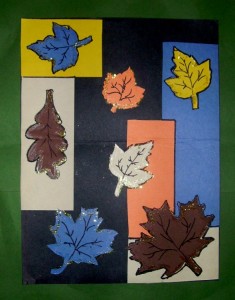
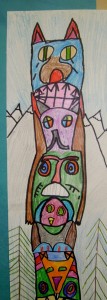
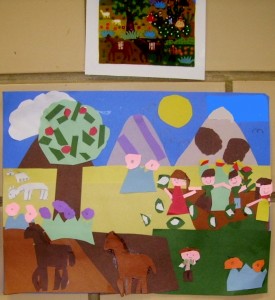
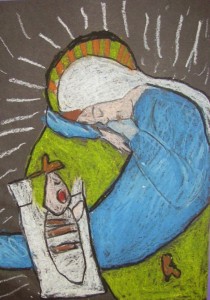
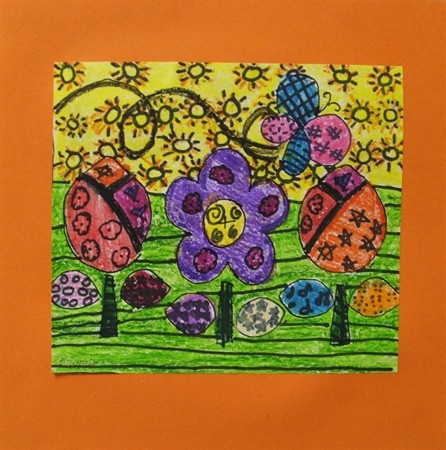
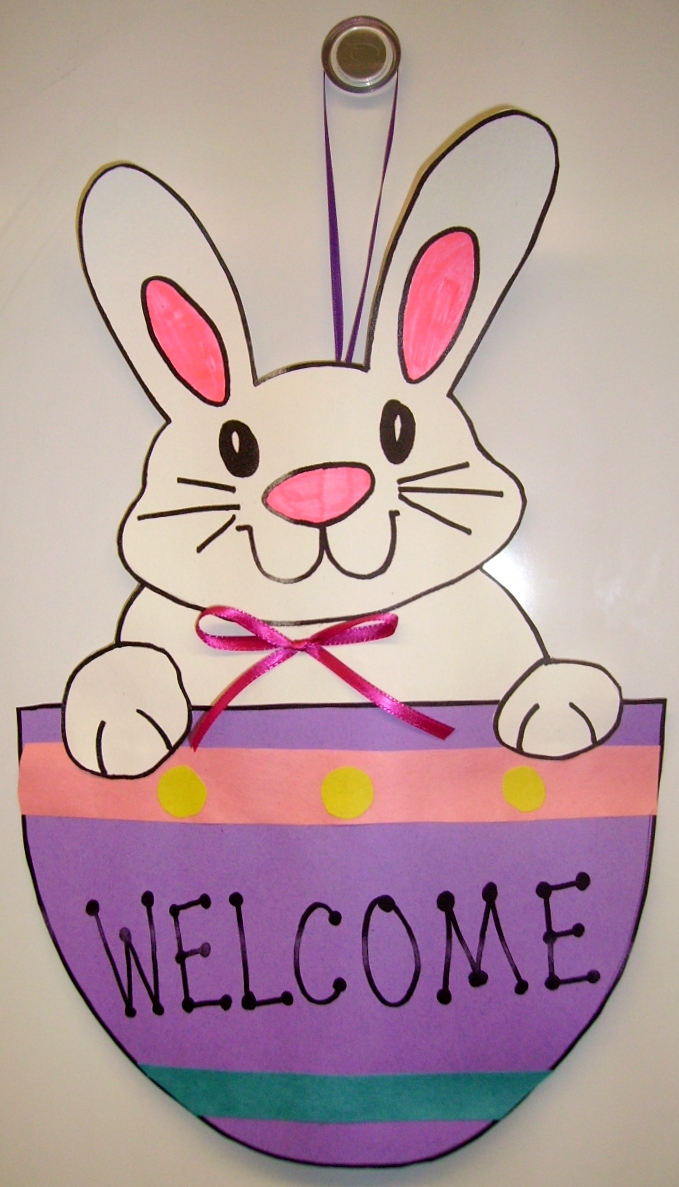
4th Grade Projects Gallery


Thanks for your comment, Dawn. Would love to see how you did it. That’s what I love about art—so many opportunities to make any given project unique.
These are beautiful. I tried another approach with this lesson. But LOVE these. Great idea.
Dawn M. Bevilacqua
Art Teacher k-5
Millville, NJ