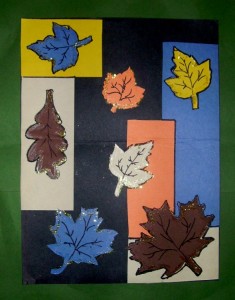
Fall leaves and falling leaves. A project on using pattern pieces.
The pattern included in this project is Cricut friendly. The program used is Sure Cuts A Lot (Lot 2). The Cricut will cut the pattern pieces for you or you can make copies of the pattern on cardstock and cut them. Make one set of pattern pieces per student.
NOTE:
Sure Cuts A Lot 2, or the newest version 3, is not compatible with the newer Cricut machines. So if you want to use the Sure Cuts A Lot 1 or 2, or the version 3, which is the newest version, you will need a cutting machine which will use the SCAL software. Please check my home page for more info.


Supplies:
- Black construction paper
- Assorted rectangle shaped pieces of fall colored construction paper
- Scraps of fall colored paper (brown, tan, orange, yellow, purple, blue, red, green, etc.)
- Leaf shapes (make pattern pieces, one set per student) (Pattern)
- Black Sharpie
- Scissors
- Glue stick
- White glue
- Gold glitter or gold glitter glue
Directions:
- Use the black piece of construction paper as a background.
- Choose three or five of the rectangle pieces to arrange on the background. Choose different sizes and be sure to leave some of the background show. Glue to background.
- Choose three or five leaf shapes. Trace the leaf shapes onto colored scrap pieces with the black Sharpie.
- Carefully cut out the leaves and arrange them on or over the rectangle shapes on the background.
- With the black Sharpie, draw veins inside the leaves. Draw a black Sharpie line (next to the leaves), but on the background.
- Using white glue, run a narrow line around the outside edge of the leaves and sprinkle gold glitter over the glue. Or if you prefer, use gold glitter glue to edge the leaves.
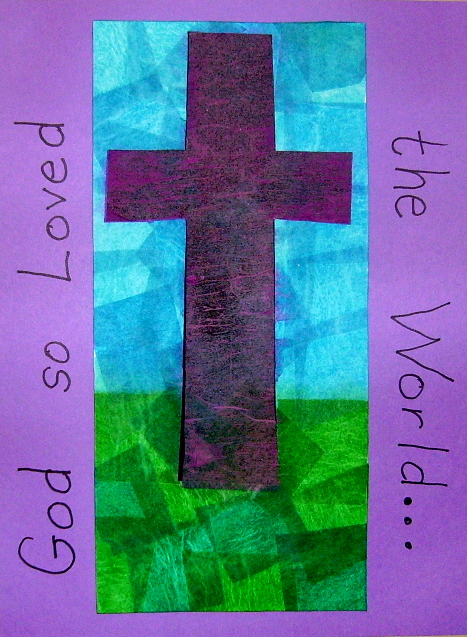
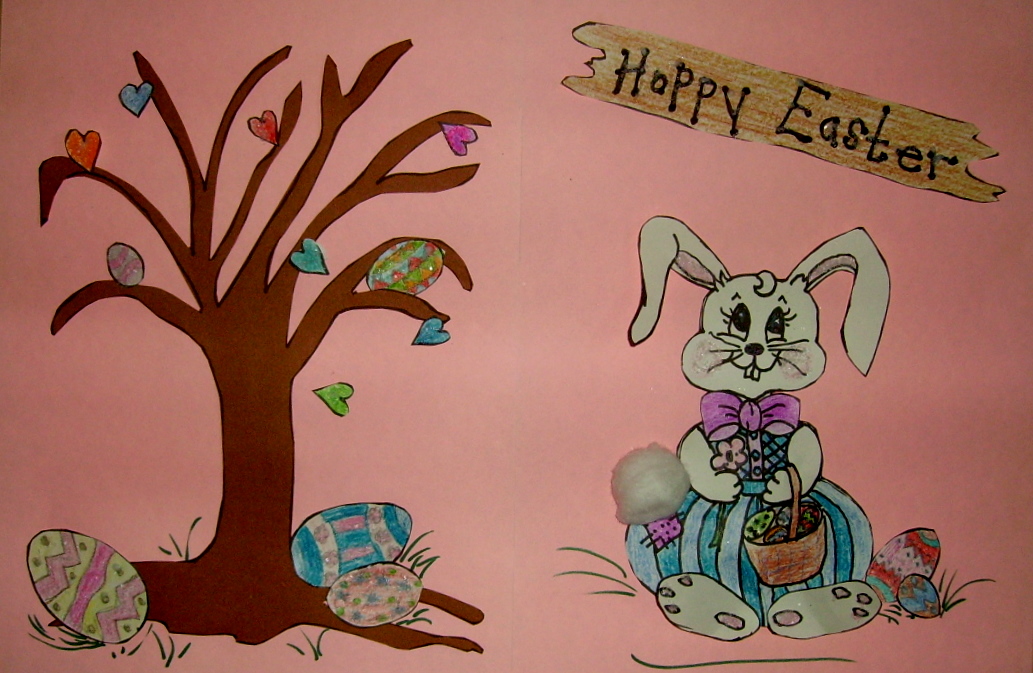
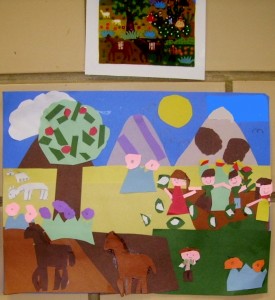
4th Grade Projects Gallery