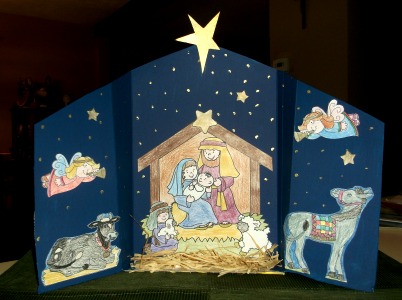
Retablos were wooden boxes that depicted scenes of historical, religious or important everyday events in the lives of the native peoples of Peru. These highly decorated wooden boxes were filled with brightly colored figures telling a story about these events. The retablos originated in Europe and in the 16th Century the Spanish Conquistadors brought the retablos to Peru. Originally they were small highly decorated wooden boxes with complex Christian-theme images inside (Nativities, Crucifixion, Last Supper). They were carried by priests and used as travelling altars, hence the name “Altar Box”.
This project will take at least two art sessions to complete.

Supplies:
- Cereal box
- Scissors
- Pencil and ruler
- Craft knife
- Masking tape
- One inch wide paint brush
- White poster paint
- Colored poster paints
- Magazines, calendars, greeting cards, catalogs, etc. to cut images from
- Black Sharpie
- Smaller paint brushes for decorating
- Gold paint
Directions:
- Cut the flaps from one end of the cereal box. Measure the depth of the box front to back (my measurement was 2 ¾”) and then using that measurement, measure down from the top and mark. Draw a line straight across the front of the box at that measurement. Also draw a line at that same measurement on the top back side of the box. Find the center of the front panel top to bottom and make a line down the center stopping at the the line at the top drawn earlier. With a craft knife, cut across the very bottom of the front panel. If needed, use masking tape and reinforce the bottom of the box by running the tape down the side of the box and under the bottom of the box. Using a scissors, cut on the center line drawn on the front of the box, bottom to top, and then following the horizontal line, cut to both sides. Now the front of the box will open like doors.
- On the back side of the box, cut down to the line from both corners and bend the back piece forward at the line. Use masking tape and tape the front edge of the flap, just made, to the backside of the top front panel. This will form the ceiling of the box.
- Use white poster paint and paint the inside of the box, the doors and the front and side
 of the box. This coat of paint will not cover all the writing on the box, so try not to put too much paint on the first coat. This thinner coat will also keep the box from warping too much. Let dry.
 - Choose pictures for the inside of your retablos. For religious pictures: look at Christmas cards, religious catalogs, and calendars. Other retablos ideas: Scenery pictures, birds, animals, etc. Try to tell a story with the pictures.
- Decide where in the retable you want to put your cut images. Do not glue them in yet. Then decide what color or colors you want to paint the inside of the box and paint
 the inside.
 - Paint the outside of the retable. Let the box dry thoroughly.
- Glue the images to the inside of the box. Then decorate the outside of the box.


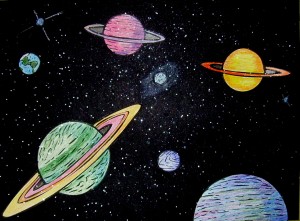
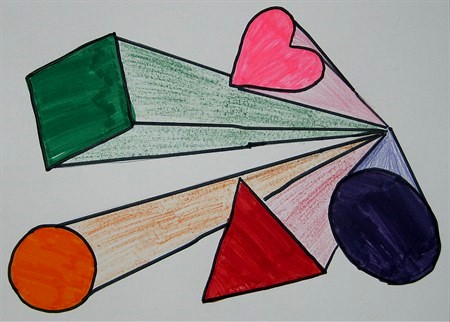
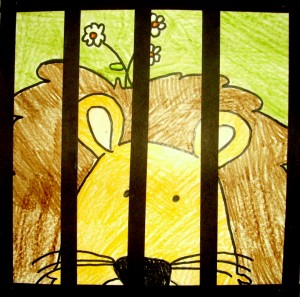
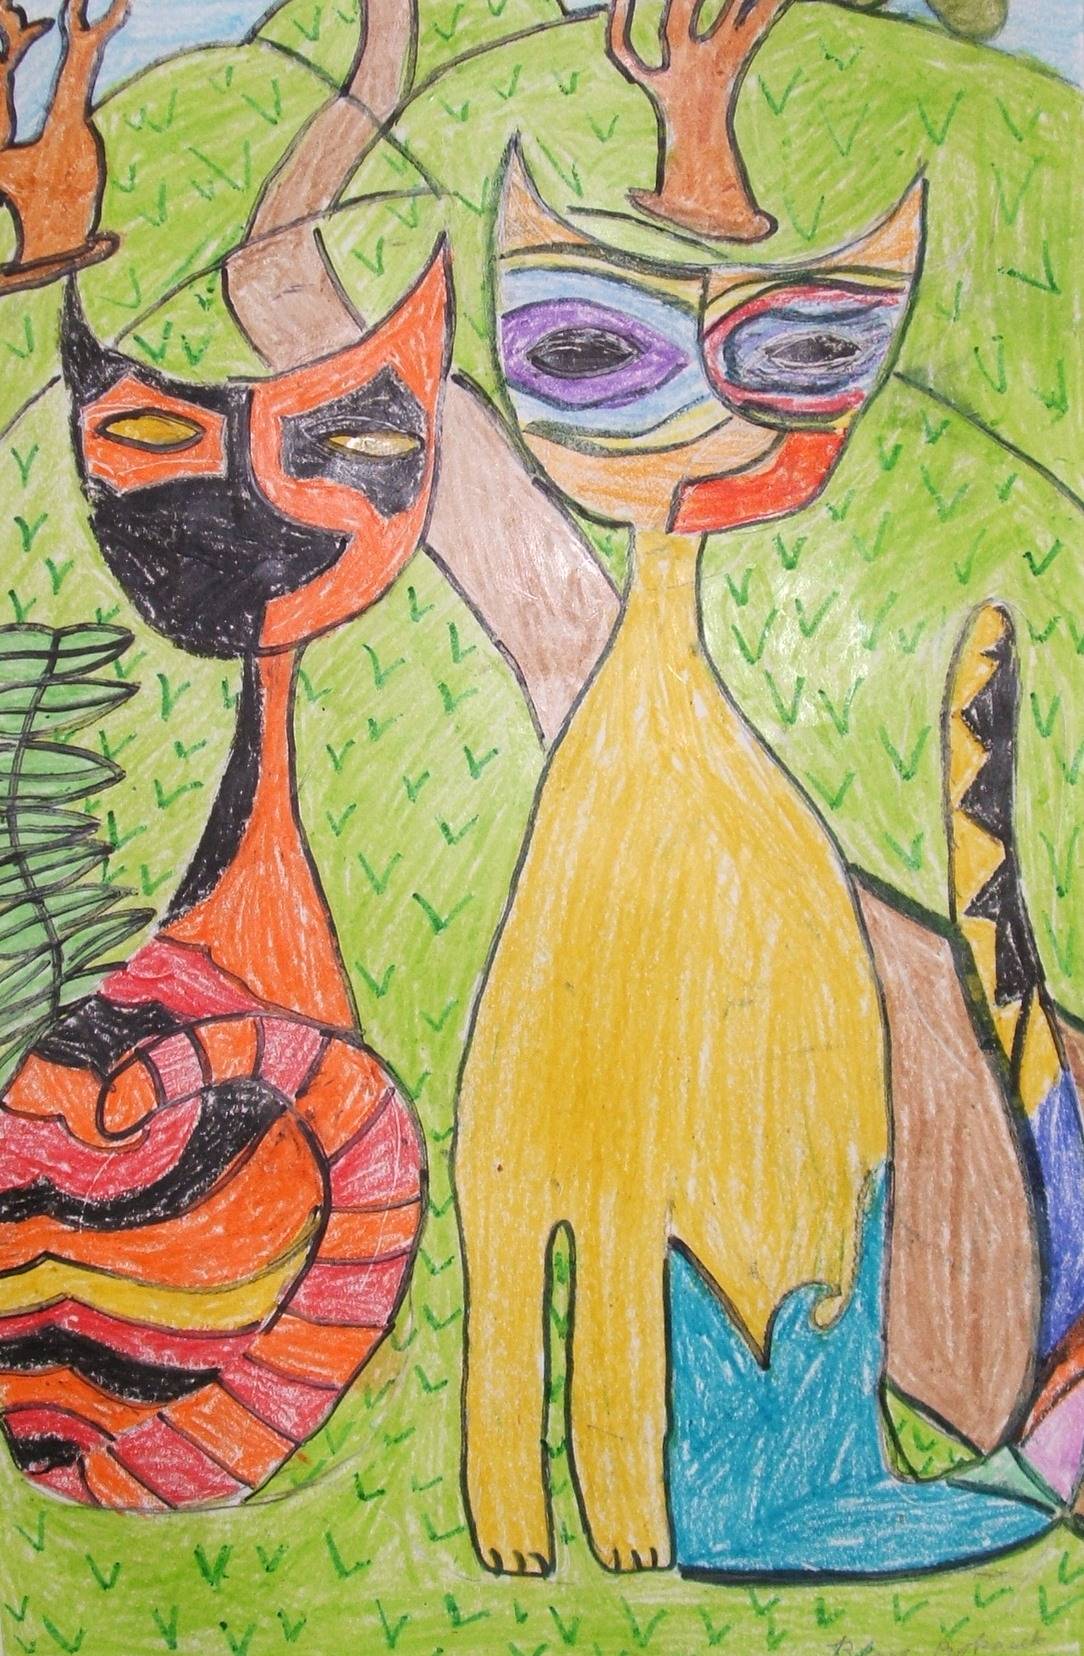
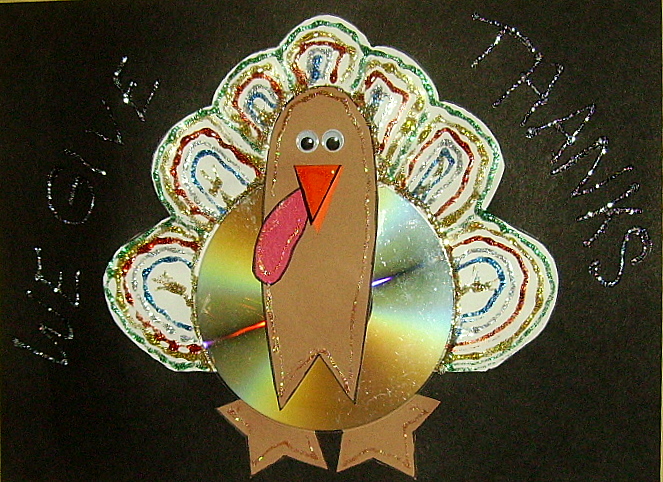
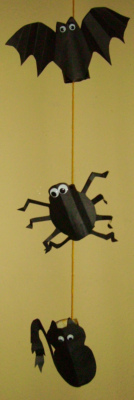
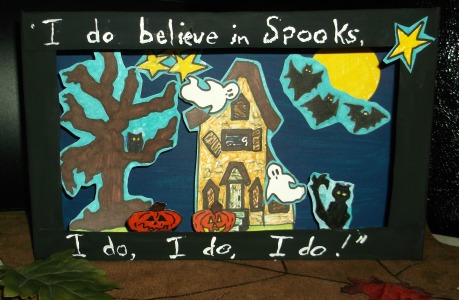
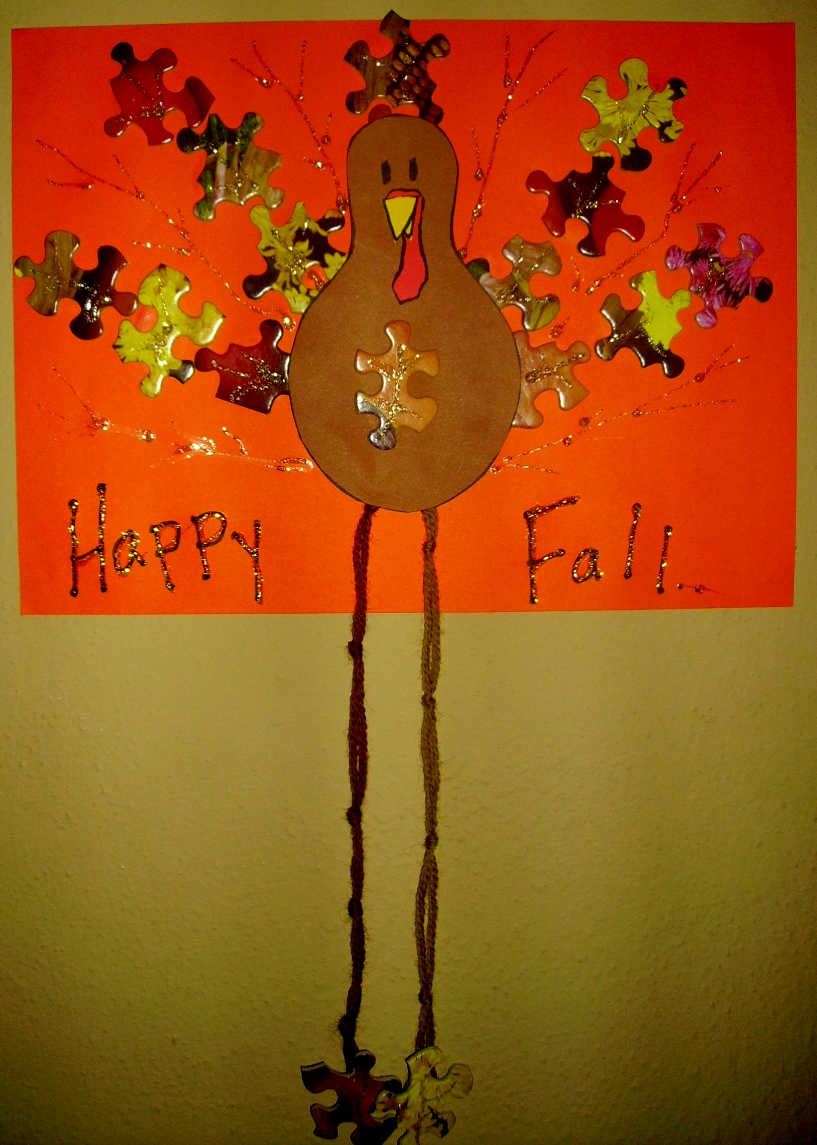
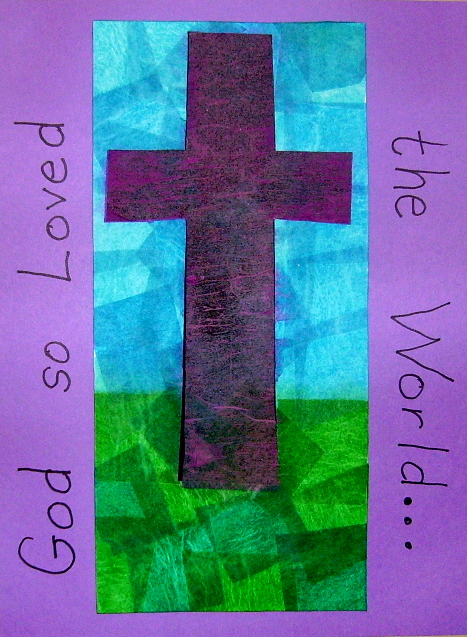
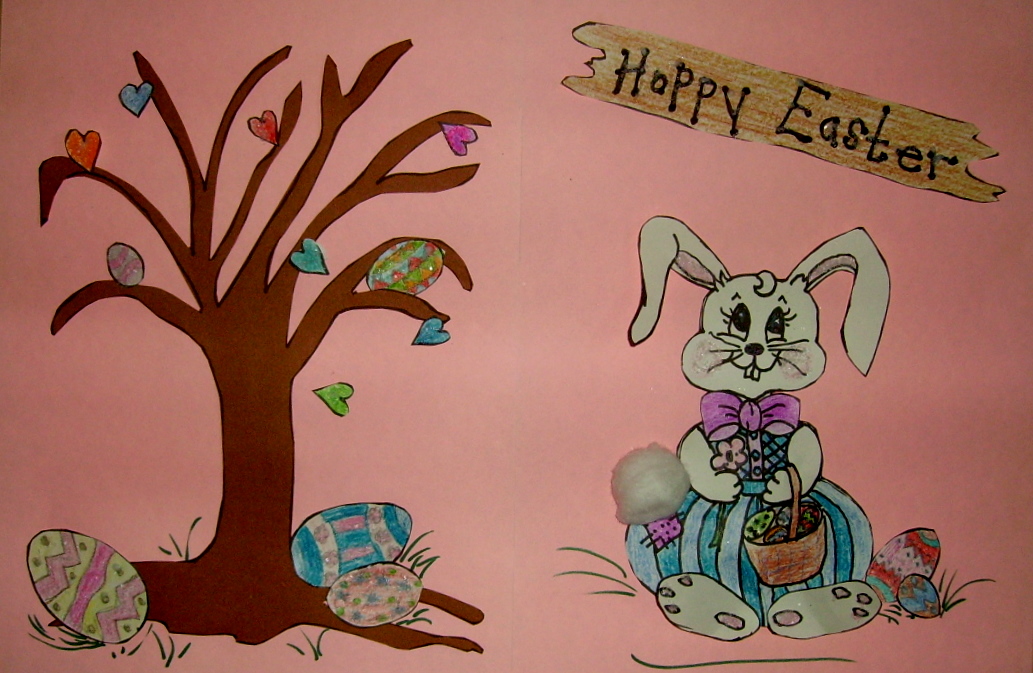
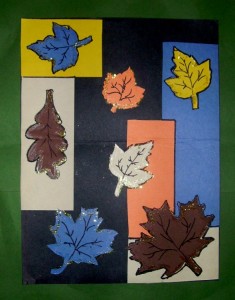
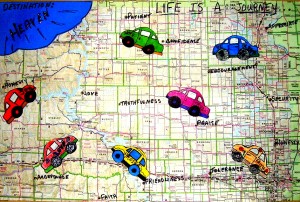
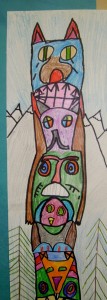
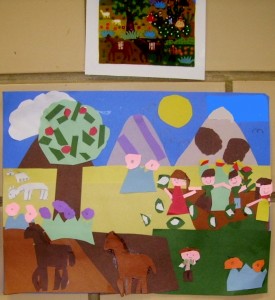
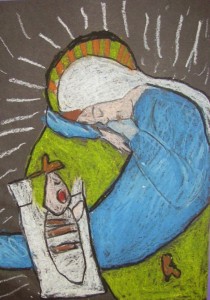
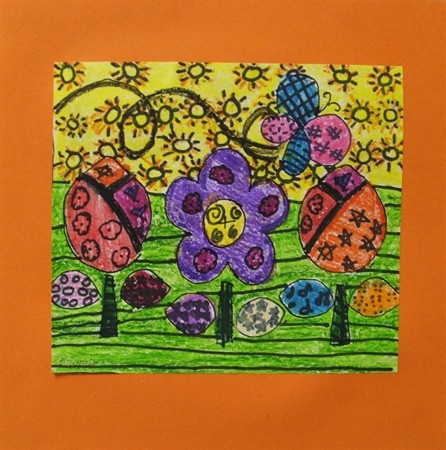
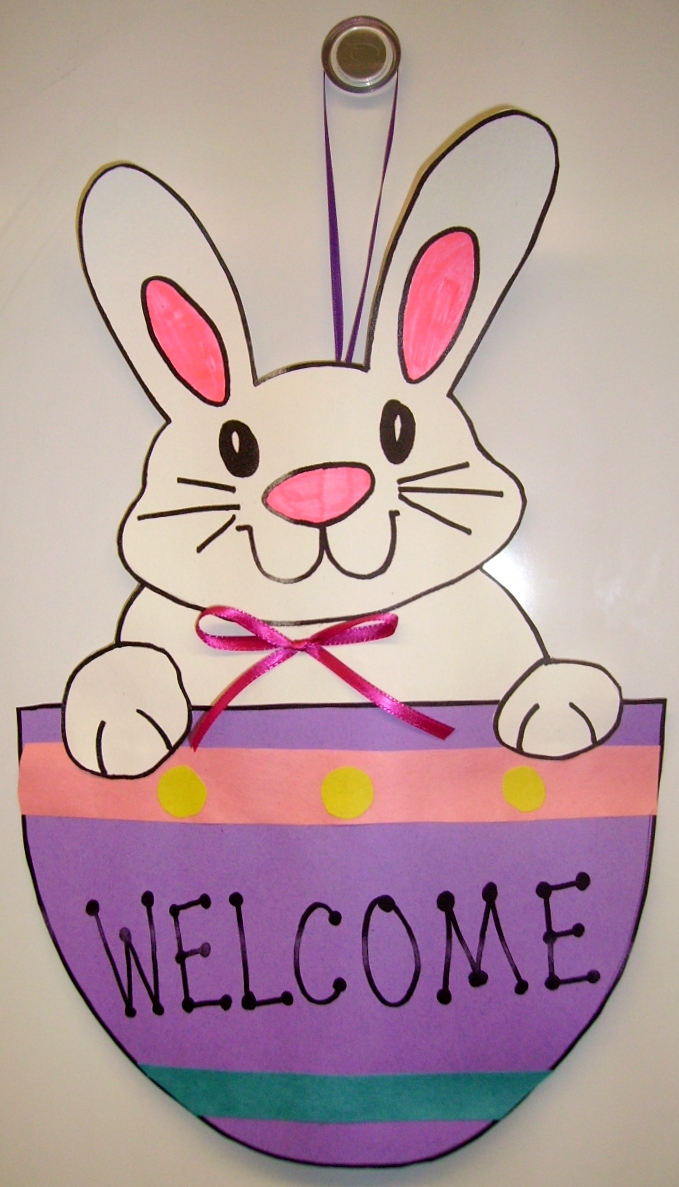
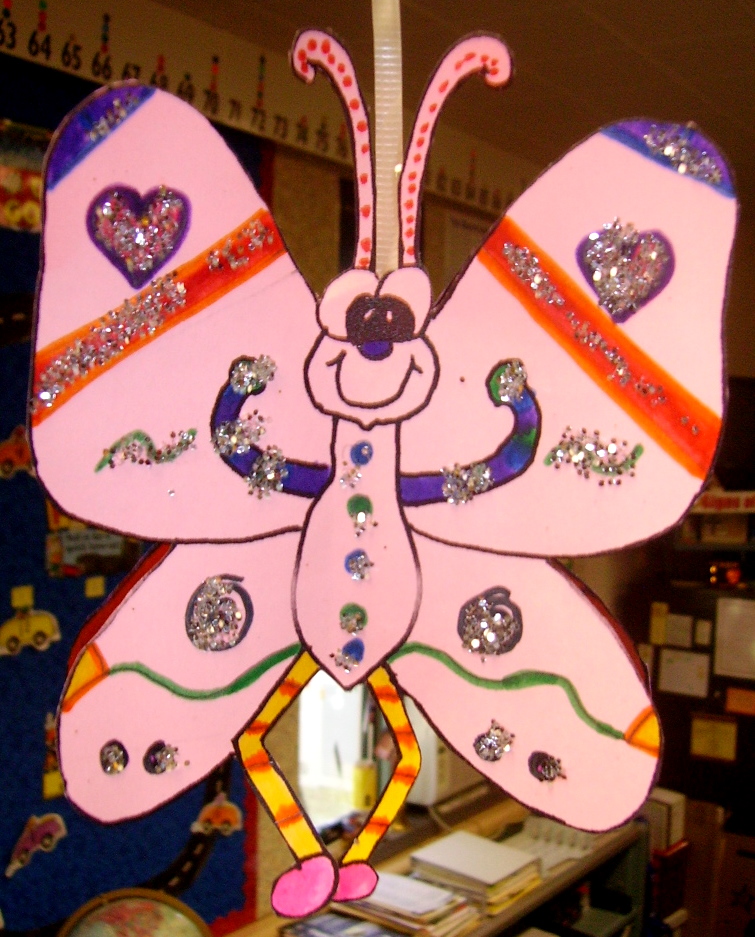
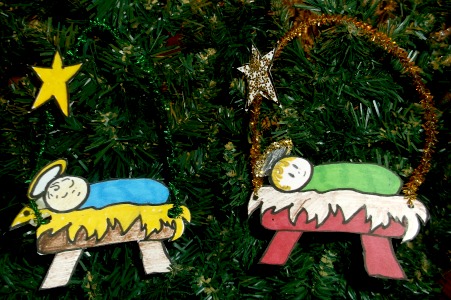
4th Grade Projects Gallery: