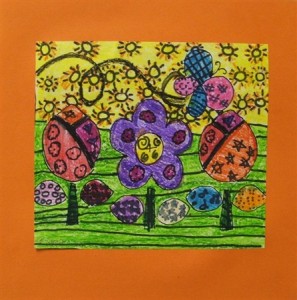
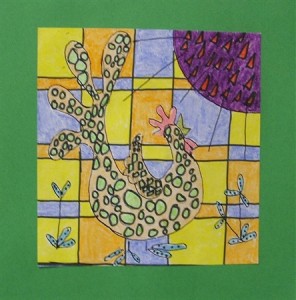
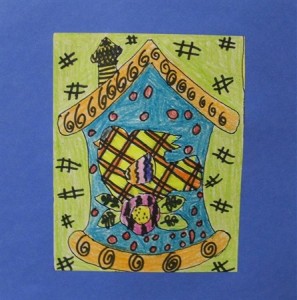
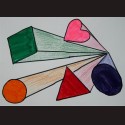
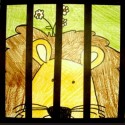
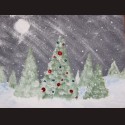
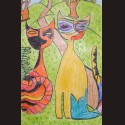
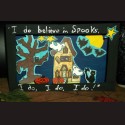
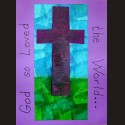
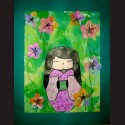
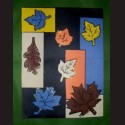
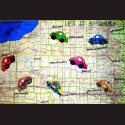
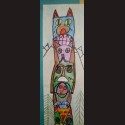
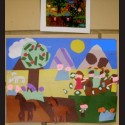
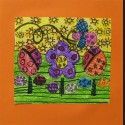
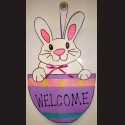
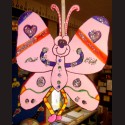
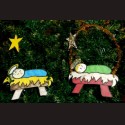
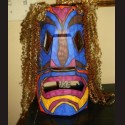
Imagine the colors and designs that make up a quilt block. We took a drawn image and drew in the designs and then colored them. There are alot of free coloring pages online that would work well. Size them to the size you want, or make the colored border paper larger. We displayed them together on the wall, like a quilt.
- Copies of images (coloring pages sized to about 7 1/2″ x 7 1/2″)
- 9″x 9″ Assorted colors of construction paper (border)
- Pencil and eraser
- Black Sharpie
- Colored pencils, crayons or small colored markers
Directions:
- Discuss and draw different designs on the board. Think of calico prints.
- With a pencil, draw different designs in the different areas of the block.
- Color your block, using crayons, colored pencils or colored markers —remember the different pieces in your quilt block should coordinate (unite or match) with each other. All areas should have design and color in it.
- Outline with a black Sharpie.
- Choose a border paper that accents the quilt block. Have a variety of colors so the student can try different colors with the block. They’ll be surprised how different border colors will either “accent” or “kill” their block.
4th Grade Projects Gallery

