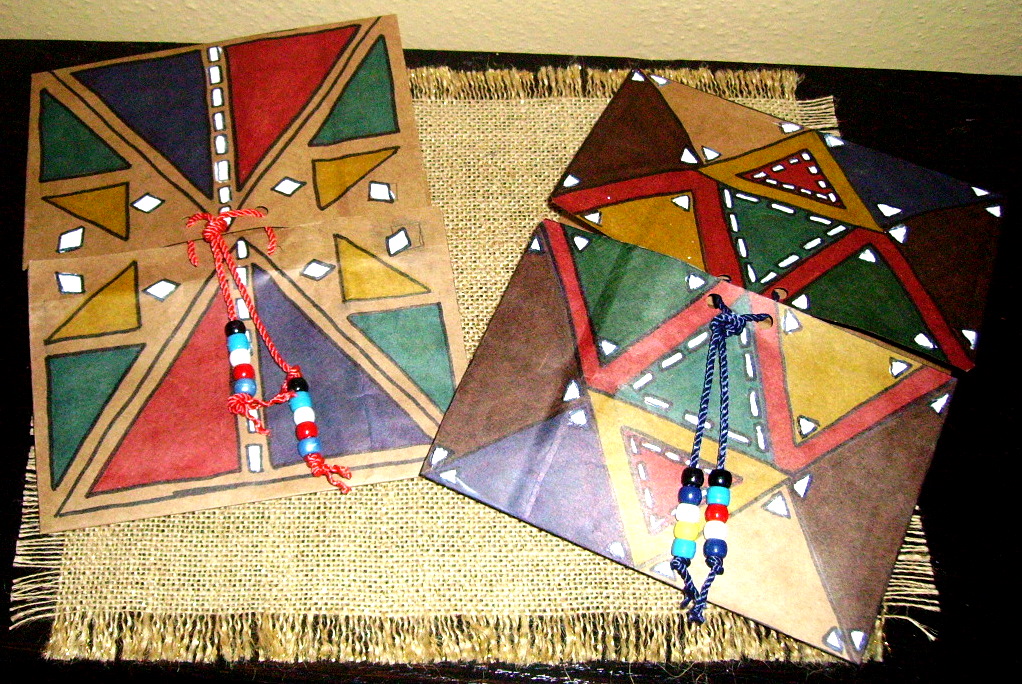
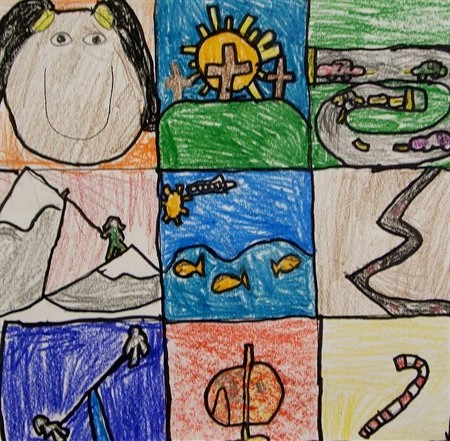
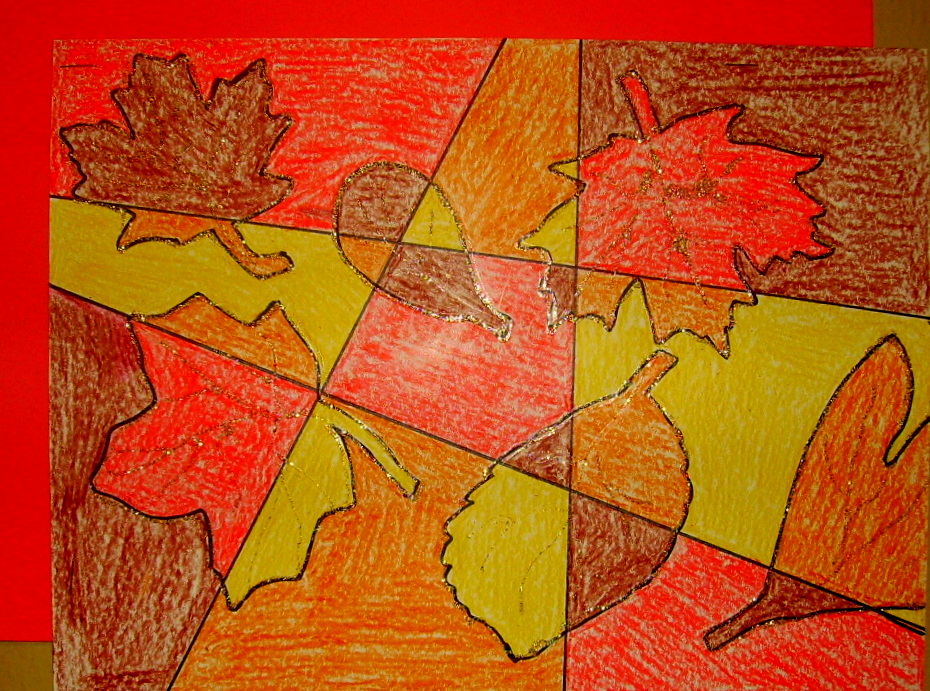
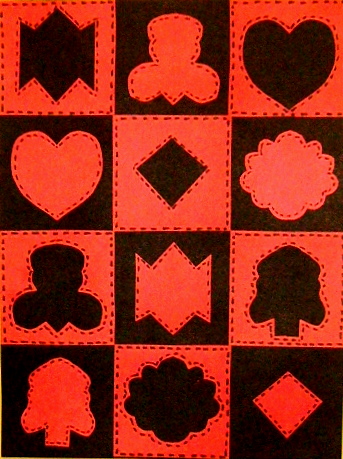
If you’ve ever seen the intricate appliqu patterns in quilts, you know this isn’t it. But with a little imagination you might be able to see a vague similarity. This project looks more involved than it is. Three inch squares of one color construction paper and a full sheet of another and we’re in business.

Supplies:
- One 9″ x 12″ sheet of colored paper
- One 6″ x 9″ sheet of colored paper (cut into three inch squares)
- Pencil
- Scissors
- Glue stick
- Black Sharpie
Directions:
- Fold a 3″ square in half, and cut a shape. Keep both the positive and negative shapes. Do the same with the rest of the 3″ squares.
- On the 9″ x 12″ sheet, measure and make light pencil lines to make 3″ squares across and vertically.
- Glue a negative shape into each of the two top corners, keeping the top and sides of the square and the background even.
- Glue a negative shape in the center of the second row.
- Glue a negative shape to the edges and even with the bottom of the centered shape in the row above.
- Glue a negative shape in the center of the last row, keeping the sides and bottom even. All the negative shapes are now on the background.
- Place the positive shapes on the solid squares. Make sure the positive shape is not next to it’s negative. When you are satisfied with their placement, center them in the square and glue them down.
- With the black Sharpie, make stitch marks around the appliqus and the squares .
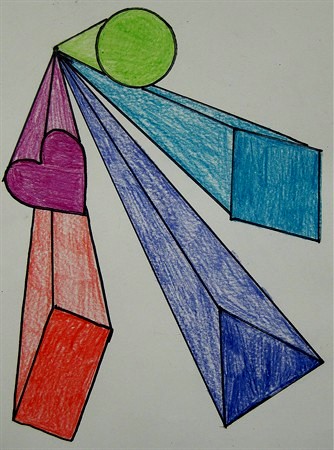
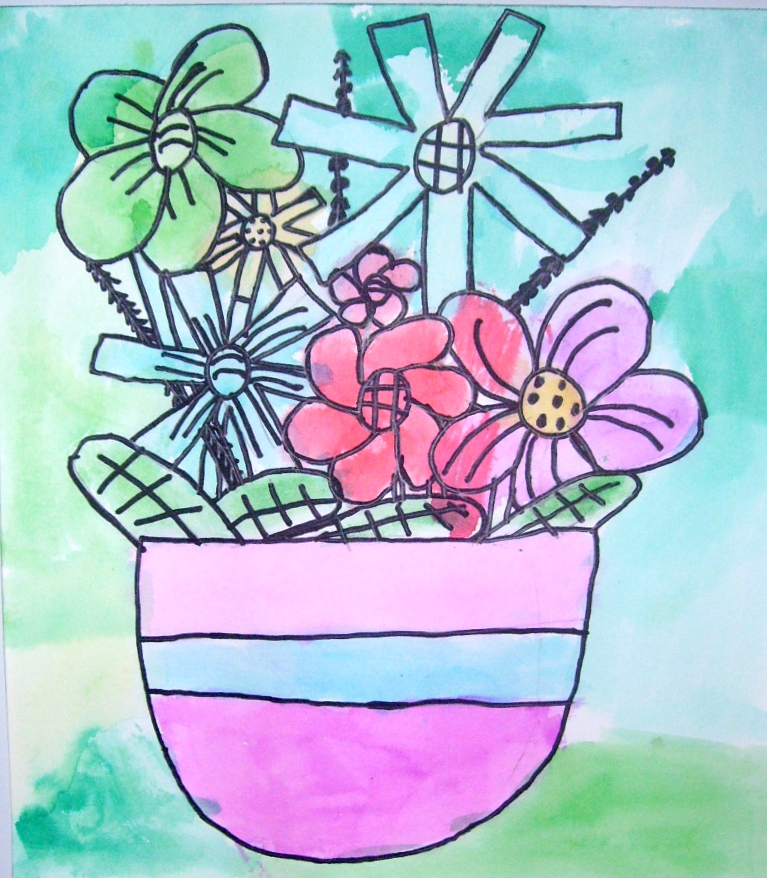
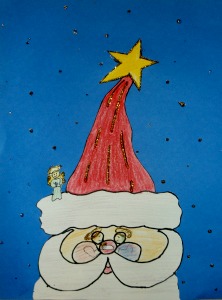
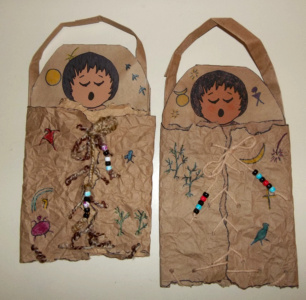
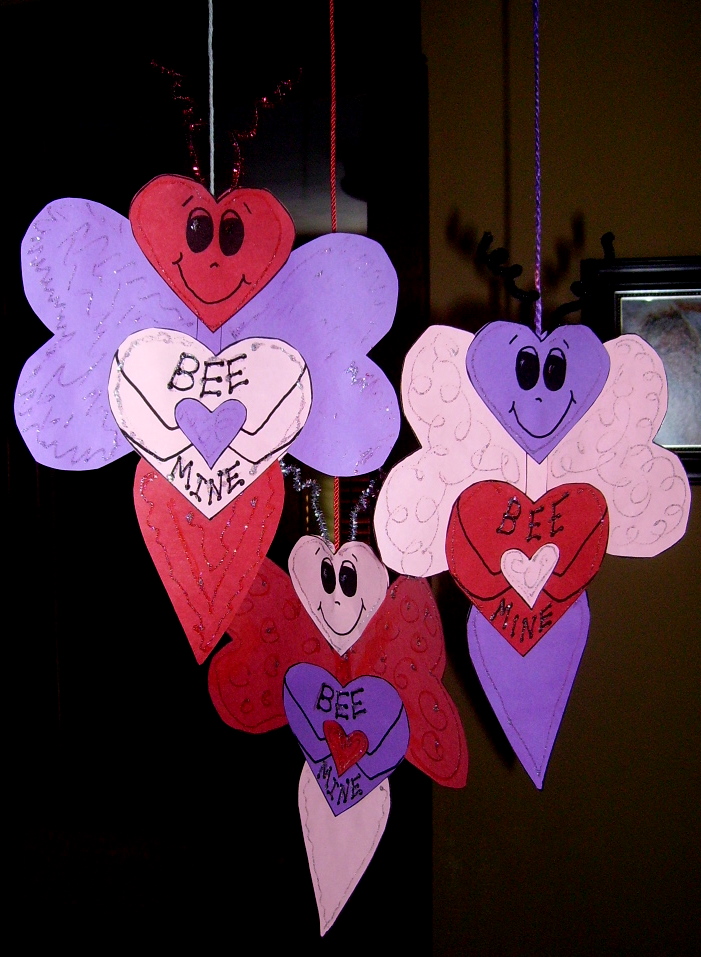
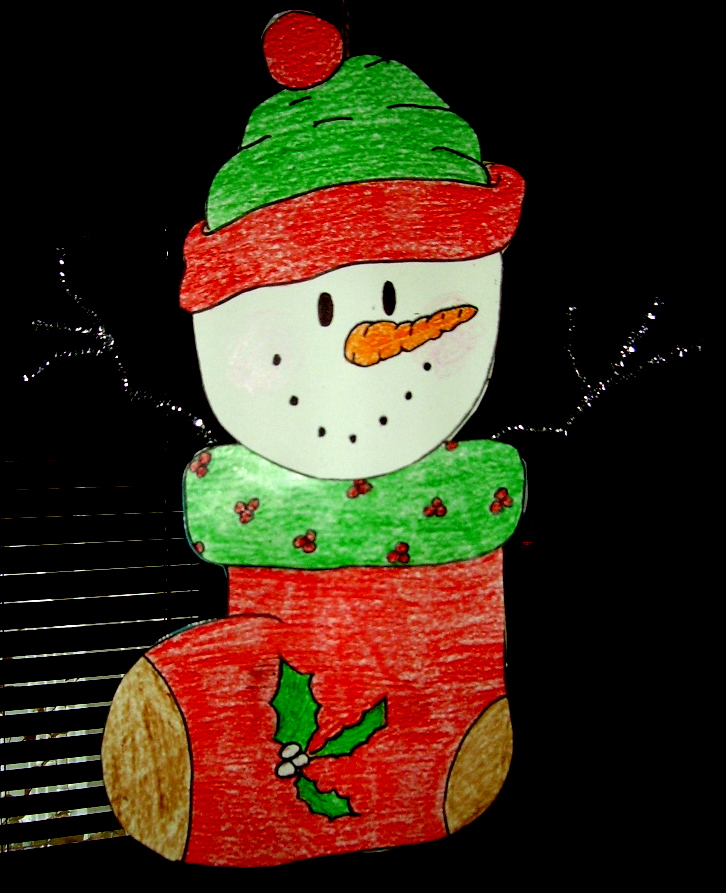
3rd Grade Projects Gallery: