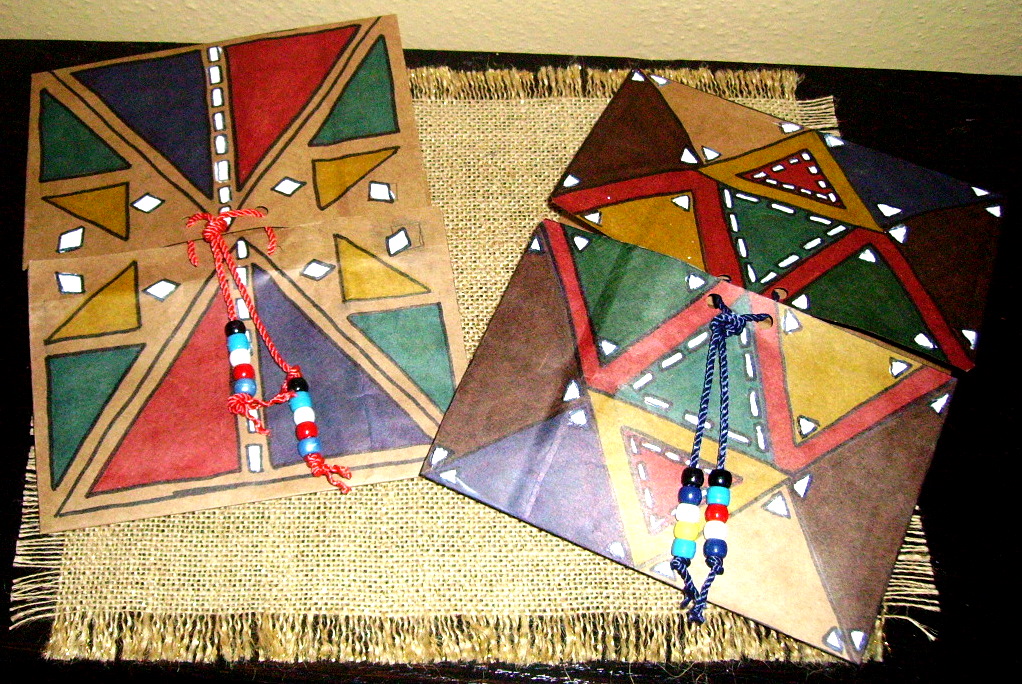
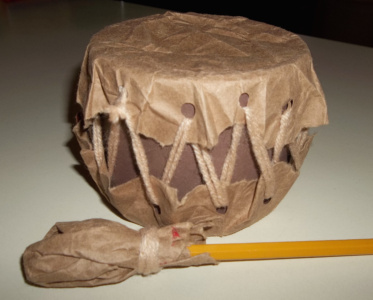
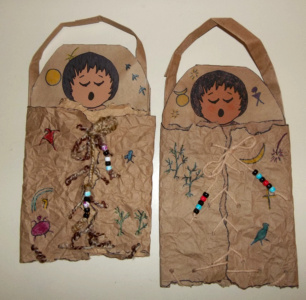
The 3rd Grade at HT elementary school study the American Indian, so I’ve been working on a couple of new projects for the class. I believe the kids, especially the boys, will enjoy making this drum. Because I think crushed brown grocery bag paper looks like leather, I like to prepare a number of the bags at one time so I have the “leather†whenever I need it for a project.  The easiest way to prepare the paper is to cut down the seam to the bottom of the bag and then cut around the bottom. Be sure to save the bottom for other projects like the “American Indian Papoose.â€Â The next step in preparing the brown paper is to immerse the paper in a sink of warm water and then carefully squeeze as much water out as possible. Do not try to wring out the paper because the paper will tear. Lay the paper on a flat surface and smooth out. Let the paper dry. Now you have the “leather†for this and other projects.

Supplies:
- Brown grocery bag “leatherâ€
- A round can such as a mixed nut container
- Brown construction paper
- Yarn
- Paper Punch
- Double stick tape
- Masking tape
Directions:
 Measure the height of your round can and cut a piece of brown construction paper to fit around the can. Glue the brown paper around the can, overlapping the ends.
- Measure and cut two pieces of leather that are 2 ½ times as wide as the top of your can. (You’ll want the top and bottom pieces of “leather† to hang at least 2†down over the sides of the can.)
- Center the “leather†over the can and press and form it over the top and bottom edges,
 forming pleats and creases down the sides.
  Tear the “leather†2 to 2 ½†below the crease made around the top of the can. Do this to the top and bottom pieces.
- Place the two “leather†pieces on top of each other and then using the paper punch, punch holes at intervals, 1†below the crease.
- Take small strips of double stick tape (I used strips of carpet tape, but I believe regular
 double stick tape will work also.) and adhere them over the top and down the sides of the can. This will hold the “leather†pieces in place while you lace the top and bottom together.
  Center the top and bottom pieces of “leather†and press it onto the double stick tape pieces.
- Double the yarn and cut a long piece (for my mixed nut can I used a double piece of yarn, two yards
 long) of yarn. If you have to, you can knot pieces together as you go along.
  Hold the two ends of the yarn together and, using a piece of masking tape, lay the ends on one side of the tape and roll the tape around the ends making a needle. Tape the other end of the yarn up under the “leather†and slide the needle through a hole, from the back side of the leather to the front. Bring the needle down and insert the needle through a hole in the bottom leather, from the outside, through the back of the hole and pull to the front. Continue sewing the two leather pieces together until you have filled all the holes.
 Carefully tighten the lacing by starting at your first stitch and going through each of them , tightening them as you go. Tie the end of your yarn around the starting stitch. Trim the ends.
- If you want to make a drum stick, fold a small amount of
 tissue or paper towel over the eraser end of a pencil. Then tear a piece of “leather,† fit it over the tissue, take a piece of yarn, wrap it around the “leather†a few times and tie
  the ends. Trim the ends.


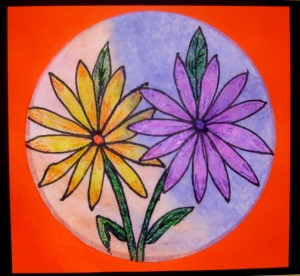
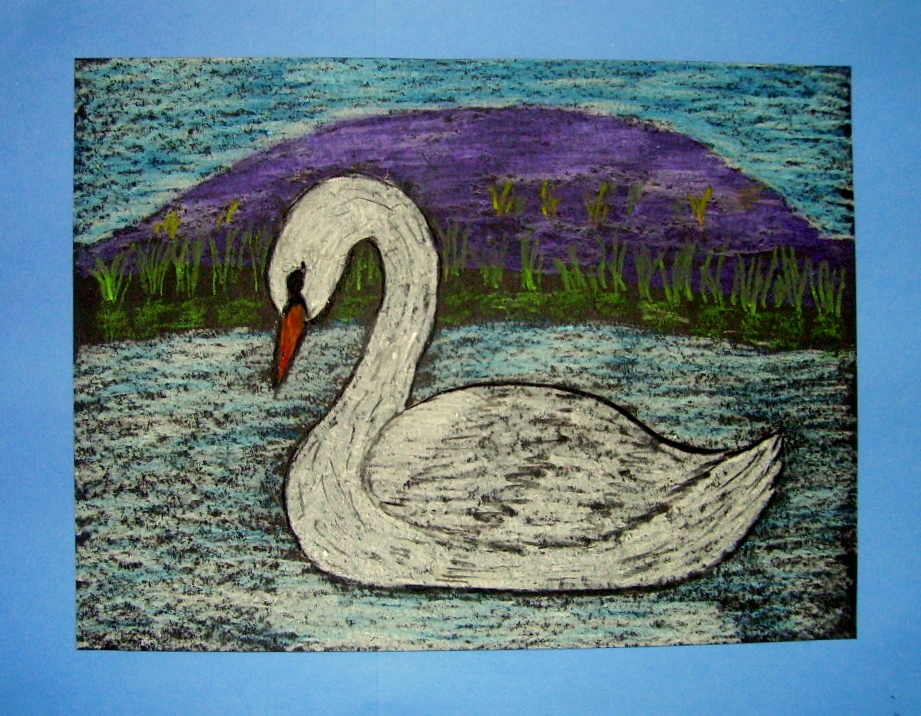
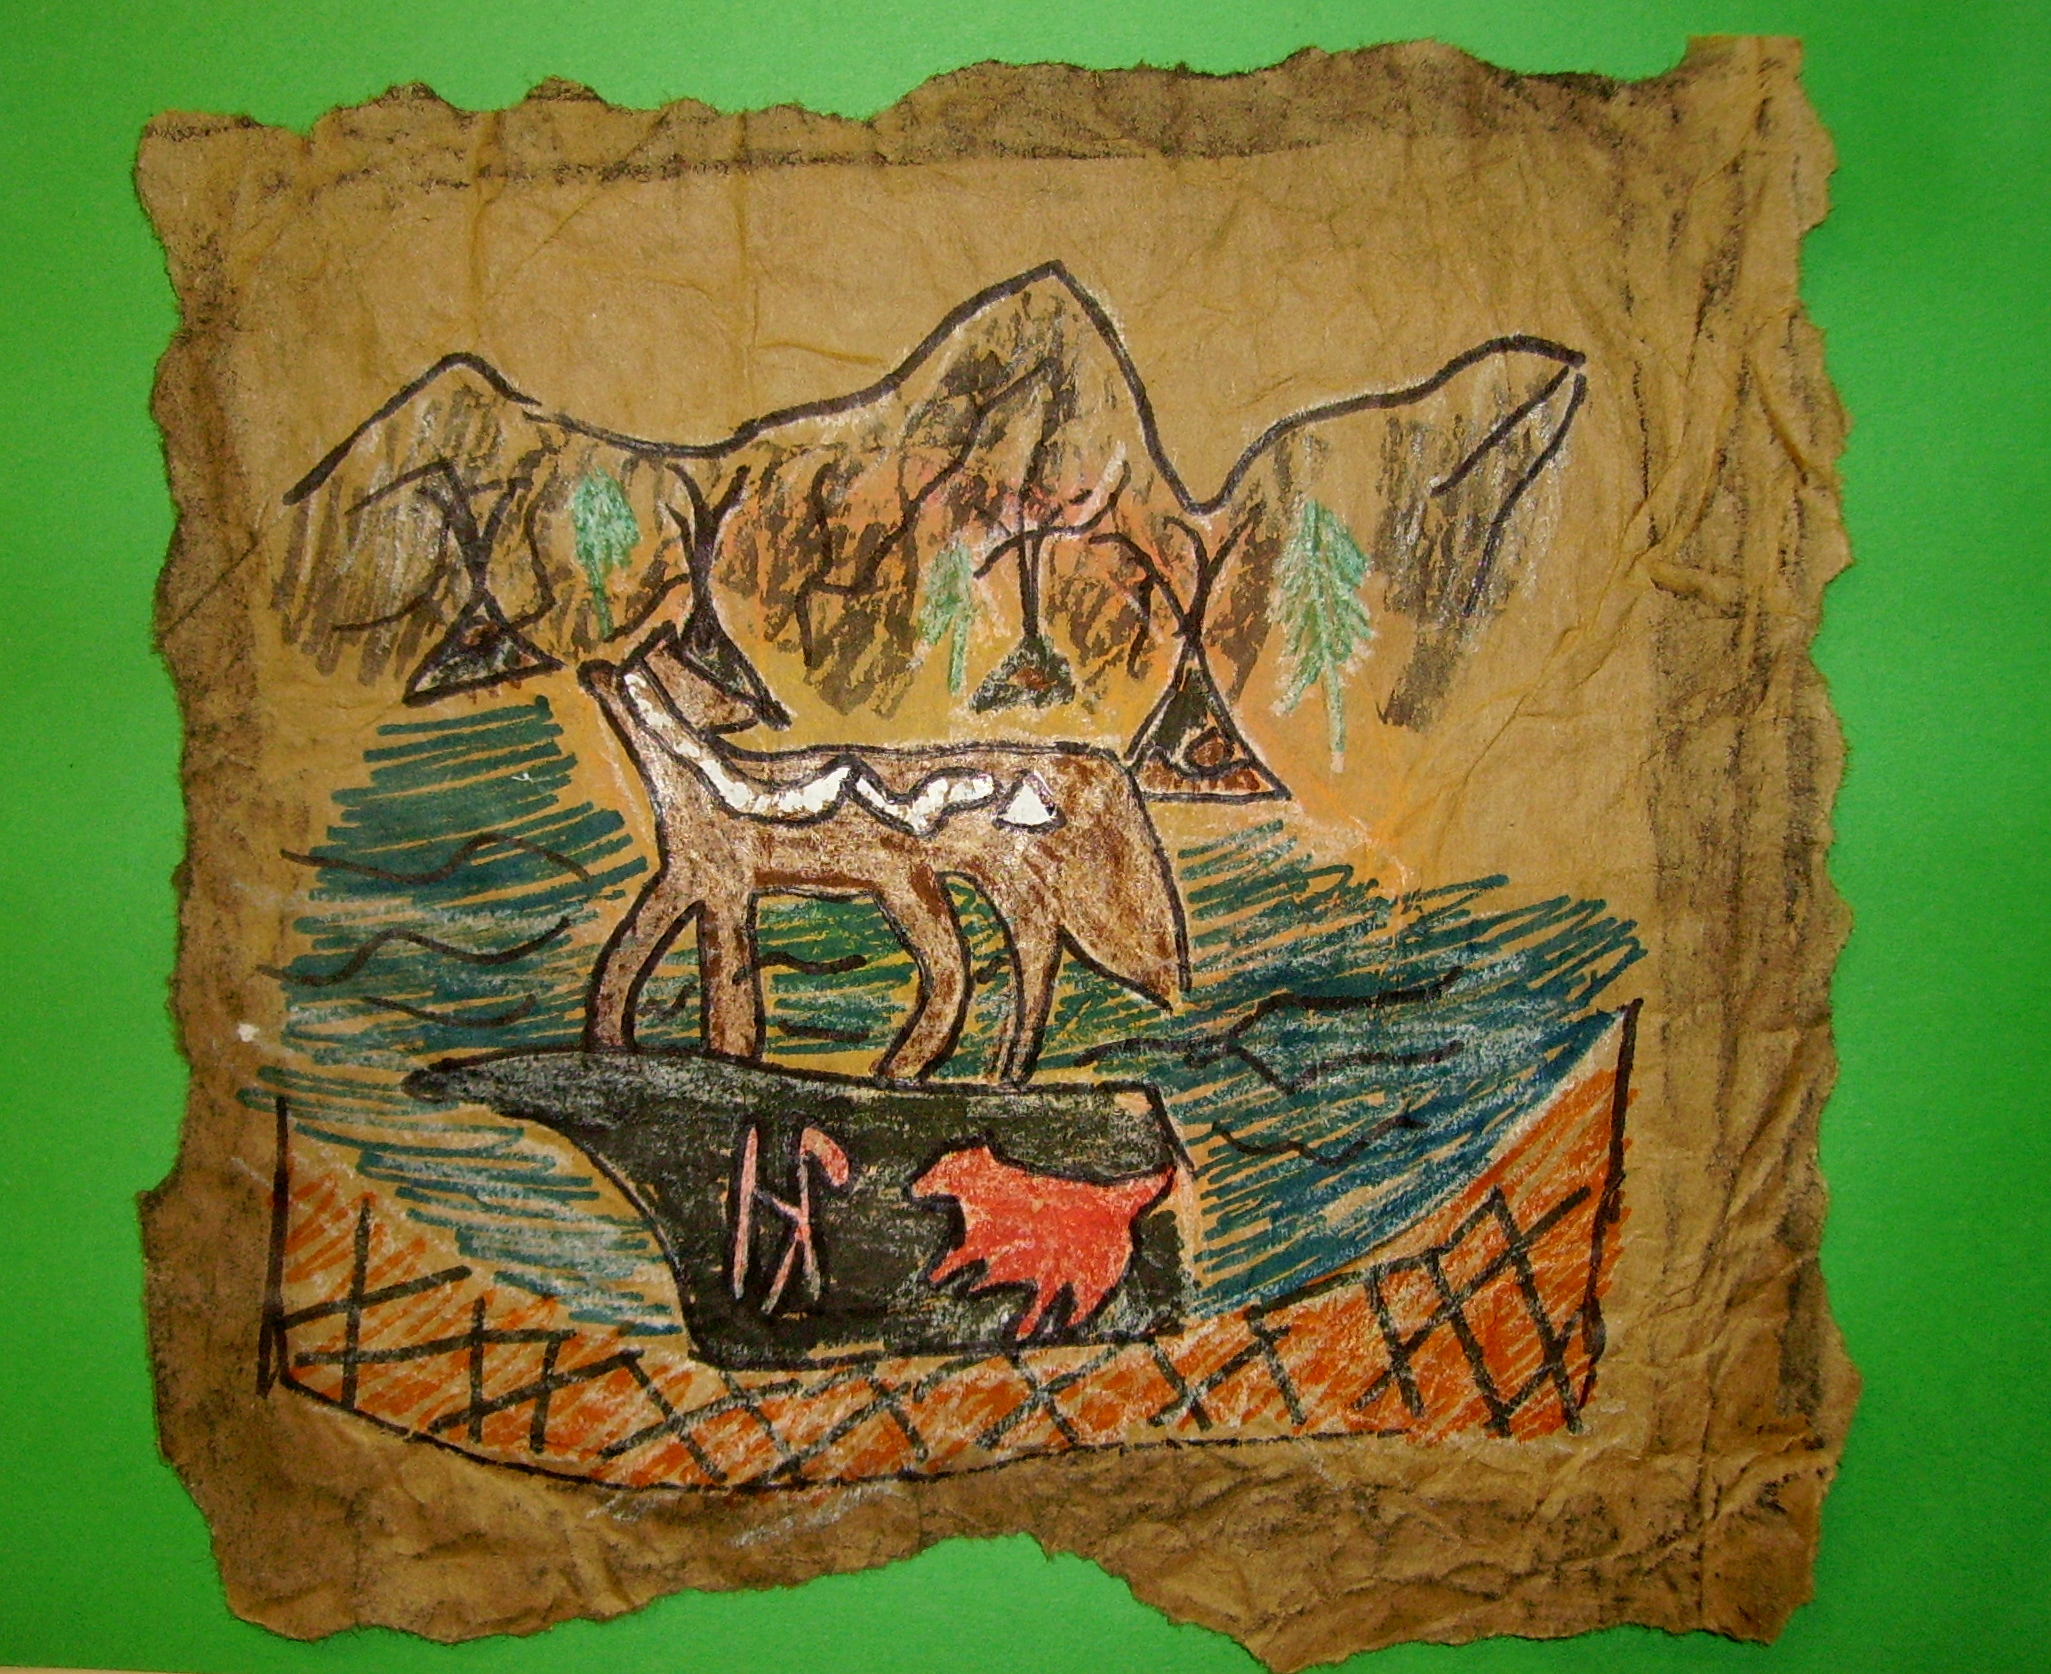
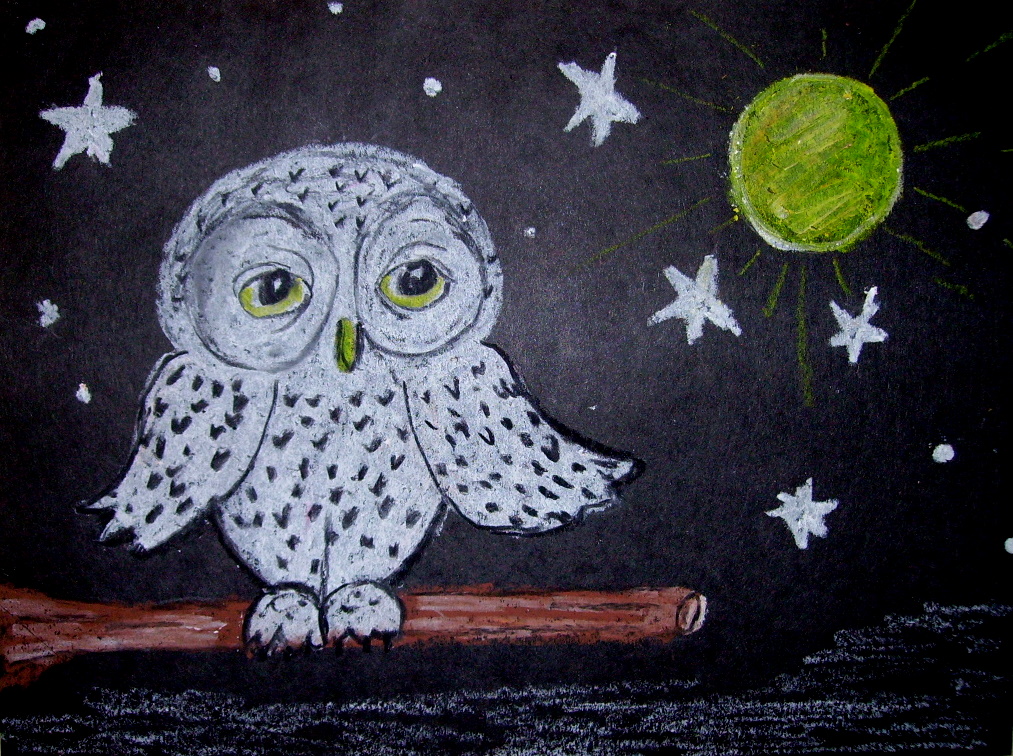
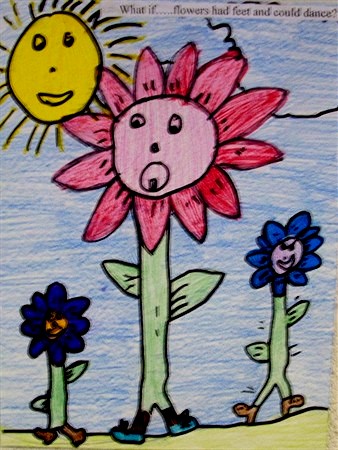
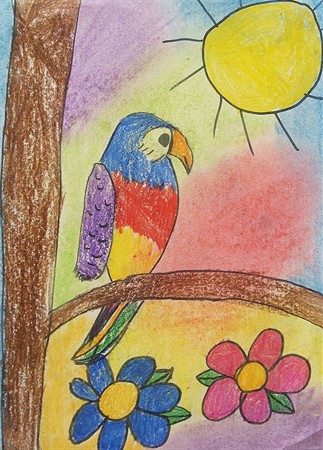
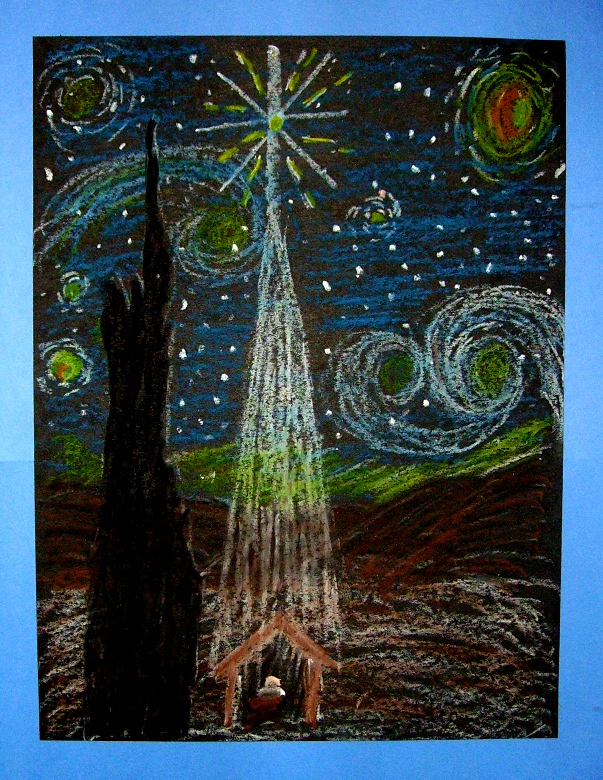
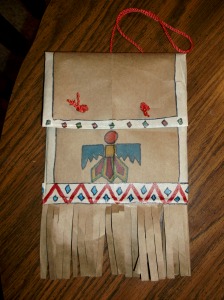
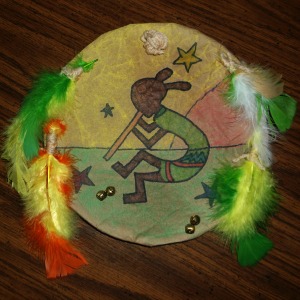
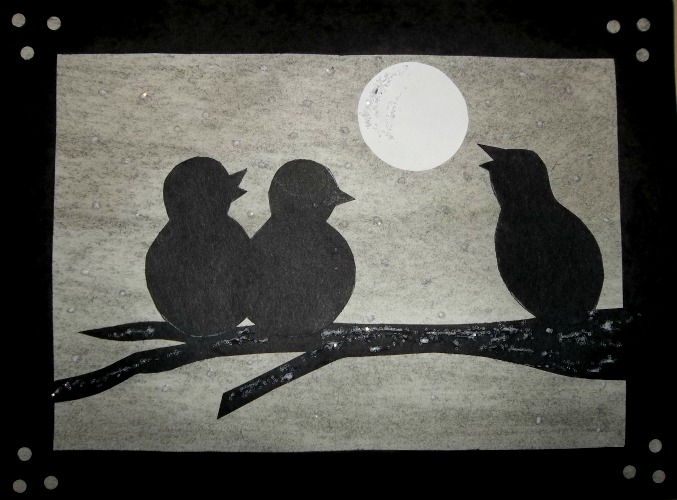
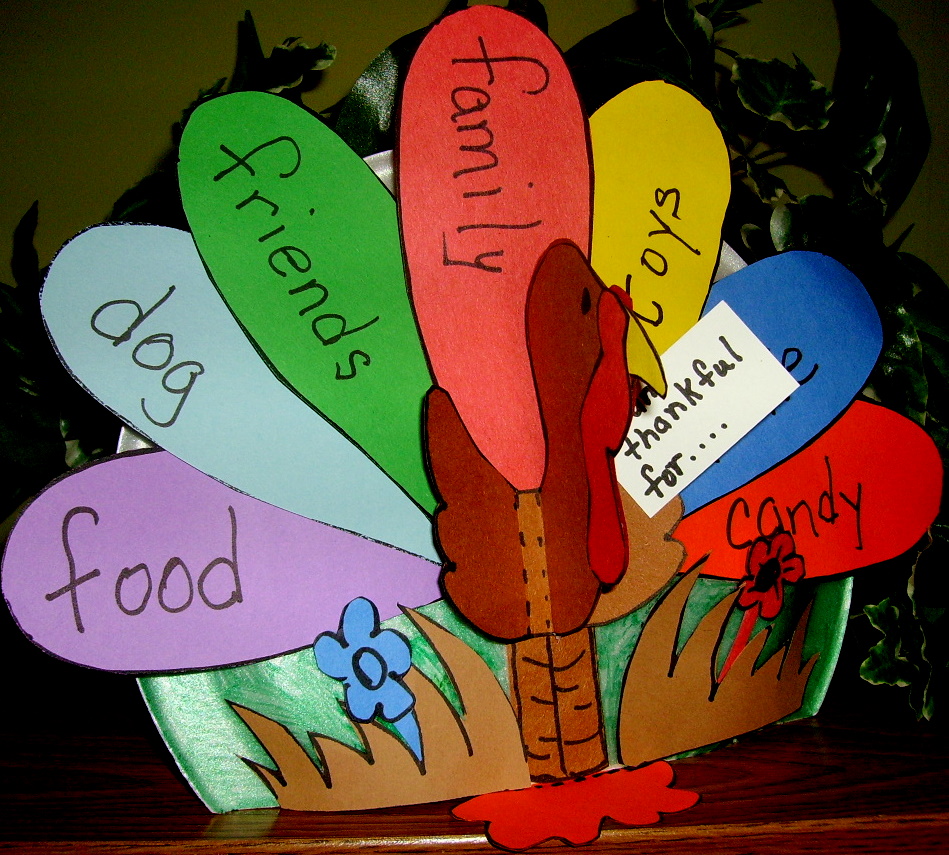
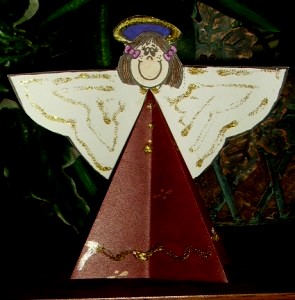
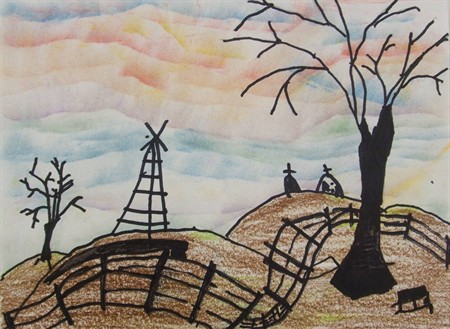
3rd Grade Projects Gallery: