
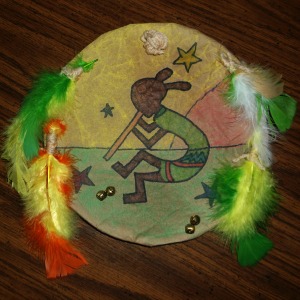
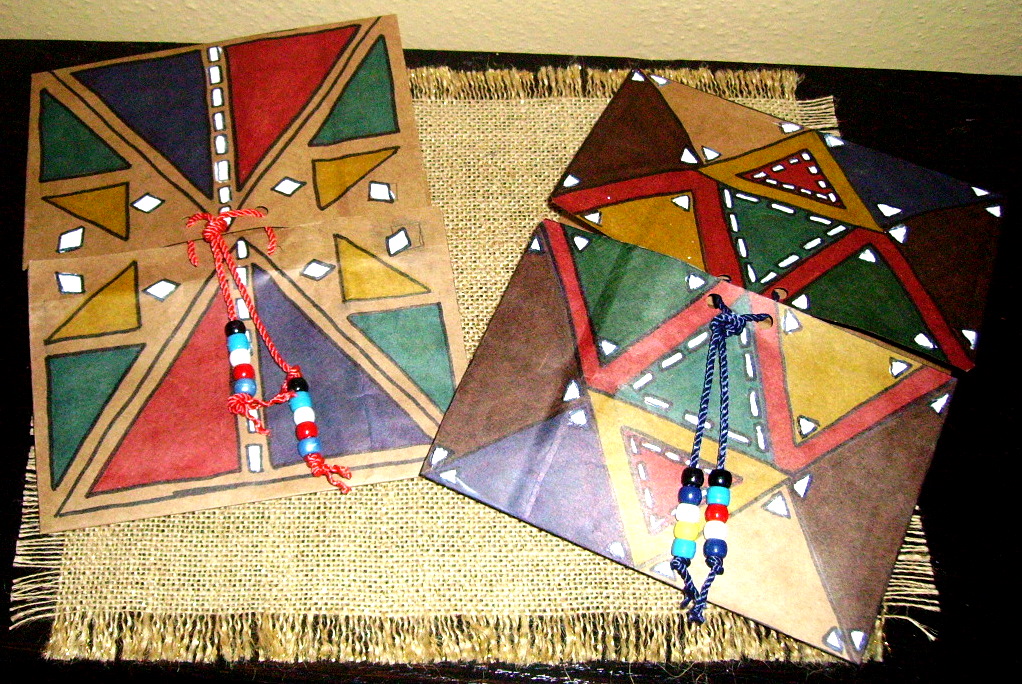
 Although the Native American war shield and the medicine shield looked similar, they had distinctively different uses. The war shield was thicker and heavier and was used to deflect arrows or spears. The medicine shield was also taken along in battle, but was meant to give spiritual protection. Find more interesting information about the shields by visiting this site, Warpaths 2 Peace Pipes.
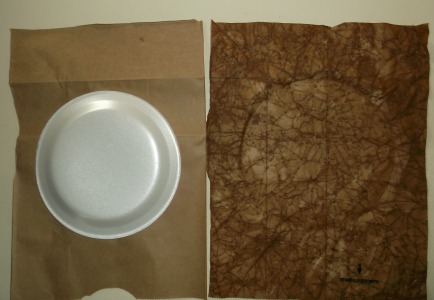
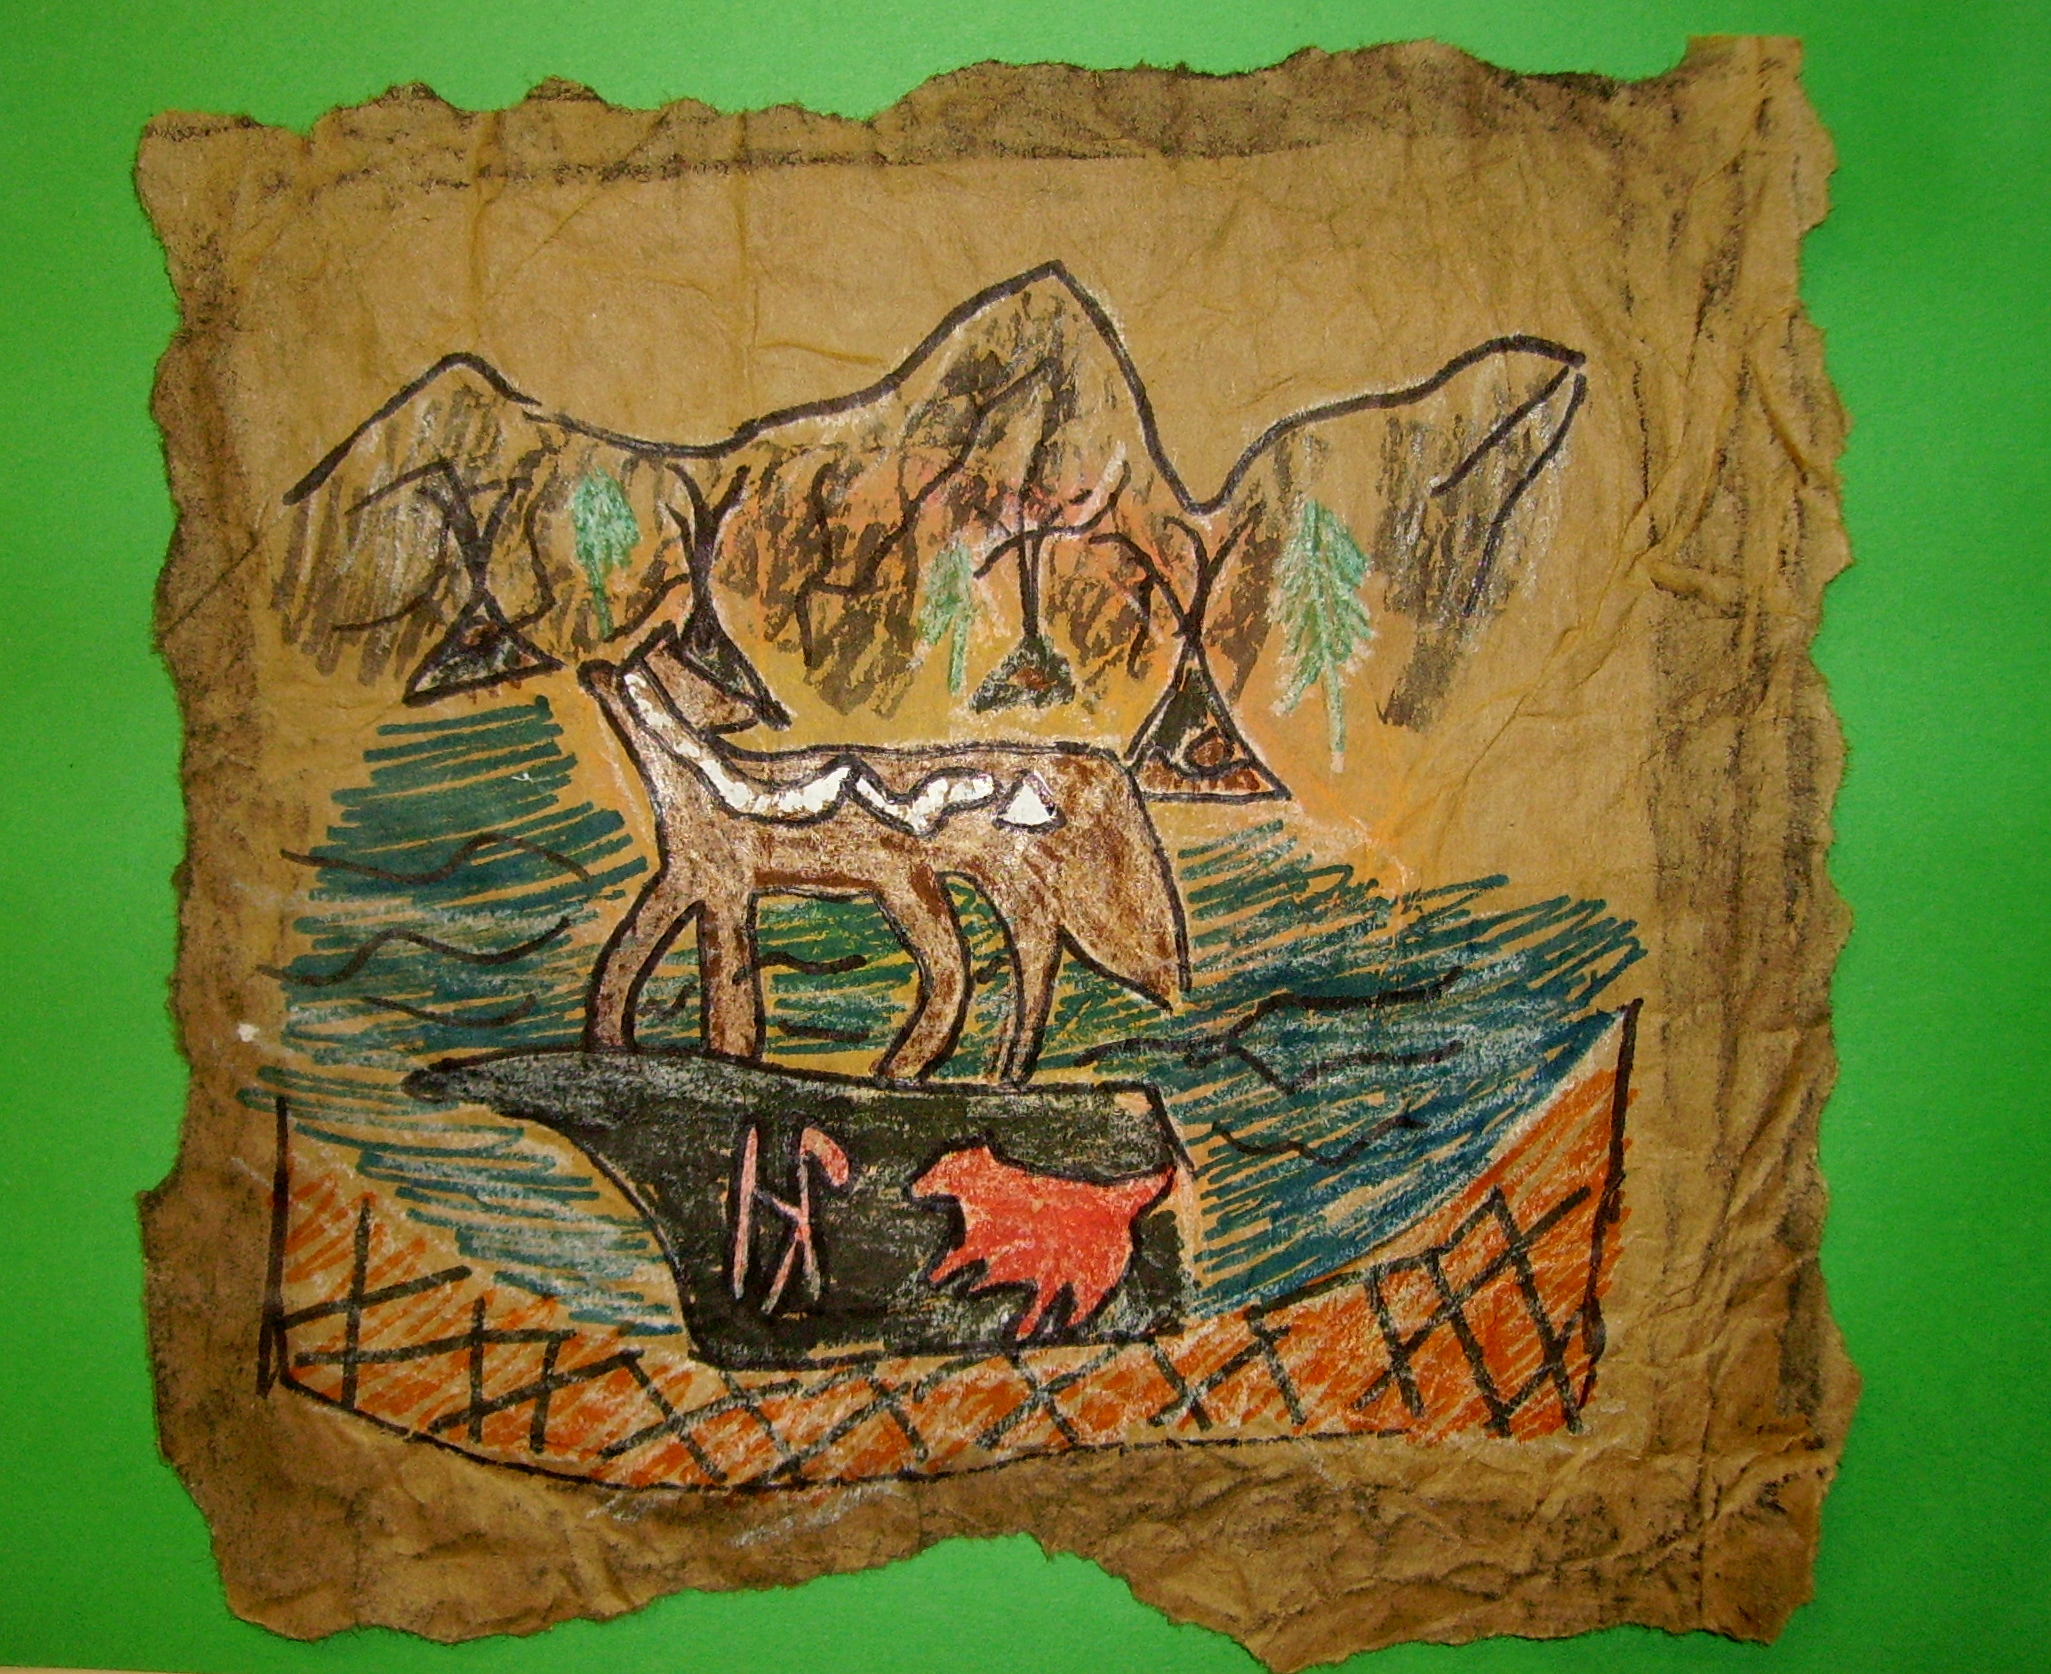
The war shields were said to be between 20-24 inches in diameter, but our version of the war shield is the width of a Styrofoam paper dinner plate. To get the look of buffalo hide, we use a brown paper grocery bag. The paper is scrunched up, dipped in warm water, the water is squeezed out and the paper spread on a flat surface to dry. To get a tighter fit over the paper plate, I molded the paper over the top of the paper plate while the paper was wet.
Supplies:
• Brown paper grocery bag (cut to about 13â€x 16â€)
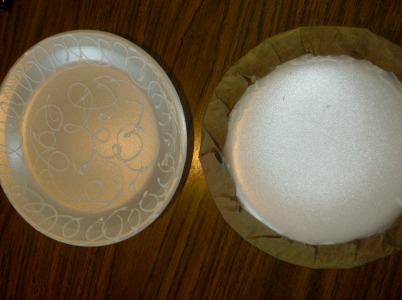
• 2 Styrofoam dinner plates
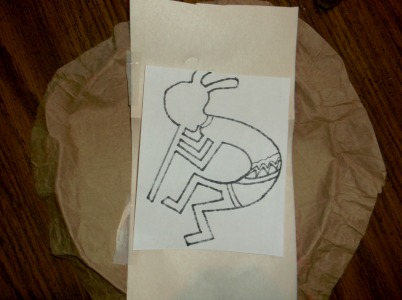
• Kokopelli and Lizard (Pattern)
• Roadrunner, turtle, thunderbird, canoe (Pattern)
• Native American symbols (Clip Art Best.com)
• Tracing paper
• Colored Sharpie markers
• Colored chalk
• Kleenex
• Hairspray
• White glue
• Feathers, small bells, yarn
• Glue gun and glue stick
• Paperclip
Directions:
For a closer look at any of the step photos, just click on the image.
 Â
  Â
 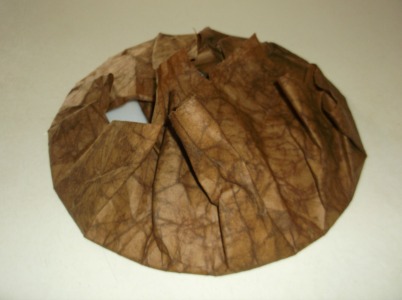
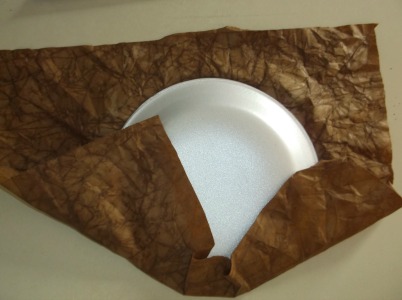
1. Scrunch up and dip the brown paper into warm water until the paper is wet. Carefully squeeze the water from the paper, spread on a flat surface to allow the paper to dry. Mold the paper over the top of the paper plate while the paper is still wet. Then allow it to completely dry. When dry, cut the excess paper, leaving about 2-3 inches for gluing to the back of the paper plate.
 Â
    Â
2. Draw Native American symbols on the brown paper, or if using one of the patterns, use tracing paper to trace the symbol.
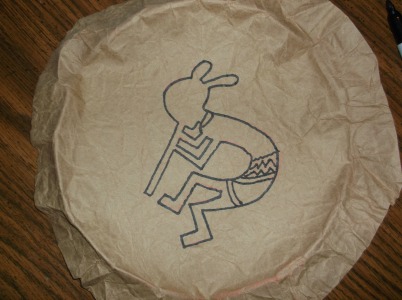
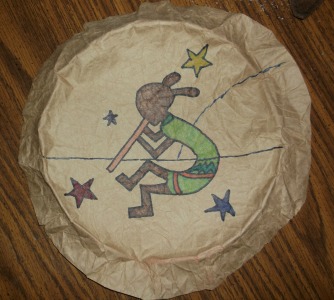
3. With the black Sharpie, outline the symbol on the paper. Then use colored Sharpies.
 Â
 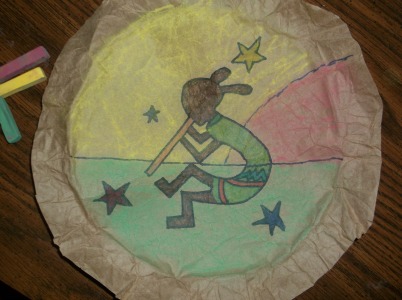
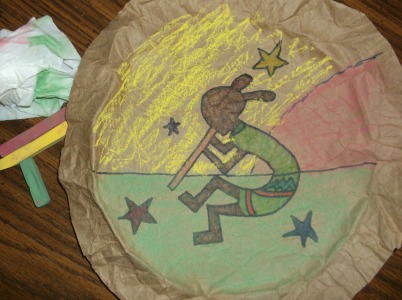
4. Use colored chalk to create a background. Wipe excess chalk with a Kleenex, then, give the entire picture a light spray of hairspray or sealer.
 Â
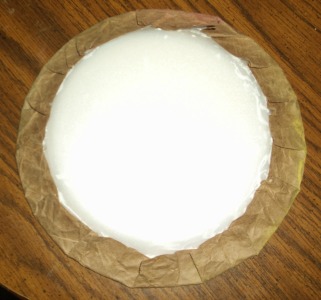
5. Apply white glue to the back of the excess, outer 2-3 inches of paper. Lay the picture face down on a flat surface, then, place the Styrofoam paper plate upside down on the paper. Glue the edges of the paper to the back of the paper plate. (I used a second paper plate to cover the complete back of the shield, by applying white glue to the top side of the paper plate and sandwiching the two plates together. Hold the two plates together for a couple of minutes so the edges are nice and tight.)
 Â
  Â
Â
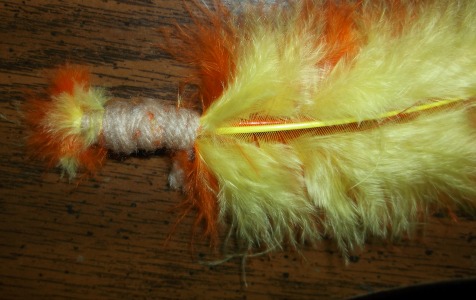
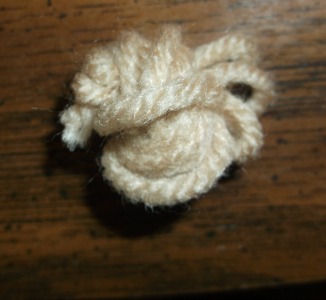
6. Use a piece of yarn to bind two feathers together. To make a large knot, I folded a 36†piece of yarn a number of times and then knotted the strands.
7. Decorate the war shield however you wish. You’ll want to use a glue gun to add items to the shield. I added tiny bells with bunches of feathers and a knot. But, make your shield unique.
 Â
 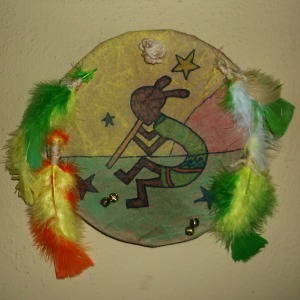
8. To hang the shield, I hot glued a paper clip to the top, back side of the shield.
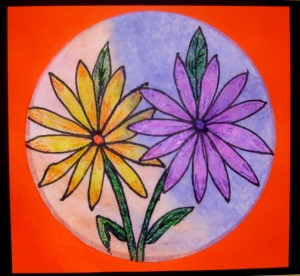
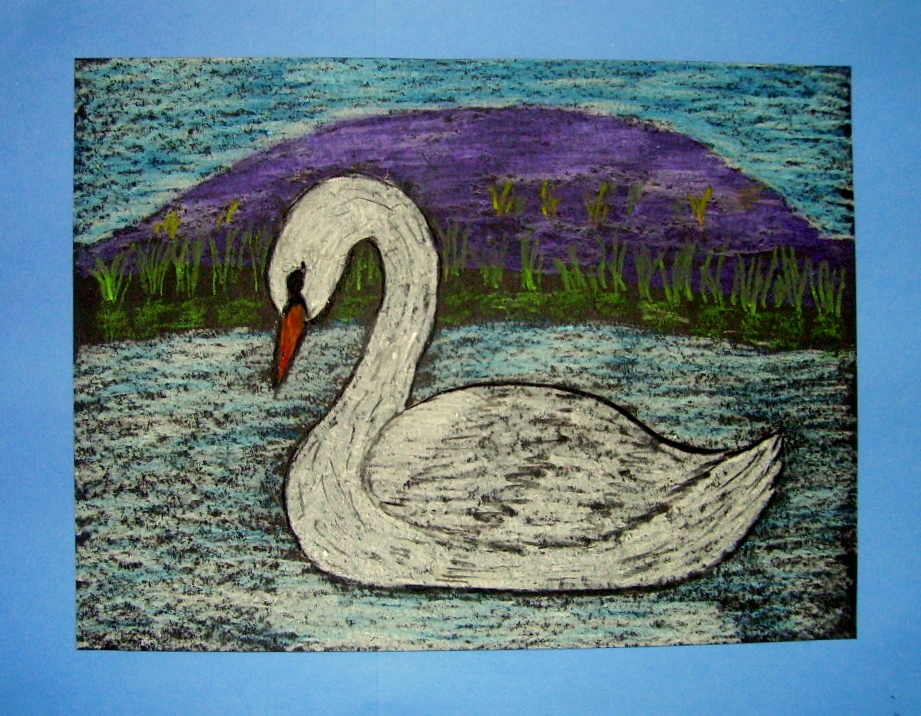
3rd Grade Projects Gallery:


Thank you Janie for the comment. I hope you have lots of fun with your summer program.
Thank you so much for the instructions on these art projects. I have added a week of Native American Arts – n – Crafts to my Summer Enrichment Program.