Nice enough to hang on your wall. The paper sack gives the project a look of leather. The tinfoil leaves appear to be medal.

This project will take two 1-hour classes.
Supplies:
- Brown grocery bag
- Tinfoil
- White glue
- Cardboard or heavy poster board (cut 6″x 6″)
- Thin gold wire
- Small (about 6″) branches with twigs attached
- Colored Sharpies (permanent markers)
- Black Sharpie
- Paper clip
- Bowl of water
- Tissue
- Large sized needle
- Iron
- Copy of leaves (Pattern) (Pattern)
1st day of 2 classes:
- Choose a leaf pattern with 3 leaves.
- Write your name on the back of the pattern.
- Carefully run a medium width line of white glue over the outline and veins of each leaf. (I suggest you practice on a scrap piece of paper first.)
- Put the sheets aside to dry completely.
- Cut along the seam of the brown grocery sack. Then cut away and discard the bottom of the sack.
- Scrunch up the paper bag, dip it in water and squeeze as much water out as you can without tearing the paper.
- Press the brown paper with an iron to dry and straighten the paper (it will still be somewhat wrinkled.)
- Carefully tear the paper into 8″x 8″ squares.
- Glue to a 6″x 6″ piece of heavy paper of cardboard to strengthen the plaque.
- Tape a paper clip to one corner for a hanger.
- Write your name on the back of the plaque
2nd day of classes:
Using your sheet of leaves from the last class:
- Leaving a space aaround each leaf–cut the leaves apart and then work each leaf individually.
- Spread a thin layer of white glue over the entire leaf and around the leaf.
- Take a piece of tinfoil, lay it over the glued leaf and gently mold the tinfoil to the shape of the leaf. Do the other two leaves in the same manner.
- Using colored Sharpies color the leaves. First with tan or brown, then add areas of orange, green and/or red. Black can be used, but very sparingly… Wipe with a tissue to blend the colors.
- Carefully cut around the leaf (slightly to the outside of the glue outline.) DO NOT tear the paper pattern off the back.
- Shape the leaves by bending them slightly.
- Twist a small piece of gold wire around the stem of each leaf.
- Attach the leaf to a twig of your branch. Repeat with other leaves.
- Lay the branch on the plaque and make two small dots, at three different locations, one on each side of a twig. This is where the branch will be attached to the plaque.
- With a large needle, poke holes where your marks are, through the back of the plaque.
- Make a “U” shape out of three pieces of gold wire. From the back push the wire through two holes at the three locations.
- Lay the branch back on the plaque and wire the branch to the plaque.
- With a black Sharpie edge around the plaque.
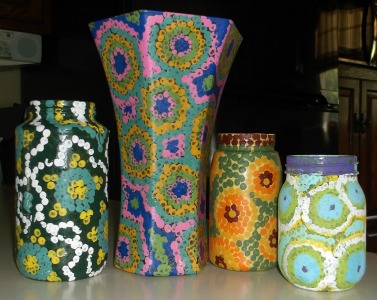
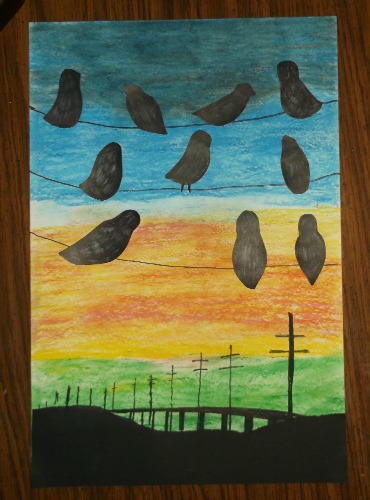
6th Grade Projects Gallery