
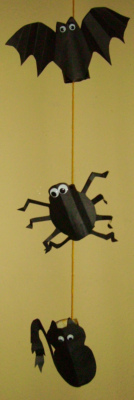
Make a room full of these hanging spiders to decorate your classroom for Halloween. The spiders are printed on black construction paper, stuffed with black tissue paper(we always have plenty of black tissue paper left over from other tissue paper projects), colored chenille strips, a colored pom-pom and google eyes. Hang them with ribbon, yarn or fishing thread. Hang spider webs in a few corners of the room to finish the look.
 Supplies:
- Black construction paper
- Spider (Pattern)
- Black tissue paper, cut in 12″ squares.
- Eight colored chenille strips
- Google eyes
- Colored pom-poms, small
- Scissors
- Glue stick and glue dots
- Paper punch
- White charcoal pencil or white correction fluid
Directions:
- Print spider on black construction paper. The pattern is printed with green ink so the lines will show on the black paper. Be sure your pattern is printed with green lines or go over the lines with a green Sharpie. The black copier will make a good print on the black paper then.
- Carefully cut out the spider. Fold on the dotted lines and cut the shape at the bottom of the head.
- Fold all the pieces toward the back at the dotted lines.
- With the paper punch, punch holes where indicated on the spider.
- Glue, with glue dots, the google eyes to the top section of the head. Glue a colored pom-pom to the center and below the eyes.
- With the white charcoal pencil or white correction fluid, draw cheeks and a mouth with fangs below the nose.
- Take the black tissue paper and roll it into a ball. Fold the body pieces together and place the tissue ball between them. Glue the tab at the bottom of the body to the back of the head. Hold in place for a minute to set the glue.
- Thread a colored chenille strip from the bottom of the spider through the holes and bend the end when there is about an inch and a half showing on the top side of the spider. Bend so the strip doesn’t fall out. Do the same with all the rest of the strips. This will hold the tissue ball (spacer) in place.
- Twist the ends of all the chenille strips to hold them in place.
- Holding a pencil along the side of a strip, twist the strip around the pencil 4 or 5 times. Shape the legs so they stick up above the body and then bend a knee and foot.
- Use glue dots or tape to hold the ribbon, yarn or string to the top back of the spider.


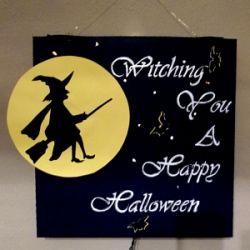
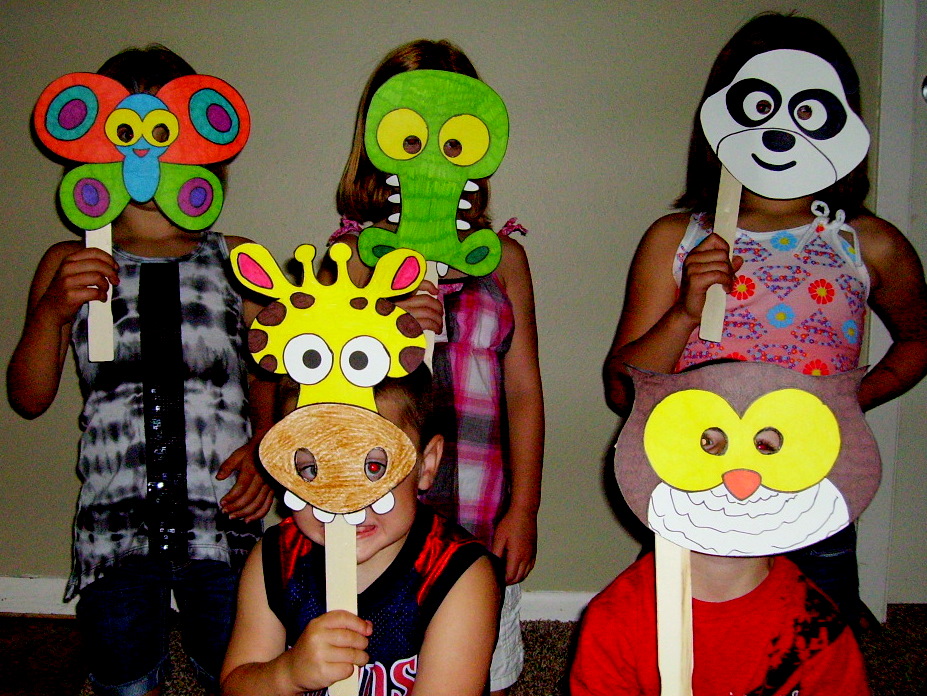
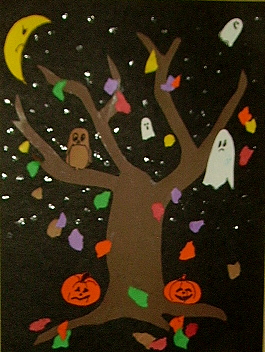
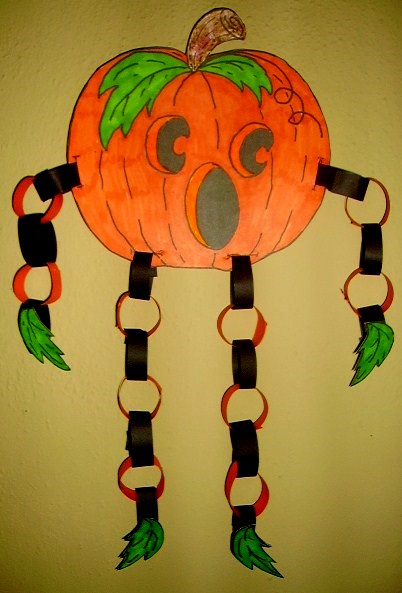
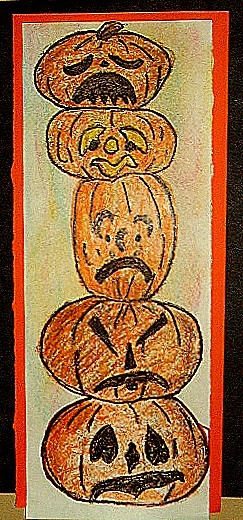
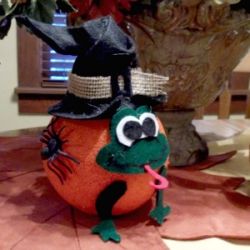
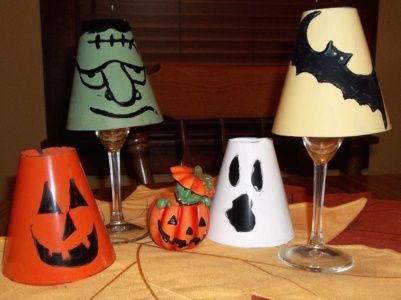
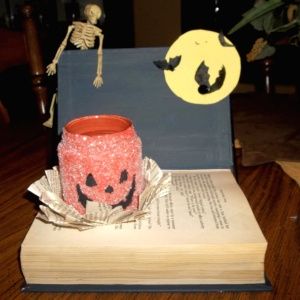
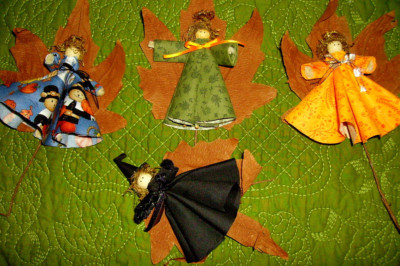
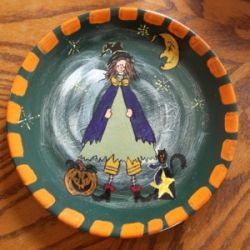
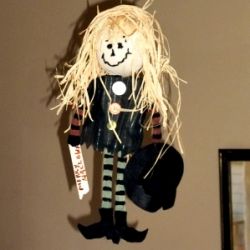
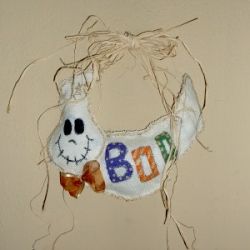
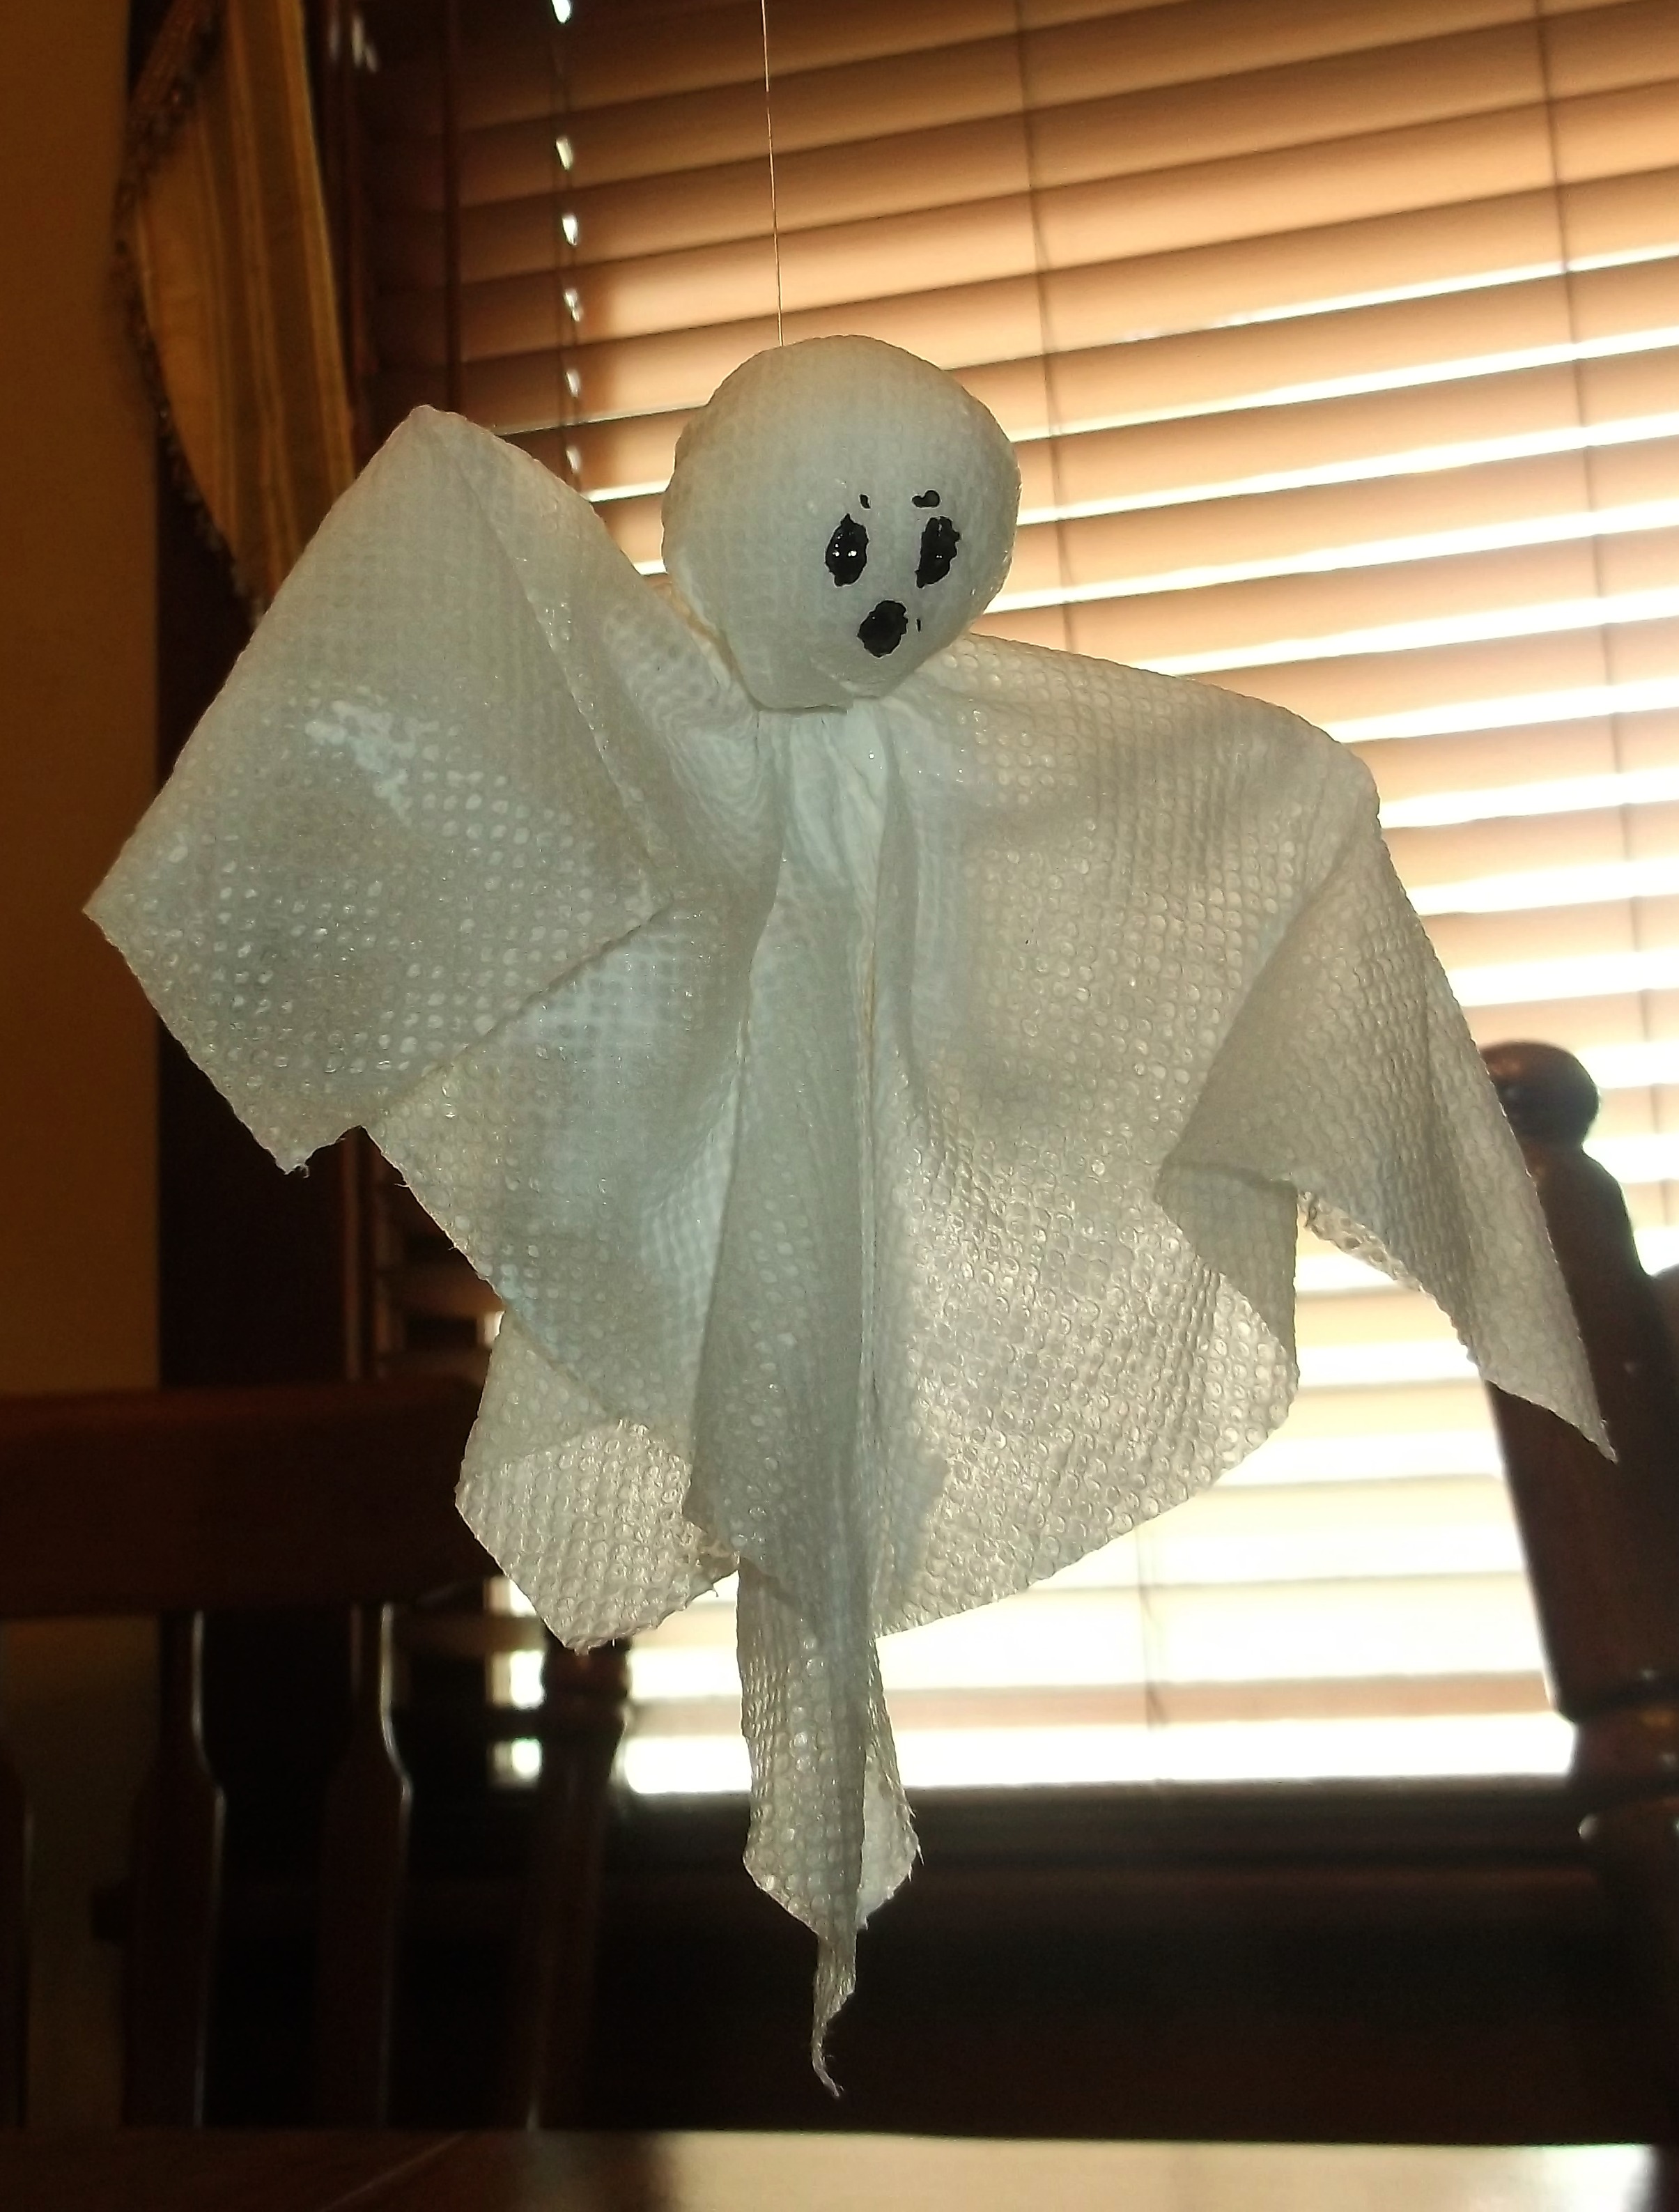
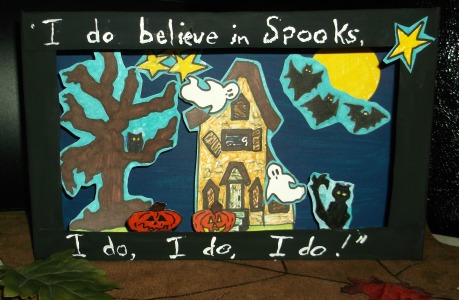
Halloween Projects Gallery:


Like the idea of hanging spiders . Nice clear instructions to follow !
Helpful information. Fortunate me I found your website by accident, and I’m surprised why this coincidence did not came about in advance! I bookmarked it.