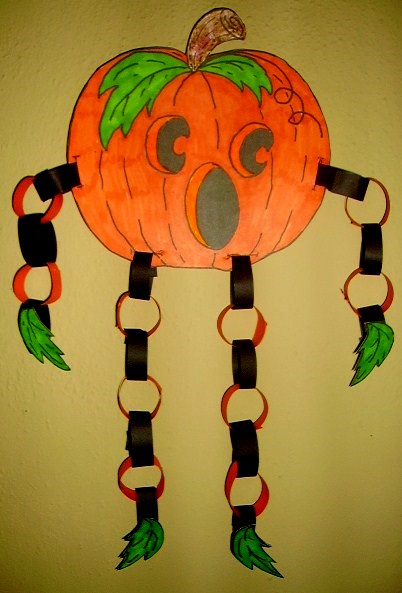
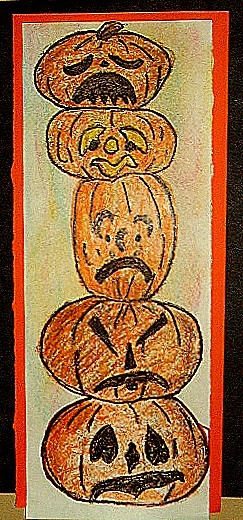
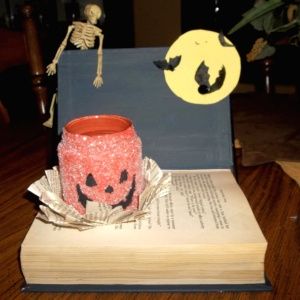
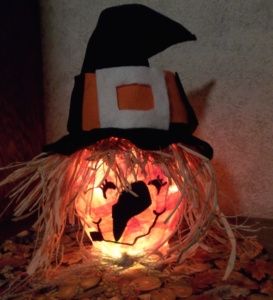
This  pumpkin is just waiting for different expressions. The fun of jack-o-lanterns!
Wire coat hanger project
Supplies:
- Wire coat hanger
- White glue
- Tape
- Orange, black, green and brown construction paper
- Copy of curved strips and stem (Pattern)
Directions:
- Cut orange paper into 1 ¼” x 12″ strips (enough for 3 ½ strips per pumpkin)
- Cut orange strip 1 ¼” x 12″ (one per pumpkin)
- Copy curved strips on orange paper and cut out
- Copy stem on brown paper and cut out
- Form the coat hanger into an elongated circle (shape of pumpkin)
- Fold the 1 ¼” x 12″ strips in half lengthwise. Using one strip at a time, and starting immediately under the hook of the coat hanger, with the folded side to the inside of the pumpkin shape, form the strip around the wire. There will be a gathered look on the inside of the strip.
- Run a line of white glue on the wire inside of the strip and hold down for a few seconds for the glue to take a hold. Slightly overlap the next strips and continue around the wire, shaping and gluing as you go.
- Center the 12″ strip, fold ends to the back and tape down.
- Place the curved strips on each side of the center strip, fold ends to the back and tape down.
- On the black paper, draw two eyes, a nose and a mouth. Cut them out and glue them on the strips of orange paper.
- Cut out the brown stem, center it over the wire hook and tape on the back side.
- Draw one large and one small leaf on the green paper. Outline with a black marker, adding veins. Cut out and glue or tape to the top of the pumpkin.
- Cut a strip of brown paper and roll it around a pencil to form a curlicue. Tape it to the top of the pumpkin behind one of the leaves.
Note: If time permits, highlight the leaves, eyes, nose and mouth with gold glitter glue.
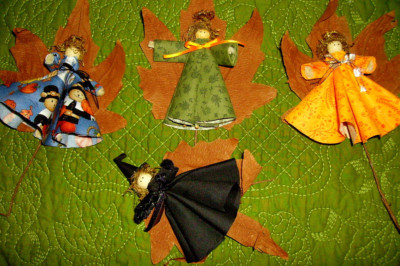
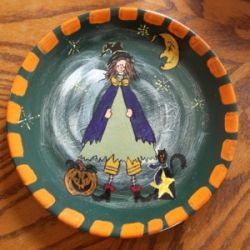
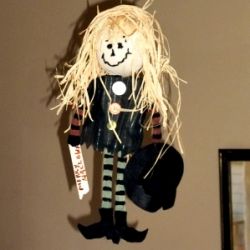
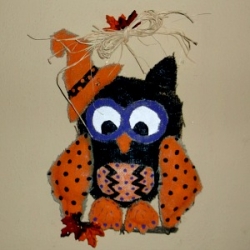
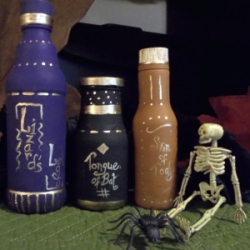
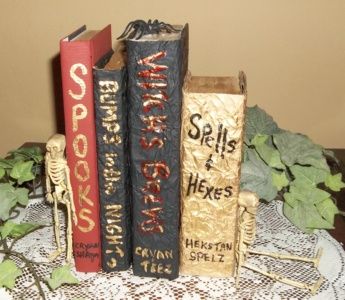
Halloween Projects Gallery: