
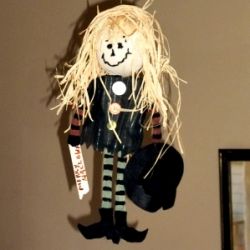
This is a wire coat hanger project just in time for Halloween. The patterns are for a two sided project, but if you want, you can use the patterns for (Side I) only.

Supplies: 
- Wire coat hanger
- White construction paper
- Crayons
- Scissors
- Glue stick
- Masking tape
- Yarn
- Scarecrow head Side 1 (Pattern)
- Scarecrow trousers Side 1 (Pattern)
- Scarecrow arms Side 1 (Pattern)
- Scarecrow feet and crow Side 1 and Side 2 (Pattern)
- Scarecrow head Side 2 (Pattern)
- Scarecrow trousers Side 2 (Pattern)
- Scarecrow arms Side 2 (Pattern)
Directions:
- Form the wire coat hanger into a diamond shape.
- Starting with the Scarecrow pieces of Side 1 only, color all the parts marked Side 1. Carefully cut all the pieces.
- Glue the head to the trousers, matching the collar of the head with the broken lines on the trousers.
- Glue the trouser to the arms, matching the trouser with the broken lines on the arms.
- Glue the trouser to the feet, matching the trouser with the broken lines on the feet.
- Tape the wire coat hanger to the back of the Side 1 scarecrow, with the feet covering the bottom of the diamond and the hook part of the hanger inside the head.
- Glue the crow to one arm.
- If you are finishing the back of the scarecrow, color the Side 2 pieces, cut them out and glue them as you did the Side 1 pieces.
- Tape a piece of yarn to the top of the hat on the back side of scarecrow 1. Glue the front and back scarecrows together.
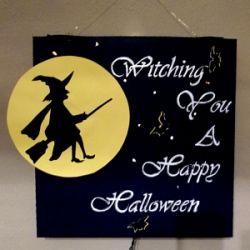
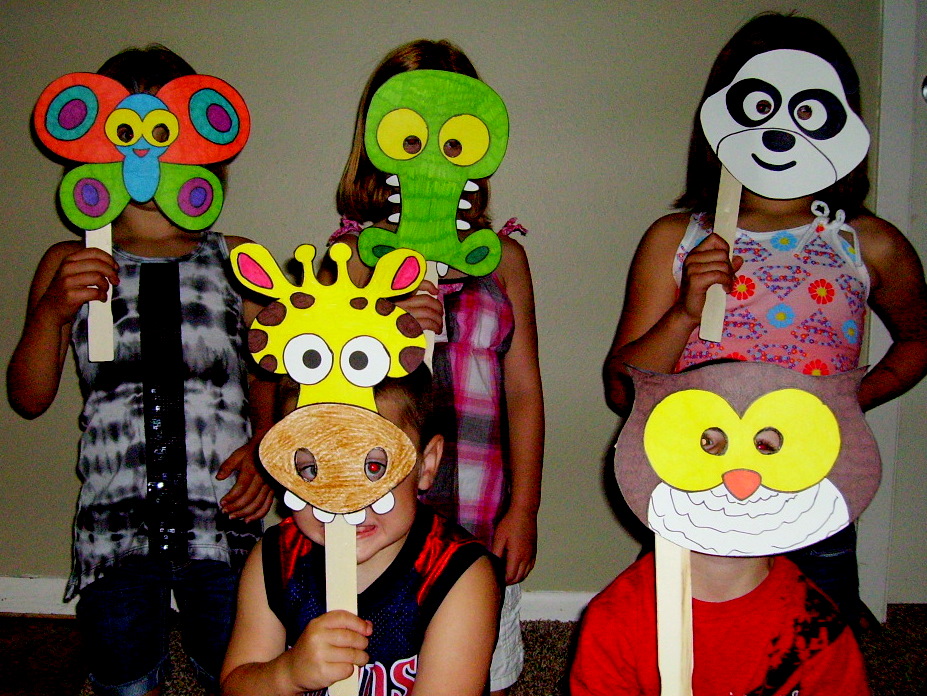
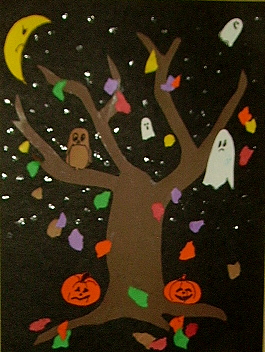
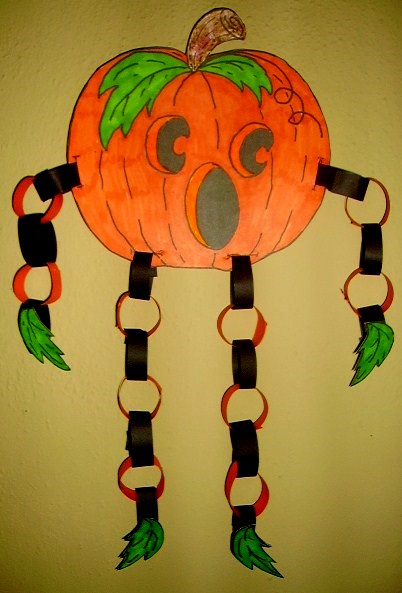
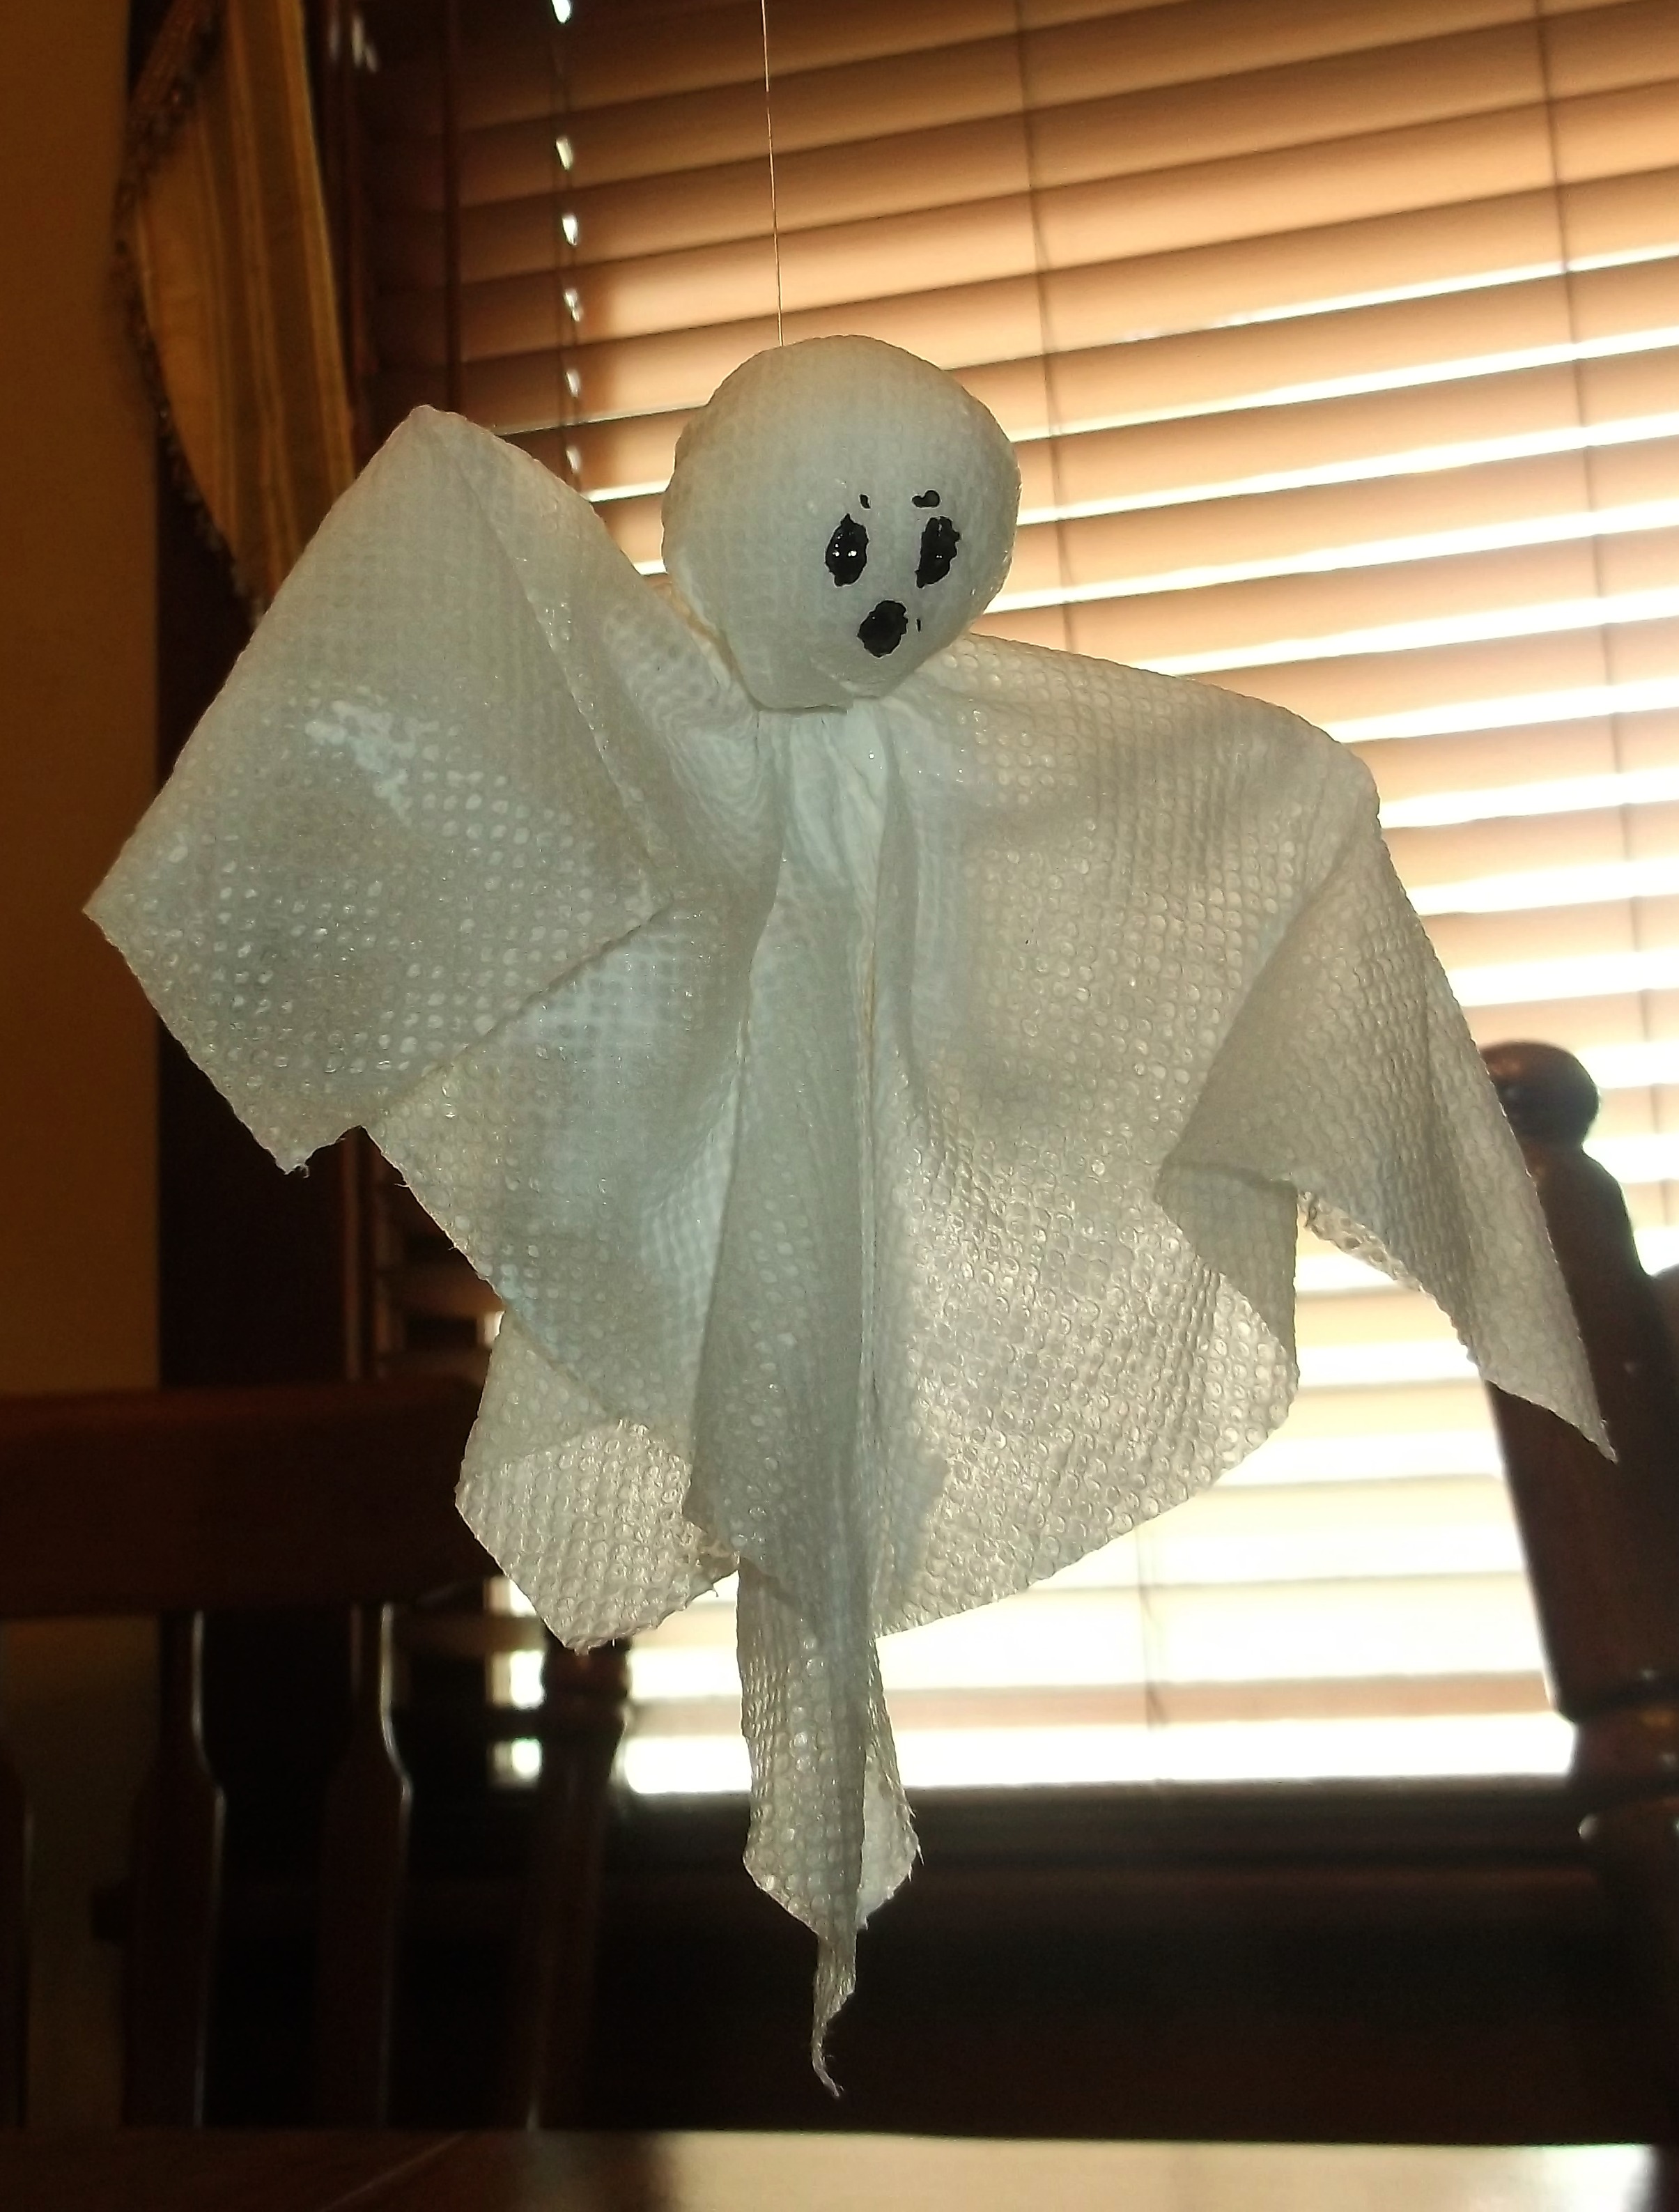
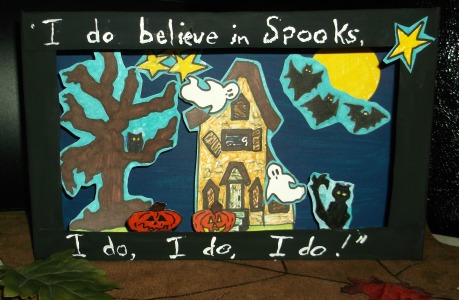
Halloween Projects Gallery:


Pingback: "Glue on her fingers, dirt on her toes, she makes laughter wherever she goes!" » Blog Archive » POPSICLE SCARECROW CRAFT