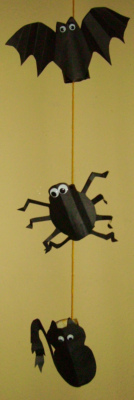
Imagine a classroom full of these spiders. Easy to make, so make a lot of them.  This picture is a real close-up so it looks especially large. In fact it is only about 4 1/2″ x 7,” but I wanted you to be able to see how the head was glued on.
Supplies:
- Black construction paper cut in these sizes: Four cut at 9″x 3/4″for the legs. One cut 3 1/2″ x 4 1/2″ for the body. One 4″x 1″ for the head.
- (1″) Google eyes
- Glue dots
- 24″ black ribbon
- Small, yellow, diamond shaped piece of construction paper
Directions:
- Fold the four 9″x 3/4″ strips in half. Then fold each of the ends in half to the inside (the knees,) and then fold that half up again (to form feet). You may have to look at the picture to understand this.
- On one 3 1/2″ side of the body piece, stick three, spaced, glue dots. Then make a roll out of it by overlapping the end with the glue dots and pressing the ends together to make them adhere. Body made.
- Put a glue dot at the middle crease of the legs and glue to the top of the body roll.
- Put a glue dot on each end of the 4″ x 1″ strip and glue to body by adhering to the outside of the roll end.
- With glue dots, adhere the google eyes to the head.
- Glue the yellow diamond shape to the top of the second row of legs (from the head.)
- Put two glue dots on one end of the black ribbon and glue it to the top of the third row of legs (from the head.)
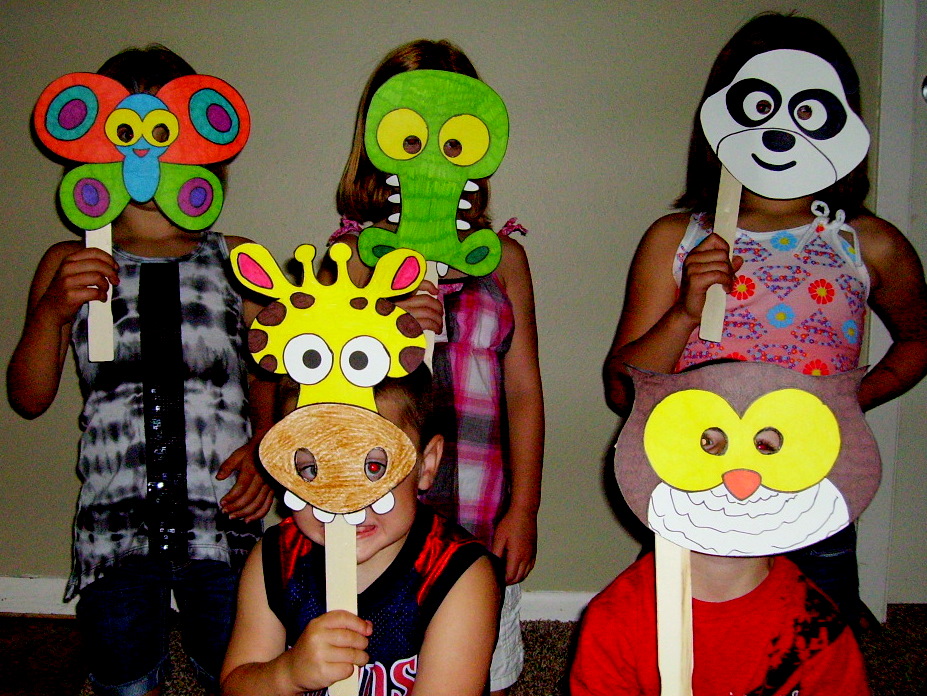
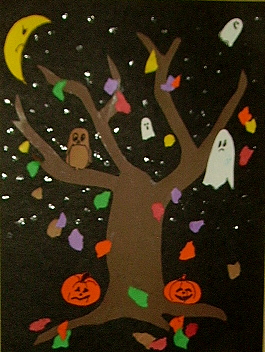
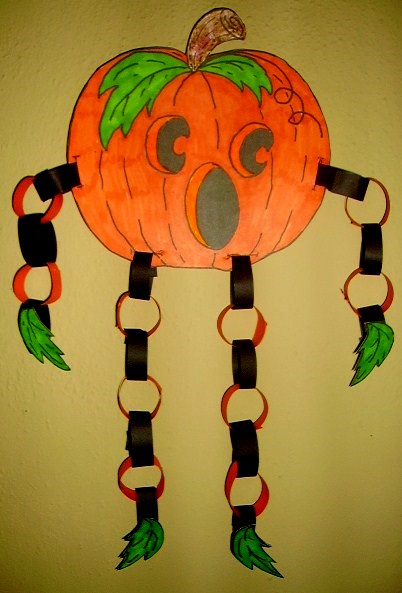
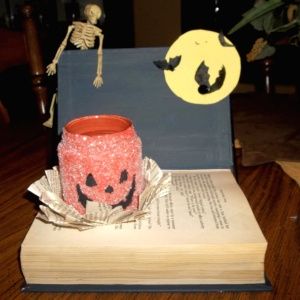
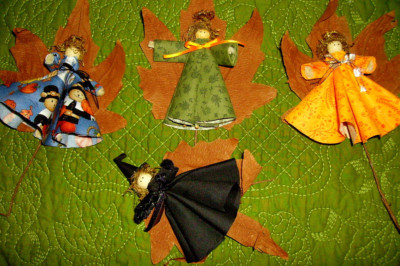
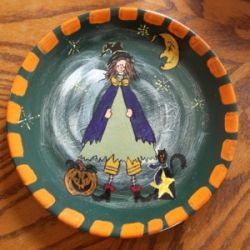
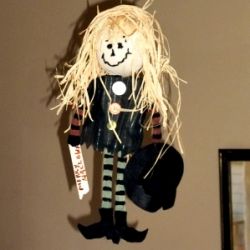
Halloween Projects Gallery: